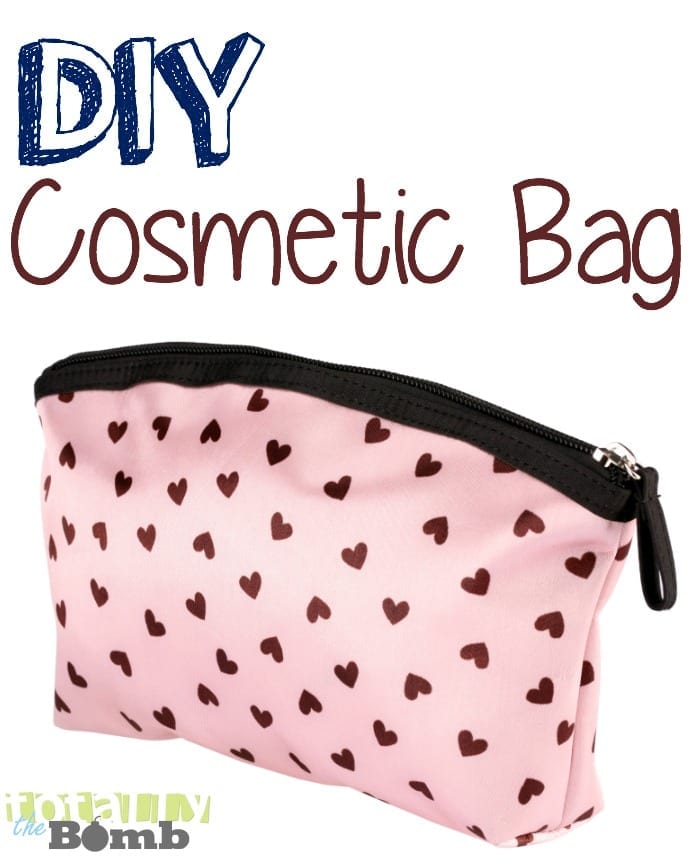
How To Make a Cosmetic Bag
This post may contain affiliate links. For more information, please read our disclosure policy here
A surprisingly easy and fun craft project is making your own cosmetic bag. With only a few supplies you can create a high end looking zippered pouch to store all of your cosmetic must haves you may need throughout the day!
You can also use them to carry anything from your money and credit cards to your keys!
What You Need To Make A Cosmetic Bag:
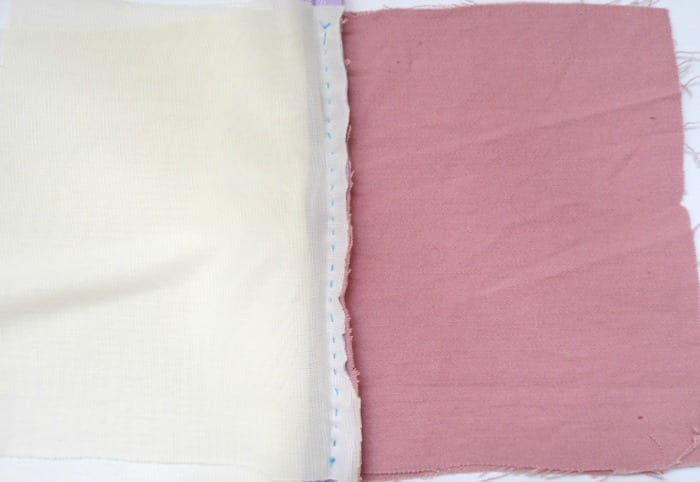
- 2- pieces of fabric measuring 7 ½ by 5, for the bag’s exterior
- 2- pieces of fabric measuring 7 ½ by 5, for the lining
- 1- 9 inch zipper
- Fabric glue
- Needle
- Thread
- Scissors
- Pins
How To Make A Cosmetic Bag:
- Grab a piece of exterior fabric and one piece of the lining along with your zipper. Place your exterior fabric right side up, and put your zipper on top, ensuring that the zipper is upside down. Follow by placing the piece of fabric for the lining on top, wrong side up making sure that everything is lined up well. Pin layers into place and stitch along the top.
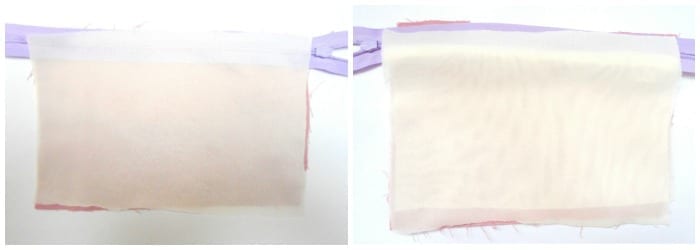
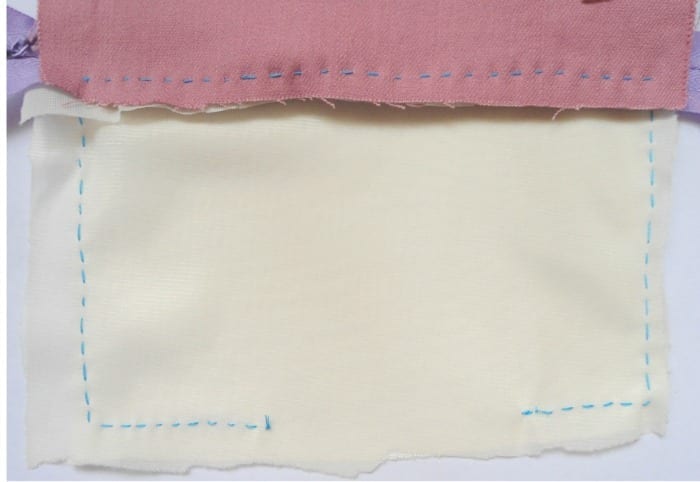
- Once you have made your stitches turn both layers onto the other side so that you can do the same layering and stitching to the other side of the zipper. Just like before place, the exterior fabric right side up, place the zipper (which now has fabric attached to it) on top and place lining wrong side up. Pin and stitch along the top.
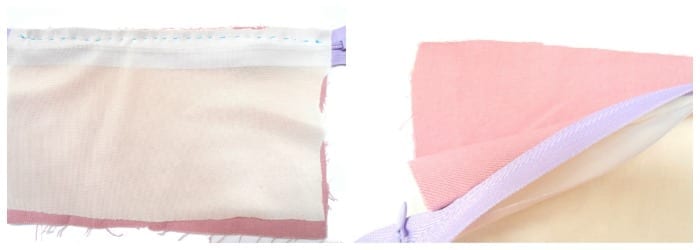
- Next, flip both pieces of fabric lining to one side and the exterior fabric layers to the other.
- Sew along the sides and bottom of the lining leaving about a 2 inch gap. This gap is needed when we turn the cosmetic bag inside out.
- Now unzip the zipper a little more than halfway before sewing the sides and bottom of the exterior fabric. No gap needed.
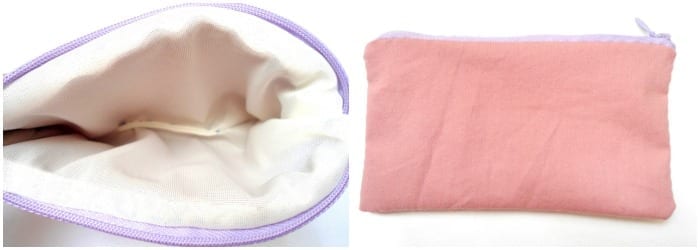
- Use the 2 inch gap to grab the exterior fabric and pull it through. As you do this the lining will be where it should, and all you have to do is push out the bottom corners of the bag with the tip of your scissors. Now, use a little fabric glue to close the hole in your lining and you’re done!