DIY Air-Dry Clay Planters
You know what makes me happy these days? Tiny little things in my house that are easy to make and look incredibly cool too. But do you know something else? I have NO time for projects that are complicated. That’s why I love this one so much. In a few minutes, and with only ONE material, I can make super in-style DIY Air-Dry Clay Planters. The only wait time with this project (once you make the planter) is to allow a few days for drying.
Watch this short video and learn how to make super cool and super easy DIY Air-Dry Clay Planters!
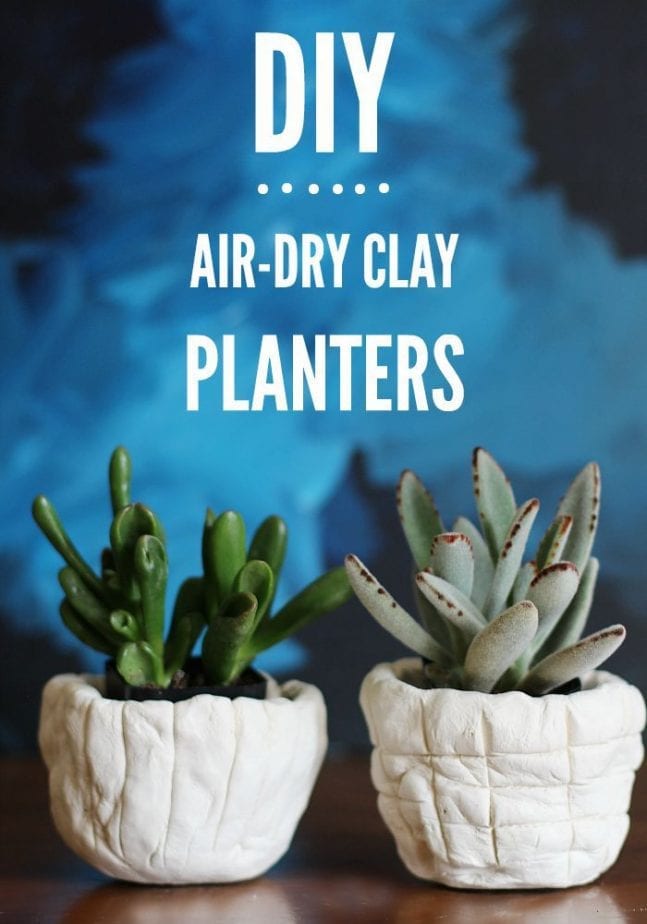
Here’s what you’ll need to make DIY Air-Dry Clay Planters:
Here’s how I made my DIY Air-Dry Clay Planters:
Step 1
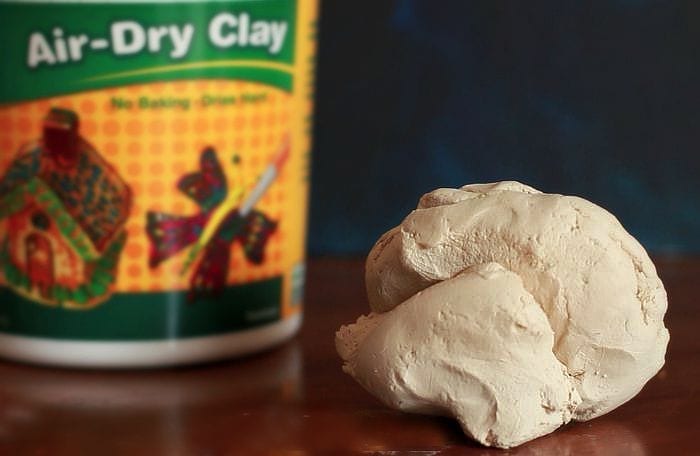
Start with a large ball of Air-Dry Clay. I just reached my hand into the container and grabbed a full handful.
Step 2
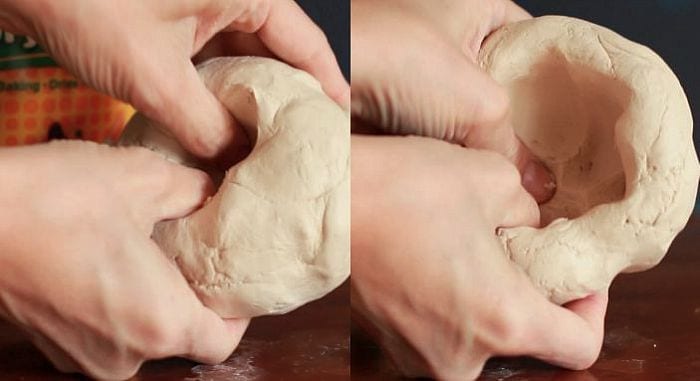
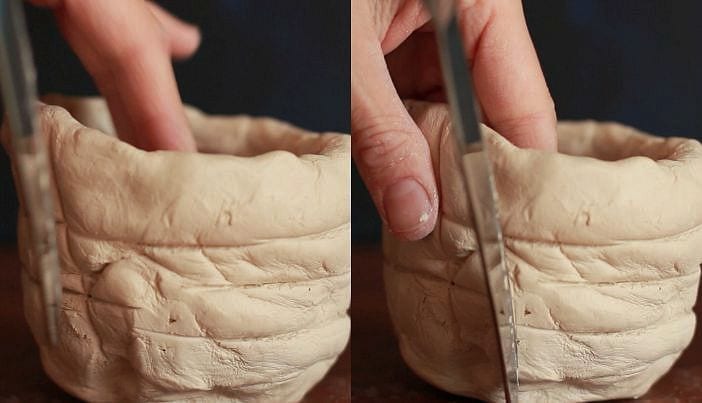
Hold the large clay blob in your hands and press your thumbs into the center of the ball forming a bowl and working around the around the ball continuously pressing and forming a “bowl” shape.
Step 3
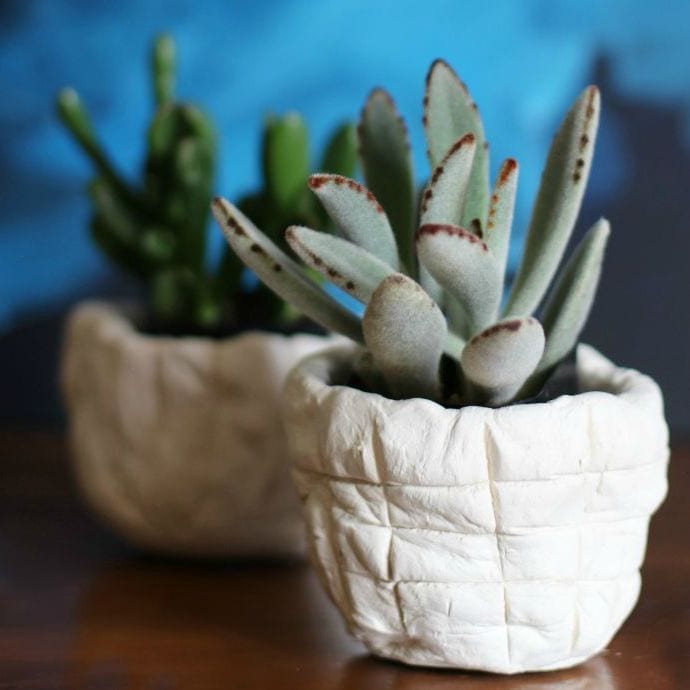
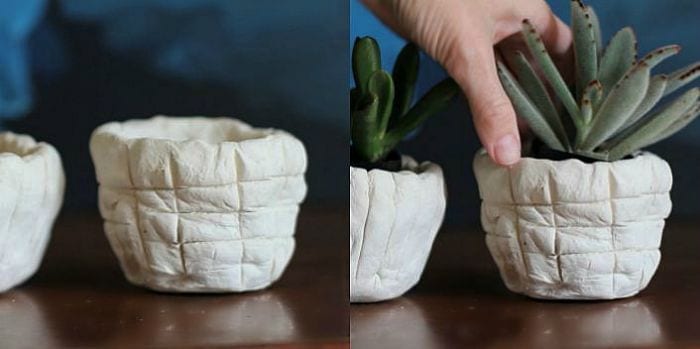
Use a butter knife to make designs in the planter. You can make lines going up and down or in a criss-cross pattern. any pattern you like works, just remember to keep it simple. You don’t want the planter design to look too busy.
Step 4
Pop some small plants inside (keeping the plants in their original plastic plant pots) and you are all set! You don’t want to plant the plants directly inside the planter, or there will not be proper drainage. Pro Tip: to water the plants, take them out of the planter and water, then put them back in the planter once all the water has drained.
You are all set! That’s how to do it! These would also make great gifts for friends and family, don’t you think?



Dumb. Once you water the plants the clay will distort. It’s air dry! Get it wet and it will undo the finish of the pot
I LOVE this idea! ! I am going to go buy clay today! ! I think they would look great painted too!!