Elsa’s Frozen Candies with Coconut Buttercream Filling
Some people might call what’s happening outside in the Northern Hemisphere a “winter wonderland.” Personally, I like to call it various slightly inappropriate words that I’m not allowed to use on this website. Either way, we can probably all agree on the fact that it’s rather…frozen out there. Luckily, there are several ways to combat the cold weather, the most important of which is hiding out under a pile of blankets in bed eating enough sugary treats to make a room full of school kids jealous. But which treats should you try? Well, Elsa’s Frozen Candies with Coconut Buttercream Filling might be a good idea. They might even have you singing your little heart out, even if the world outside your window looks like Elsa went a little crazy with her snow fingers.
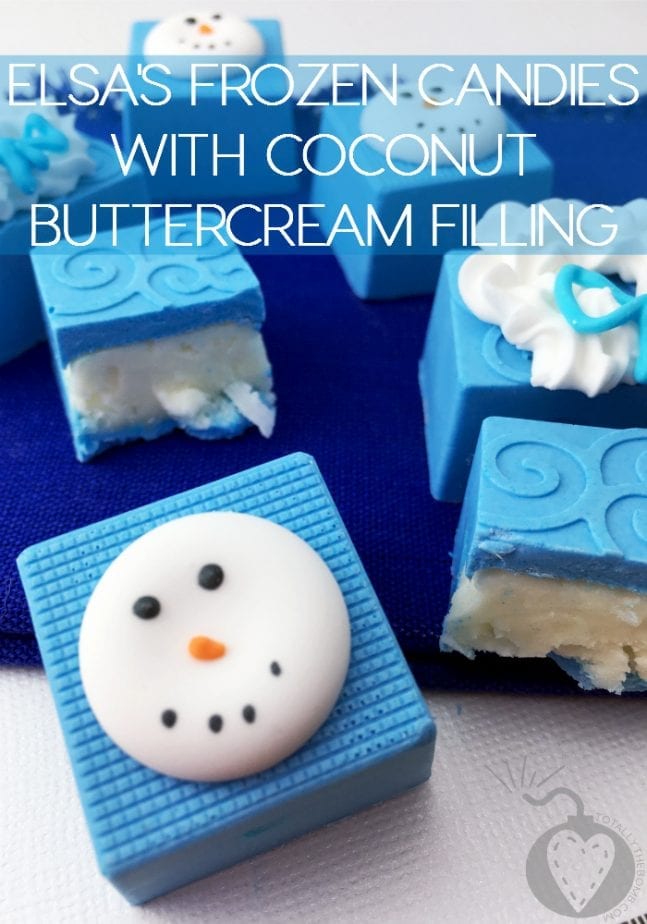
What You Need to Make Elsa’s Frozen Candies with Coconut Buttercream Filling:
- 1 cup Wilton white candy melts
- Blue coloring paste
- 1 1/2 cup powdered sugar
- 1 stick unsalted butter, room temperature
- 1 tsp vanilla extract
- 1 Tbsp milk
- 1/2 cup shredded coconut
- Royal icing toppers
- Wilton Stack-N-Melt Candy Mold
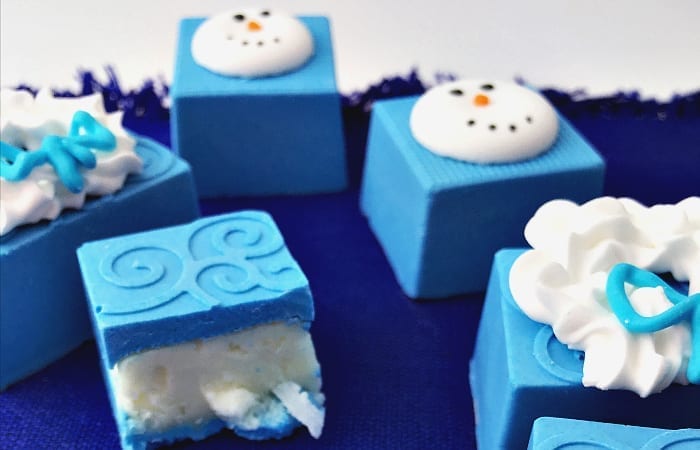
How to Make Elsa’s Frozen Candies with Coconut Buttercream Filling:
Now, this recipe takes a little bit of work to get right, but it’s really not too complicated! For the candy melts, you can use one of the fancy-schmancy candy melt pots that Wilton makes. But let’s face it, you, like me, are probably strapped for cash after Christmas and can’t afford one of those. So instead I just threw them in the microwave. Knock that baby down to 50% power and heat the melts at 30 second intervals. Heat, stir, heat, stir. Then 15 second intervals – heat, stir, etc. – until it’s completely smooth. Be careful not to overheat. Seriously, this is the easy part, and I AM judging you on your candy melting skills.
Whether you melted them in a pot, a microwave, or with the blinding intensity of your smiling determination, mix some of the blue coloring paste in until you get the color you want. Go ahead, break out the color chart. I’ll wait.
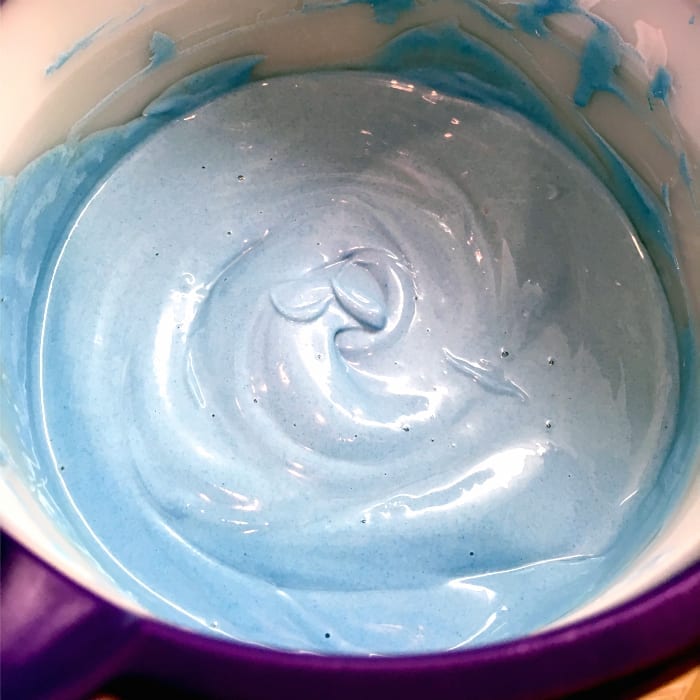
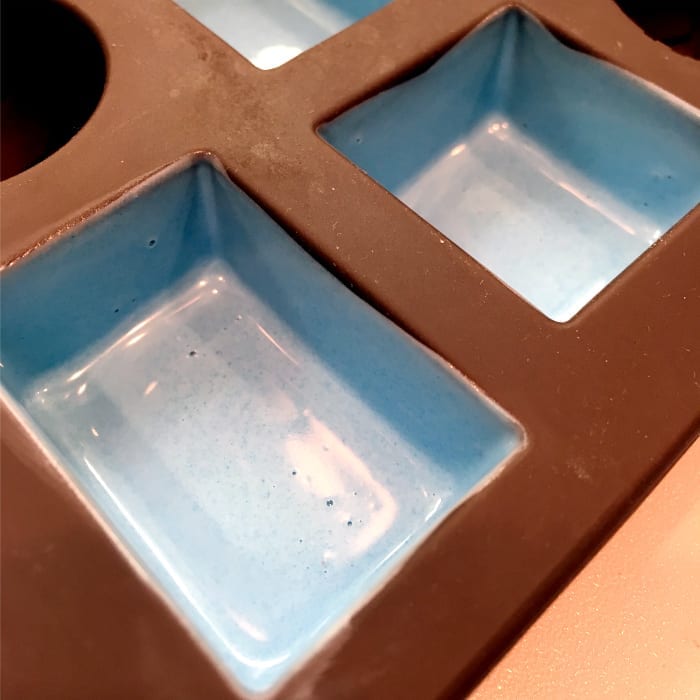
Once the mixture’s gone periwinkle or robin’s egg or some other overly-descriptive home improvement store shade of blue, slowly pour the candy melts into the rectangular parts of your candy mold using a spoon. Twist that thing around until all the sides are coated evenly. You want this layer to be kind of thin, otherwise you’re just getting all that candy in the way of your buttercream filling, and really, that’s what we all want here. If you get air bubbles like I did, you can gently tap the mold against your countertop to remove them. After that, just stick the mold in the freezer for 30 minutes.
While your candy is Netflix-and-chilling, break out your favorite medium-sized mixing bowl. Or your second favorite. Why do you play favorites with your mixing bowls, anyway? Cream your butter, then add the powdered sugar. Do this on a slow speed. Don’t make the same mistakes I did, okay?
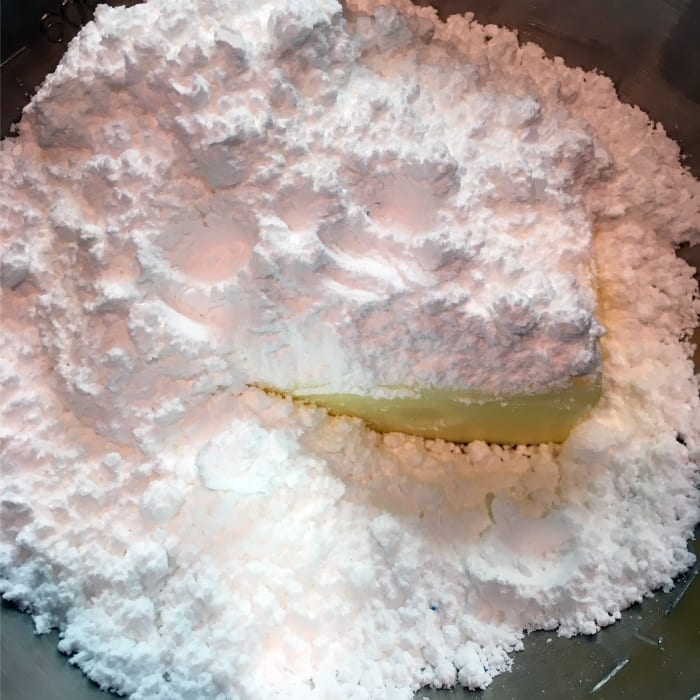
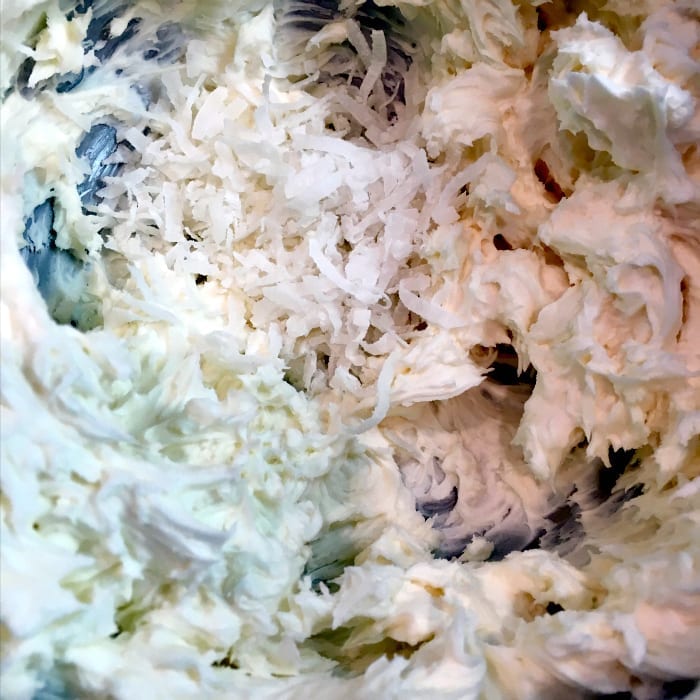
Then, when you’ve got all the powdered sugar in, add the vanilla extract and milk and mix until combined. Toss in the shredded coconut and then stare forlornly at the freezer until your candy is set.
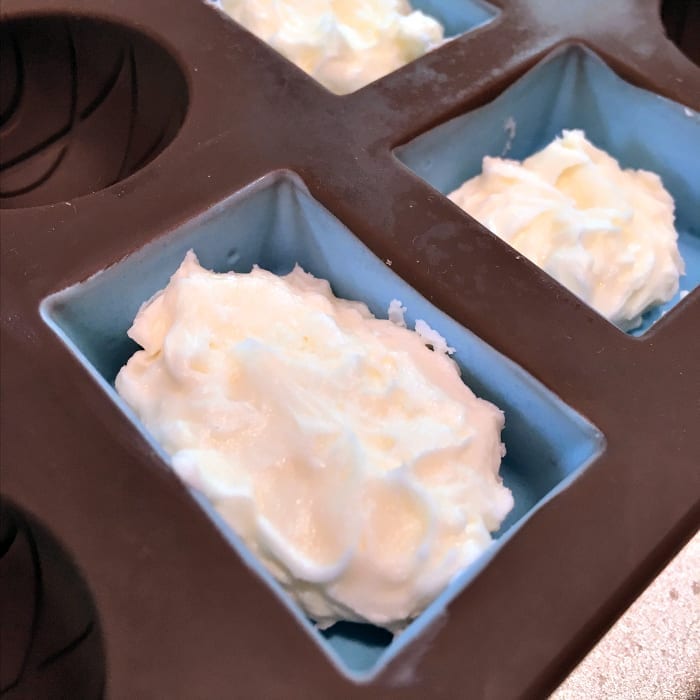
Fill your chilled candy melts with the coconut buttercream filling, but leave enough room at the top to cover it with more blue candy melts to form the last side of the rectangle. Remember what I said about mistakes? Yeah.
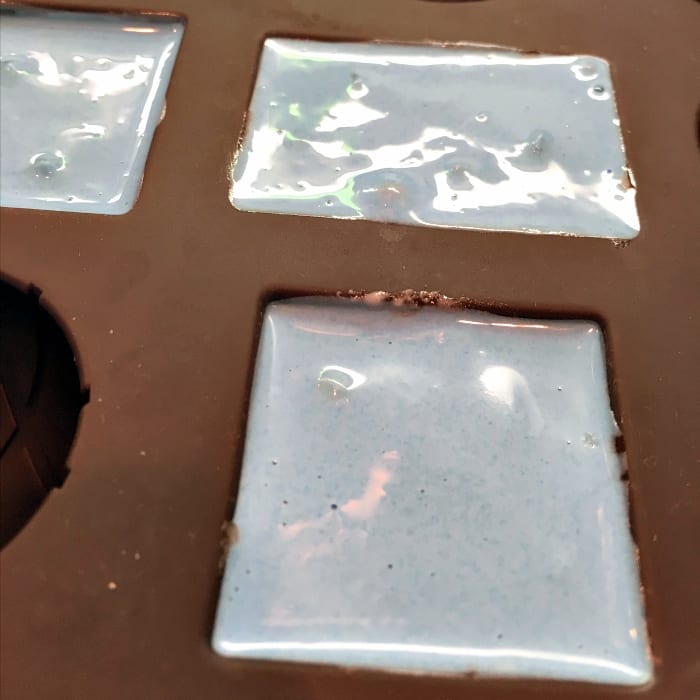
Pour a thin layer of that blue stuff on top of the filling to form a seal, then wipe away any excess from the sides, because these are classy candies.
Let those babies spend another 30 minutes in the freezer before removing them from the mold. At this point, you can stick the royal icing toppers to the tops of the candies with a little drop of the leftover blue candy melts. I put them back in the freezer for another 15 minutes just to make sure everything was set up. After that, they’re ready to be tossed into your gleefully-waiting open mouth. Was it worth it? Of course it was. This is candy we’re talking about. And anyway, how could you ever say no to this face?
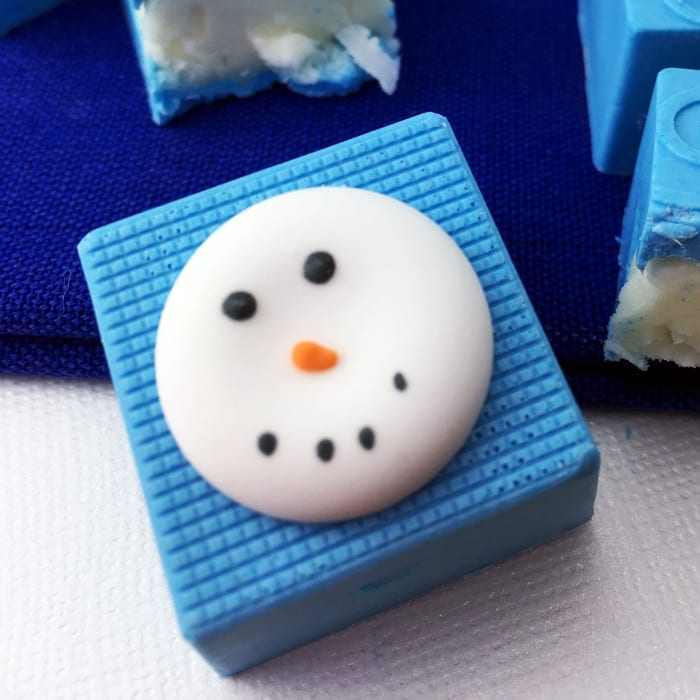

Elsa's Frozen Candies with Coconut Buttercream Filling
Ingredients
- 1 cup Wilton white candy melts
- blue coloring paste
- 1½ cup powdered sugar
- 1 stick unsalted butter room temperature
- 1 tsp. vanilla extract
- 1 tbsp. milk
- ½ cup shredded coconut
- royal icing toppers
- 1 Wilton Stack-N-Melt Candy Mold
Instructions
- A Wilton Candy Melt Pot is recommended to heat candy melts. If you do not own a candy melt pot simply microwave candy melts at 50% for 30 seconds. Stir. Heat at 50% for 30 seconds. Stir. Heat at 50% in 15-second intervals and stir until completely smooth. Do not over heat.
- Add blue coloring paste to white candy melts until desired blue is achieved. If candy melts become too thick simply add a touch of coconut oil to thin.
- Using a spoon, slowly pour candy melts into each rectangular cavity. Rotate the mold from side to side, ensuring all sides are coated. It’s best to focus on one rectangle at a time. Dip out any excess candy melt. The goal is to create a thin layer. Gently tap mold onto countertop to remove air bubbles. Place mold in freezer for 30 minutes.
- In medium mixing bowl, cream butter with electric mixer. Slowly add powdered sugar while mixing on slow speed. Add vanilla extract and milk until combined. Finally, add shredded coconut. Set aside.
- Remove mold from freezer. Add coconut buttercream filling into each circular cavity. Leave enough room for the filling to be covered by the other half of the candy shell. Pour a thin layer of blue candy melts on top of each cavity, creating an enclosure. Wipe any excess from the side. Place mold in freezer for 30 minutes.
- Remove mold. Gently pop each candy from the mold. Add a drop of blue candy melt to royal icing toppers and place on each candy.
- Place candies in freezer for 15 minutes. Remove and serve!




I don’t know if these are your original photos or not but this is also on another blogger’s website…
http://www.laurenpaints.com/2016/01/the-perfect-homemade-winter-candies.html
Thank you for letting me know. The author of the original post had permission to post it in more than one place. 🙂