Galaxy Pumpkins Are This Year’s Hottest Trend For Halloween And They Are Out Of This World
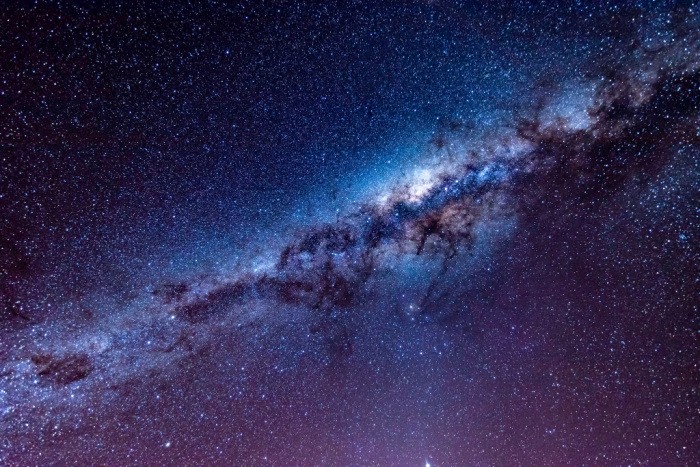
Sometimes you just need something different and um, out of this world… I love all the things that look like and represent our amazingly beautiful galaxy!
Well, you can make your pumpkins look like the galaxy too!
We have painted pumpkins in the past, but normally we carve the big ones and then paint the small ones. But, it looks like we may be doing something different this year all together! Galaxy Jack O’ Lanterns!
Here’s What You’ll Need To Make Them:
- a fake black hollow foam pumpkin (I’m sure you could paint one black) or a real pumpkin, cleared out of its guts, then painted black.
- Constellation stencils
- Pen
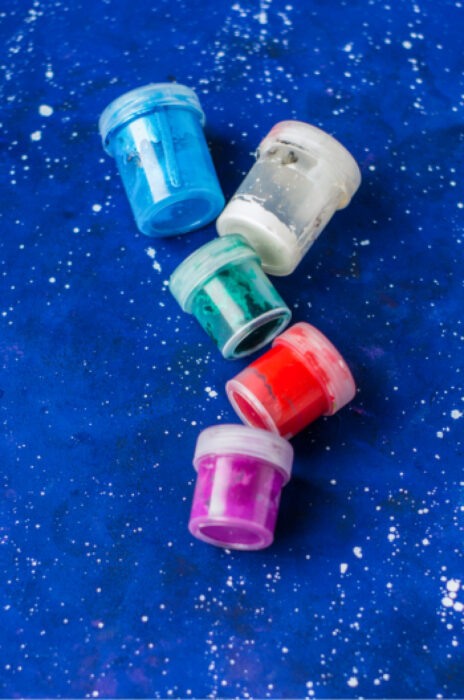
- Acrylic craft paints (black, white, gold, purple, pink, teal, and blue)
- Paintbrush
- Sponge brush
- Toothbrush
- Drill kit
- String lights or LED pumpkin lights
- Paper plate to use as a pallet and newspaper to cover your work area
- Paper towels
The tutorials I saw use a fake pumpkin, but I just plan on painting a real pumpkin black. I’m going to cut the top off, and clean it out as I normally would, then paint.
Here is How You Get The Galaxy Look
The first thing you need to do is break up the black of the pumpkin using your darkest shade of blue paint. Just rub it on so that it is not completely opaque.
Then dab some black over the blue, you can use a paper towel to rub it in so it doesn’t totally cover up the blue paint that you just put on.
Next, you will dab on your other colors, starting with the darkest colors of blues and purples first. This is to build up the depth of the galaxy. Let each color dry before moving on to the next.
You will do your brightest colors last. The brightest colors will also be the smallest areas on your pumpkin. You can dab these wet on wet so that they blend in together a bit. This would be your lighters purple, teals, pinks. Let it dry.
You’ll want to come back in with some dabs of gold on and around your brighter colors. Then dab black paint to get the depth just right.
Now you can take your toothbrush and some white paint that has been thinned down with water. You’ll want to dip the toothbrush in the thinned white paint, and then flick it onto the pumpkin so it spatters. This gives the appearance of stars. Let it dry completely.
You can also use the constellation stencils to lay out actual star constellations on your pumpkin. You can mark those and then use a drill to create holes for the led lights. Once that’s done, drill a large hole on the bottom so you can stuff the lights in! That’s it!
You can view a full step by step photo tutorial at Dream a Little Bigger! She has it visually laid out and makes it sound so easy!