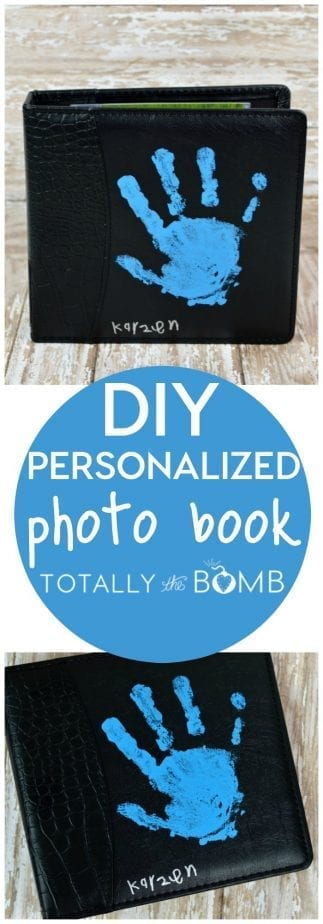
DIY Personalized Photo Book
Throughout the year I capture hundreds of photos and videos of my boys and the things we do. That is why every Christmas we typically take all of those images, print them out, and make photo books for each of the grandparents. It’s a great way to give them an inside look at our life but this last year I totally dropped the ball on this. I didn’t realize until the other day that I had completely forgotten to do that this last year. So as soon as I remembered, I jumped on it and came up with this DIY Personalized Photo Book and our sponsor Reddi-Wip is helping share this tutorial with you today!
This photo book is a little different then what we normally give. Typically, we put photos into a regular photo book and wrap it up. This time I wanted something far more unique as a way to say “Hey, sorry we forgot to do this last year but here is something even better”. And since we have participated in Reddi-Wip’s mission to share the joy for several months, I figured this would go right along with that mission too!
What You Will Need to Make a DIY Personalized Photo Book:
- Photo Book with a blank front
- Photo page inserts
- Acrylic Paint in your choice of color
- Craft foam brush
- Metallic permanent arker
- Printed 4×6 Photos
How to Make a DIY Personalized Photo Book:
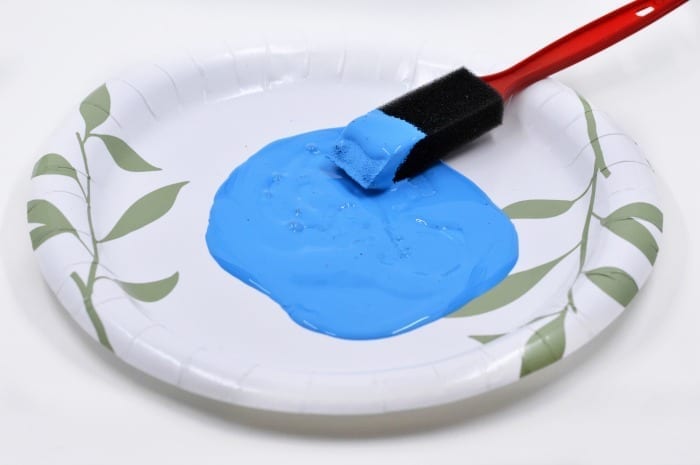
- Pour the acrylic paint onto a plate. In this case, I used a paper plate so I could throw it away once I was done.
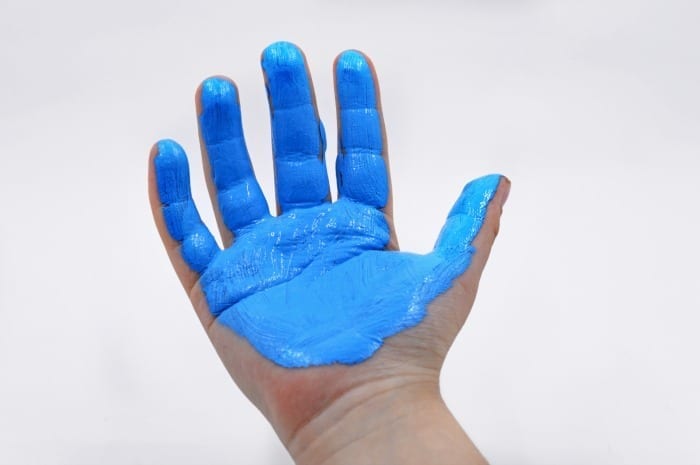
- Take the foam brush and brush the paint onto your child’s hand. Make sure you cover your child’s hand entirely with a thick coat of paint.
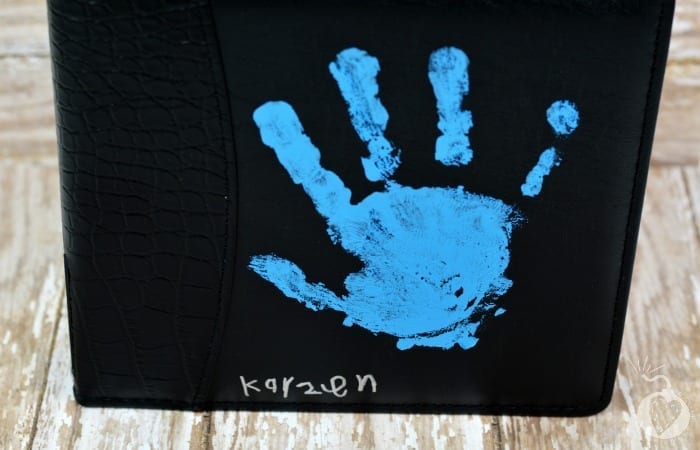
- Carefully help your child press their hand against the front of the photo book. You want to make sure they press firmly in one place and do not move their hand around during the process.
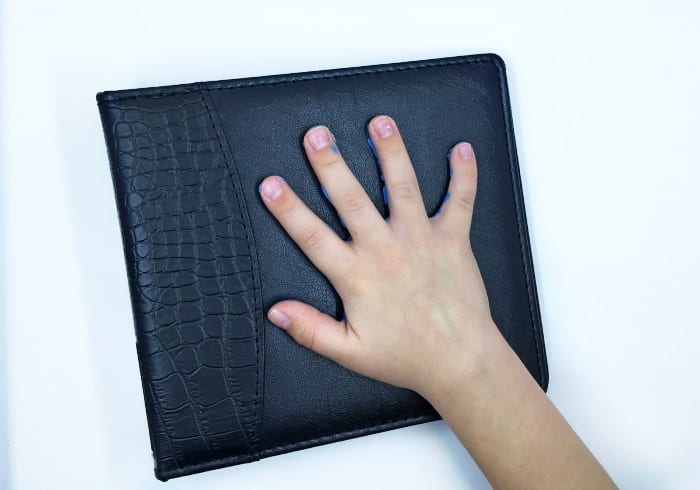
- Gently lift hand away and you should have a nice clean hand imprint.
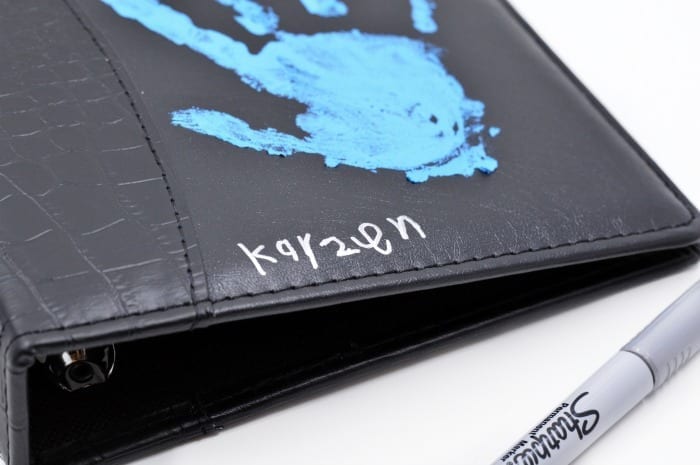
- If your child is old enough, allow them to write their name on the front of the photo book using the metallic sharpie marker. Note: If your photo book is not black, you can use any color of marker you want.
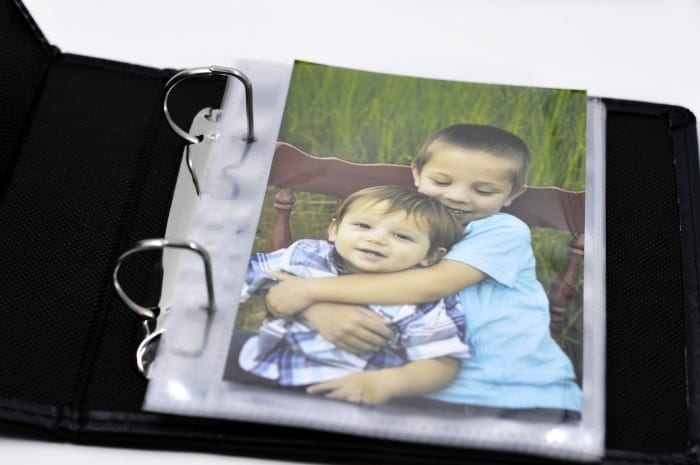
- Allow the photo book to dry. Once dried, you can add your photo sheet inserts and add photos to them.
- You can then package it up nicely and give it to someone special in your life. It’s sure to bring joy to anyone’s day!
Sharing Memories with Others Brings The Most Joy
When you think about it, memories are what truly bring the most joy in life. Whether you are living in the moment or reliving the moment through photos, they bring laughter and happiness to you and those around you.
That is exactly why I love this photo book idea so much. Because our grandparents are unable to be with us 24/7, we have come up with a way they can feel like they are living that moment with us and since it is through pictures, it’s something they can do time and time again.
For many months you have heard us talk about Reddi-Wip’s mission to #ShareTheJoy. We have taken the challenge to share moments of joy with those around us through delicious recipes, fun crafts, and paying it forward initiatives. This photo book is just another way to partake in that wonderful campaign. It works well if you are giving it to a friend, family member, or even someone across the world from you. Bringing joy and happiness to someone’s day is the best feeling ever.
Want to learn more? You can visit the Reddi-Wip website and follow them socially on Facebook, Twitter, Instagram, and Pinterest to find delicious recipes, learn about Reddi-Wip products, and their #ShareTheJoy campaign.
This is sponsored content written by me on behalf of Reddi-wip. The opinions are all mine.