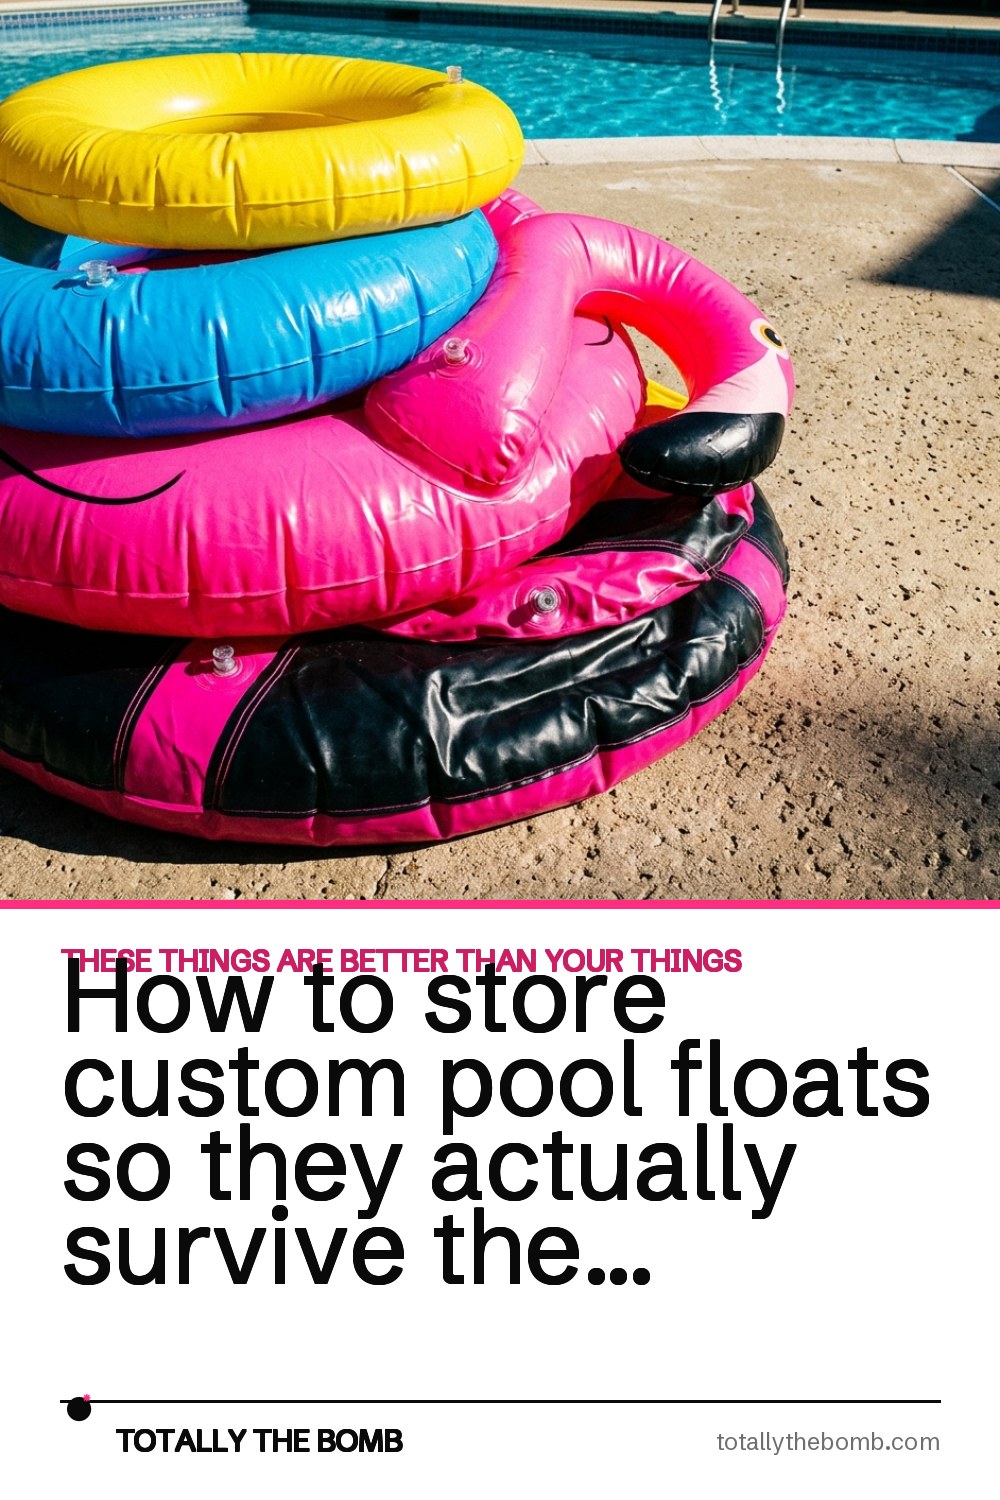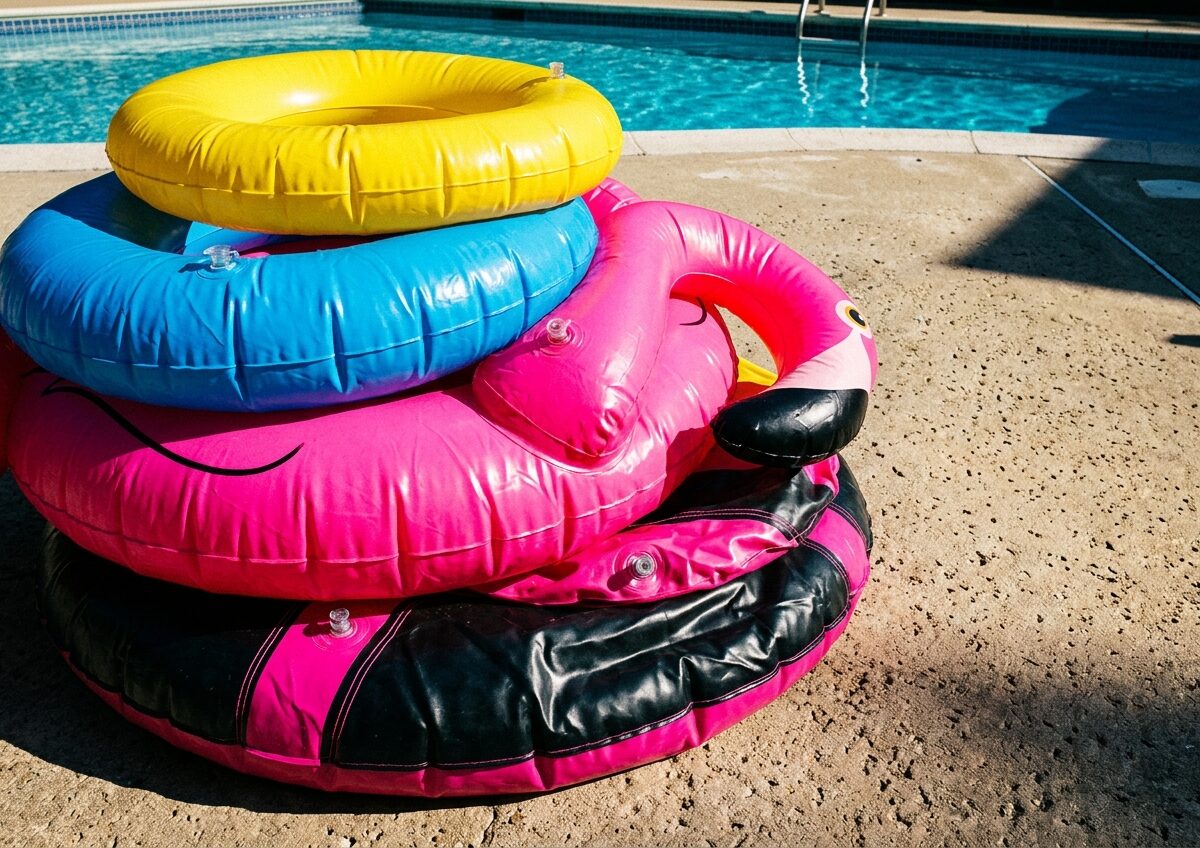
You pull them out in June, unfurl them with genuine excitement, and — oh. Cracks along the seam. A mold situation. A graphic that looks like it lost a fight with a radiator. All of that because of how they got stored eight months ago.
Custom pool floats aren’t cheap, and if they’ve got printed graphics or a specific shape, they’re even harder to just replace. The off-season is where most people accidentally destroy theirs — not out of carelessness, but because nobody really talks about this stuff.
So here’s what actually works.
Why does storage wreck custom pool floats in the first place?
Vinyl and PVC are more sensitive than they look — temperature swings make them brittle or sticky, UV exposure degrades the material even through a window, and any trapped moisture becomes a mold incubator over several months. Custom graphics add another layer of vulnerability because the printed surface can crack, peel, or stick to itself if the float gets folded wrong or stored somewhere too hot.
The good news is none of this is complicated to prevent. It’s just a process — four steps, done once, before you close the pool for the season.
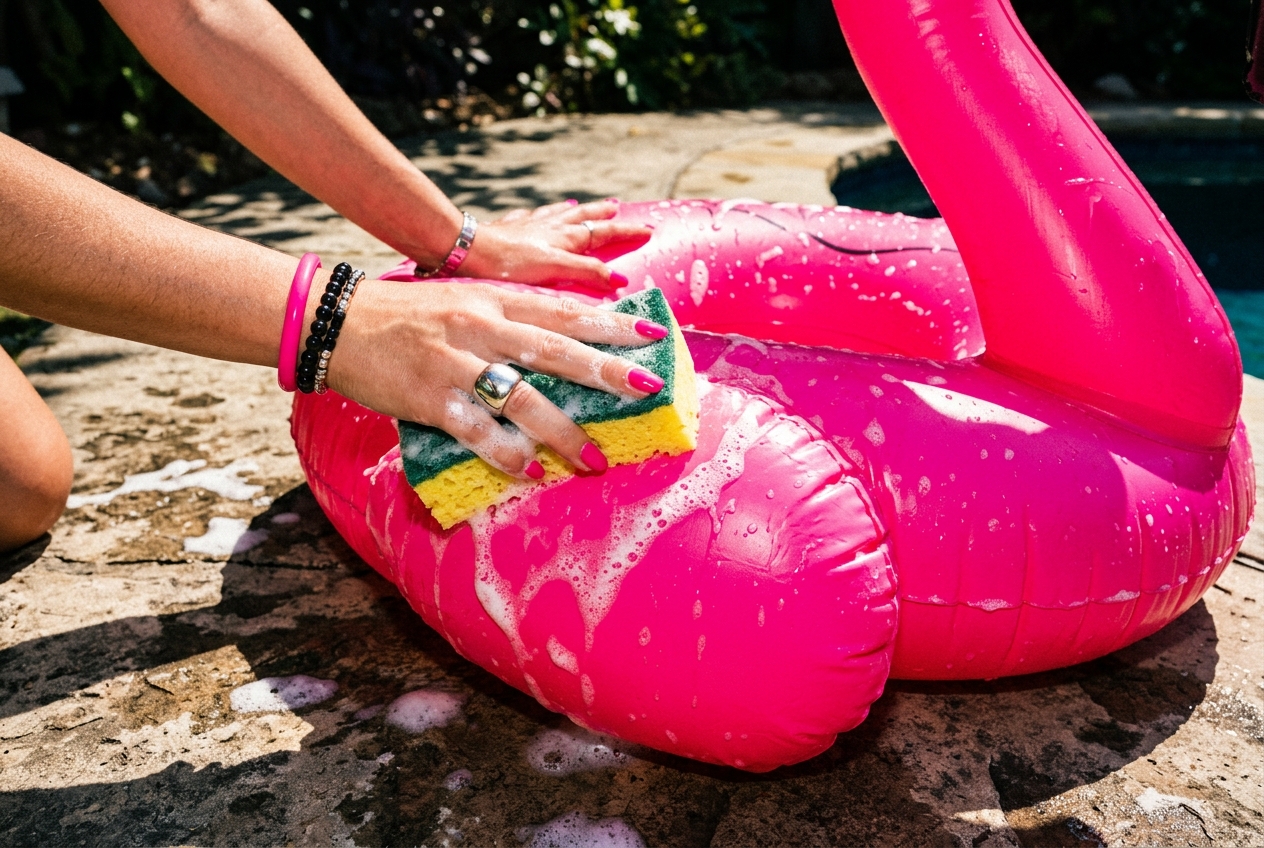
Step 1: Clean them like you mean it before anything else
Chlorine, sunscreen, body oils, and whatever else ends up in pool water all leave residue that breaks down vinyl over time. Left on the surface through a whole off-season, that stuff causes discoloration, stiffness, and material degradation that’s totally avoidable.
Mild soap, warm water, soft cloth. Scrub every surface — including seams and around the valve, which is where buildup likes to hide. Skip the abrasive scrubbers and any harsh cleaners, especially on printed areas. Those graphics are not invincible.
After washing, drying is actually the most important part of this whole step. Lay the floats flat or hang them somewhere with good airflow and let them dry completely on both sides. Don’t speed it up with heat. Any remaining moisture — even a little — is going to become a problem during the months it spends sitting in storage.
Step 2: How do you deflate without damaging the graphics?
Deflation is one of those things that sounds too simple to mess up, and then people mess it up. The goal is getting as much air out as possible without folding the material in ways that stress the seams or crack the printed surface.
Open the valve all the way and apply steady, even pressure from one end toward the valve — don’t roll or twist it tight. Work the air out gradually. Once it’s mostly flat, fold loosely and follow the float’s natural crease lines rather than forcing new ones through the graphic areas. Folding through a printed section is one of the most common ways the design starts to peel.
Leave the valve open for the first few hours of storage to let any remaining trapped air escape, then seal it before packing the float away.
Step 3: Where you store them matters as much as how
A stable indoor space — garage, basement, dedicated storage room — is what you’re going for. What you want to avoid: outdoor sheds with wide temperature swings, anywhere with poor ventilation, and anywhere with direct light exposure.
Temperature is the big one. Extreme cold makes vinyl and PVC brittle and crack-prone. Excessive heat softens the material and can cause surfaces to stick together. Somewhere between 50°F and 75°F is the sweet spot for most inflatables.
Humidity is the second variable. Too high and you’re creating mold conditions. Too low and the material dries out. The target range is roughly 40–60% relative humidity — if your storage area runs damp, a small desiccant pack nearby genuinely helps. And if there’s a window in the room, don’t store them in the direct path of the light. UV exposure can fade custom graphics even in storage.
Step 4: How should you actually pack them for long-term storage?
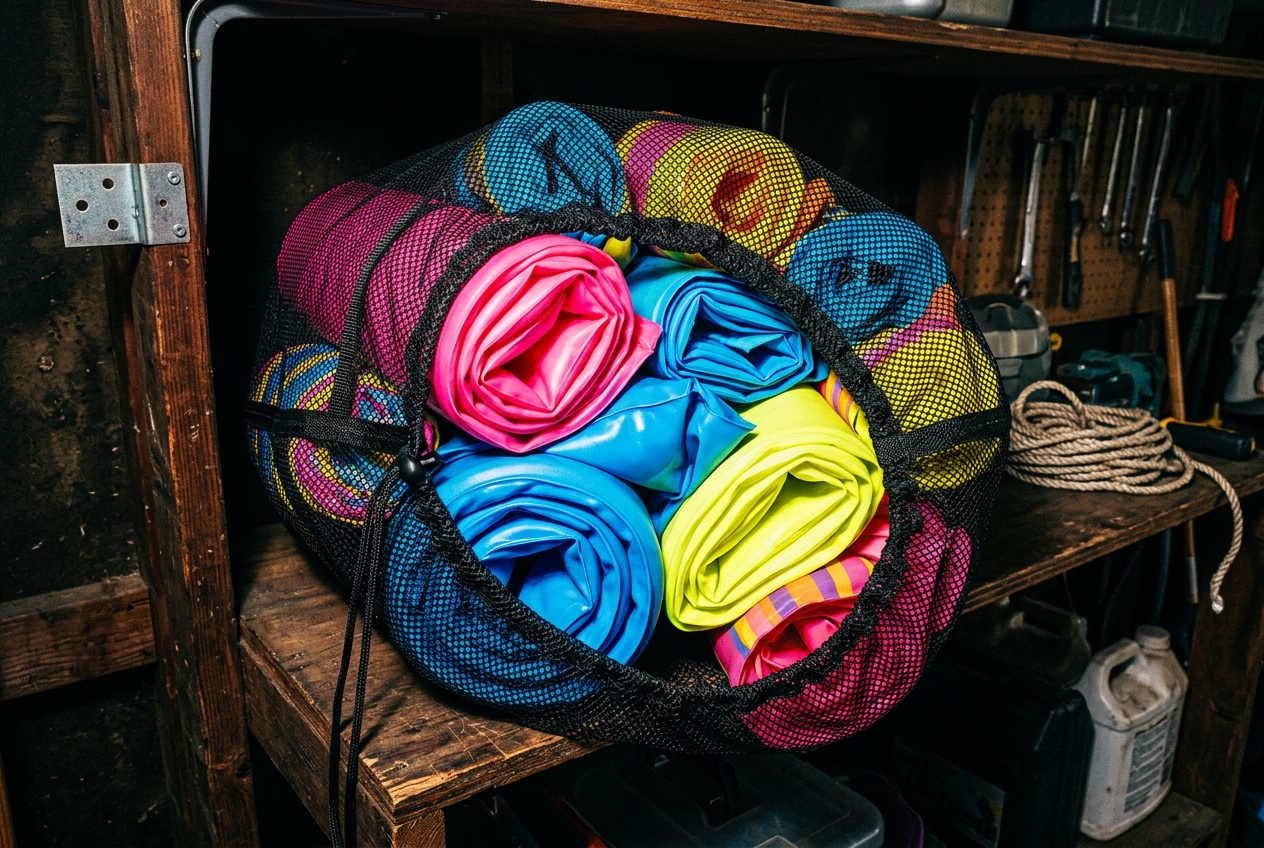
Breathable storage bag or large mesh bag — not an airtight plastic bin. This is one of those things that feels counterintuitive because you’d think sealed means protected, but airtight containers trap humidity and create exactly the closed environment where mold thrives. Breathable materials let air circulate while still keeping out dust and pests.
Don’t stack heavy stuff on top of them. Weight deforms the material, flattens seams, and can press graphic areas together in ways that cause permanent creasing. If you need to stack multiple floats, keep the pile low and put the flattest, sturdiest ones at the base.
For floats with 3D shapes or raised design elements — the kind of thing you’d find with specialty prop inflatables — consider storing them with a small amount of air still inside rather than fully deflated. Just enough to maintain the structure and keep the material from collapsing inward. Check on them once or twice over the winter and top off the air if needed.
What if you find damage when you pull them out in spring?
Small punctures and slow leaks are usually fixable with a vinyl repair kit — it’s the same stuff used for inflatable boats and air mattresses, and it works. Check the seams first since that’s where stress damage usually shows up.
Mold or mildew on the surface can often be cleaned off with a diluted white vinegar solution and a soft cloth, followed by a thorough rinse and dry before you inflate. If the graphic itself has cracked or peeled significantly, that’s harder to reverse — which is exactly why the cleaning step before storage matters so much.
For custom pieces that are genuinely irreplaceable, it’s worth a quick mid-season inspection in January or February. Ten minutes to check on them is a lot cheaper than reordering.
None of this is a lot of work. It’s one afternoon at the end of the season — wash, dry, deflate carefully, store smart. And that’s the difference between floats that last three or four summers and floats that don’t make it past one.
But what do I know? I just really hate finding mold on something I paid good money for.
Frequently asked questions
Should you deflate pool floats for storage?
How do you prevent mold on pool floats during storage?
What temperature should you store pool floats at?
Can you store pool floats in a plastic bin?
How do you clean pool floats before storing them for winter?
How long do custom pool floats last with proper storage?
What causes pool float graphics to crack or peel?