
For the best owl there ever was, the one who stood by Harry from the start, this Hedwig Owl Charm Bracelet is so cute, my heart breaks.
I don’t know if I’ll ever be the same.

This Hedwig Owl Charm Bracelet is So Cute, My Heart Breaks.
I’ll never understand why they couldn’t go back for Hedwig.
I mean, that was just the most painful thing–to fly off.
I can’t relive this…I just can’t.

But, I couldn’t help myself, because this DIY Hedwig Owl Charm Bracelet is simple and fun.
And when I get inspired…I get inspired!
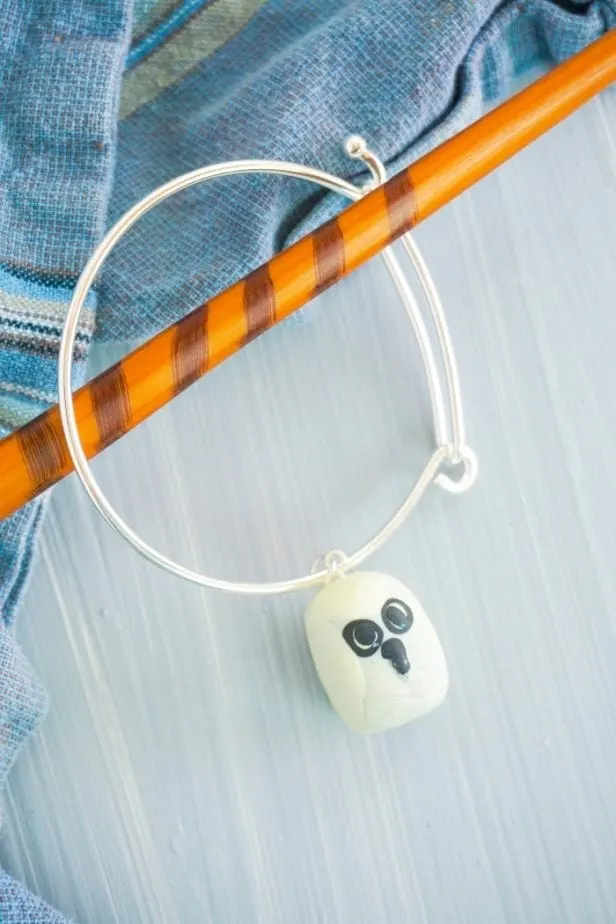
I don’t know about you, but I’m not some sculptor that museums hire to make great works of art.
No, I work with Filmo Kids (yep, that’s what my local craft store had) polymer clay, because it’s easy and available–and I am just having fun.
For this easy DIY Hedwig Owl Charm, I just picked silver and white clay then started mixing.
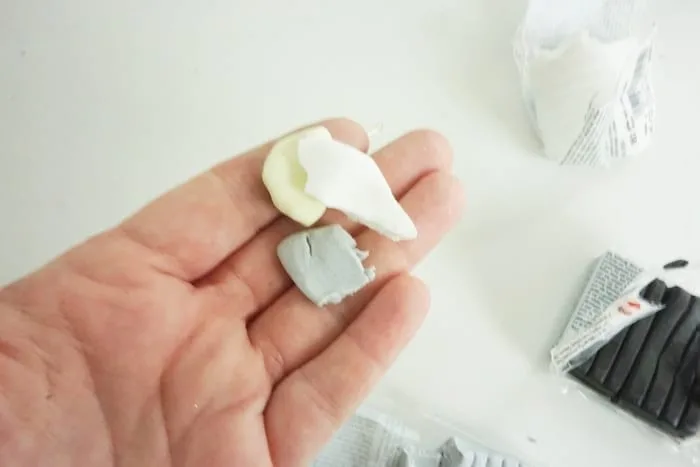
I wanted the body to be a little darker than the wings, so I used more silver in the body than white, then reversed the portions on the wings.
And the body was just a basic cylinder with rounded over top.
Easy.
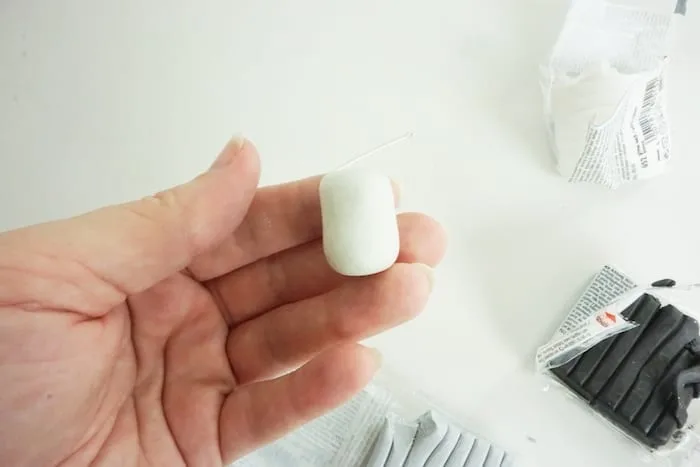
And, like I said, I wanted the wings to be snowier in color than the body (even though they’re just two shades of white–COME ON!), so I used less silver, more white in the wings.
I also made sure to break off some of that same color for the owl’s cap–because I wanted it to match the wings.
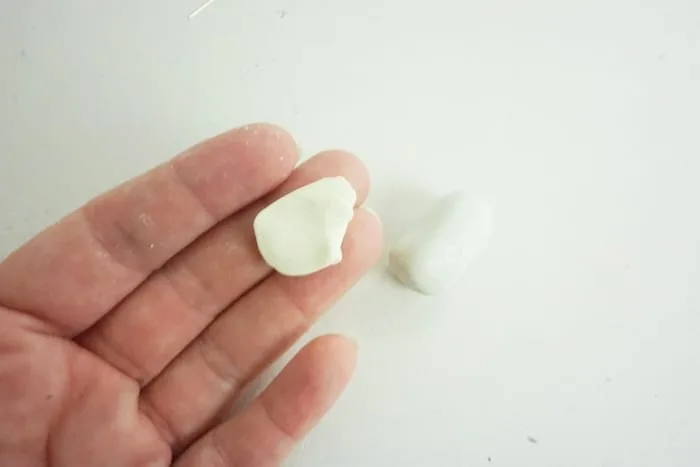
To form the wings, I actually just followed the curve of my finger.
Like, other people use complicated patterns and I’m over here like “hey, my finger is curved!”
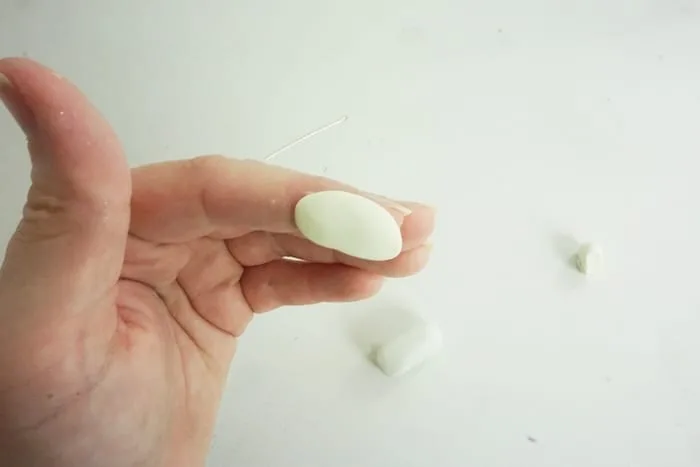
With the wings made and the little cap, I just smashed those on the body.
Because this is going to be on a bracelet and not a necklace, I wanted it to be as flat as possible–that way it didn’t hang on anything or break off…bracelets get a lot of beatings.
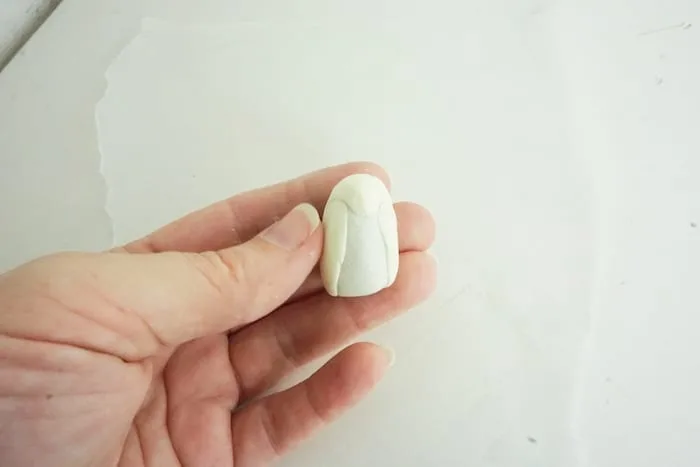
And, from there, it was just details.
Like eyes. Eyes are details.
But they were easy too, just black circles with white circles layered between.
And are those feathers on Hedwig’s belly? Yep.
Made those with my fingernail.
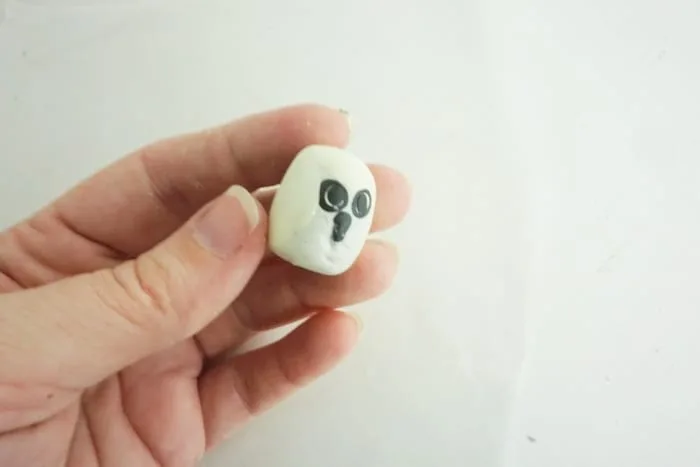
To get this cute DIY Hedwig Owl Charm on a bracelet, it needed an eye pin.
But those are about a mile long, so I trimmed mine down to about a 1/2 inch and then slid it into Hedwig’s head (sorry, Hedwig!).
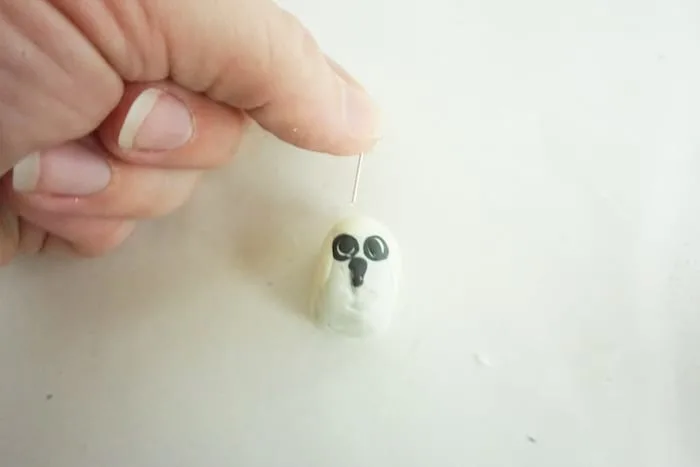
The full shaping, curing and finishing steps are in the instruction card below. Follow the instructions on your exact clay and glaze products.
And dude.
I have the world’s cutest DIY Hedwig Owl Charm Bracelet!
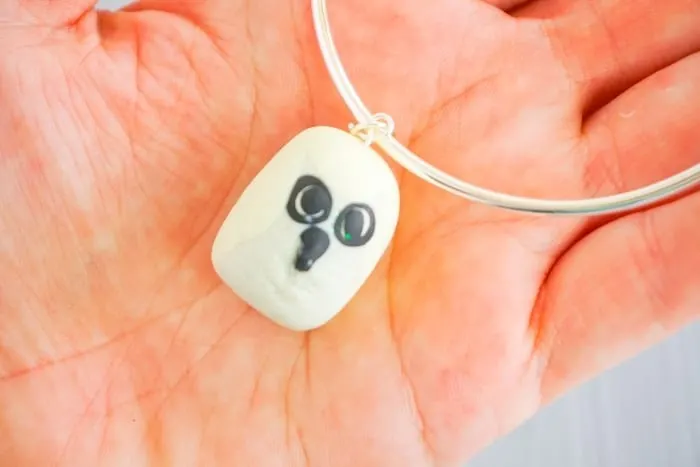
Well, more accurately, my daughters now have it.
I’m not sure I’ll ever see it again…LOL!
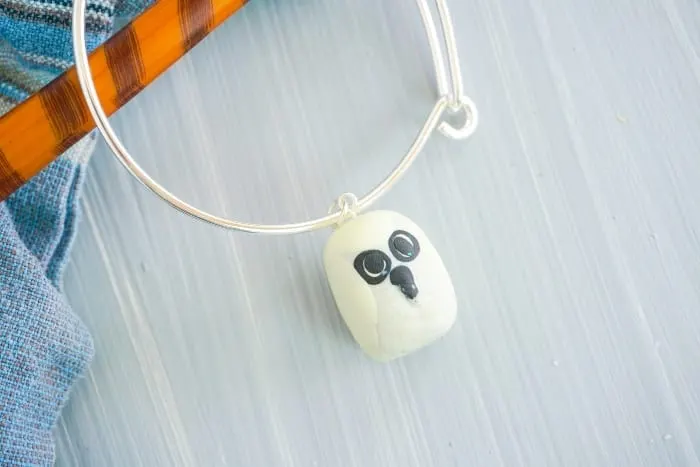
So, you’re ready to make your DIY Hedwig Owl Charm, but you’re all out of polymer clay? Too bad…
Just kidding!
You can pin this to your favorite Harry Potter crafts board, so you can find it when you get back from the craft store! LOL!

Alright, now that you’re ready, let’s get your Hedwig on!

DIY Hedwig Charm Bracelet
Equipment
- Plier and wire cutters
- Wax Paper
- Oven
- Paintbrush
Materials
- 1/20 package white Filmo polymer clay
- 1/20 package silver glitter Filmo polymer clay
- Tiniest portion of black Filmo polymer clay
- 1 eye pin
- 1 jump ring
- 1 charm bracelet
- Clay glaze
Instructions
- Mix silver and white polymer clay for the owl's body, using more silver than white. Shape it into a short cylinder with a rounded top.
- Mix a lighter batch using more white than silver for the wings and cap. Set aside a little of this mixture for the cap.
- Shape two wings along the curve of your finger. Press the wings and cap onto the body, keeping the charm fairly flat.
- Make the eyes from black clay circles with white circles layered between, then attach them to the face.
- Use a fingernail or a small modelling tool to make feather impressions on the belly.
- Trim the eye pin to about 1/2 inch and insert it into the top of the owl’s head.
- Harden the charm according to the instructions on your exact polymer clay package. Let it cool completely.
- If using glaze, choose one compatible with the clay and apply it after cooling, following the glaze label. Allow it to dry fully.
- Use pliers and the jump ring to attach the finished charm to the bracelet.


