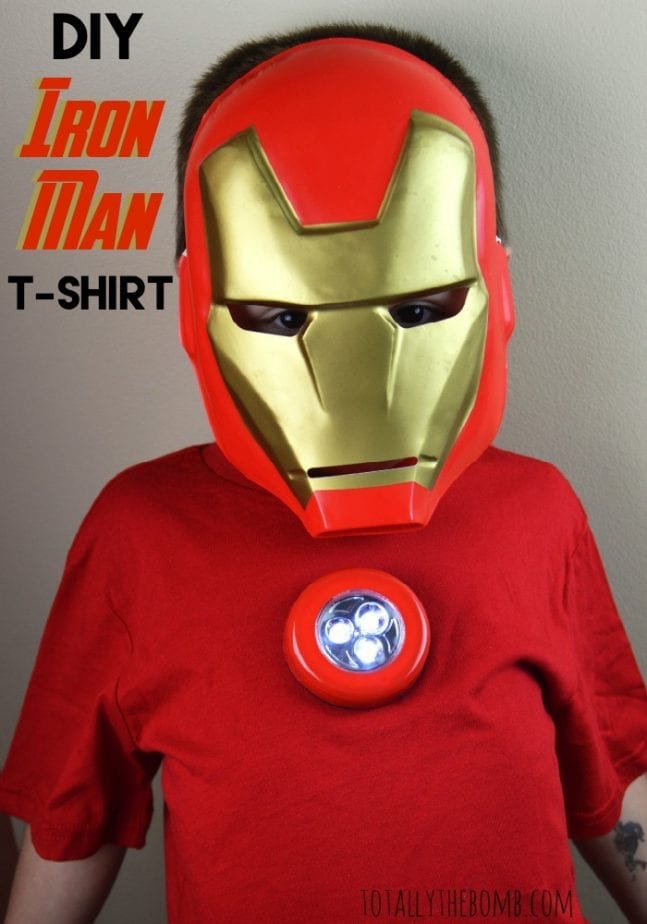
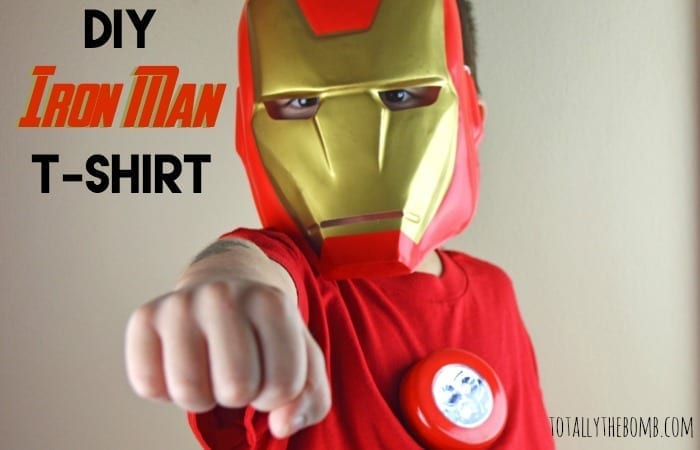
DIY Iron Man T-Shirt
This post may contain affiliate links. For more information, please read our disclosure policy here
The Avengers related crafts and recipes I have been creating lately have been a ton of fun so I decided to do another. This DIY Iron Man T-shirt pairs perfectly with the DIY Iron Man Gloves I posted a few days ago! Both crafts are easy, inexpensive, and fun to make! Need I say more?
Supplies Needed to Make Iron Man T-Shirt:
- Plain Red T-Shirt in your Child’s Size (I found one at Target for $5)
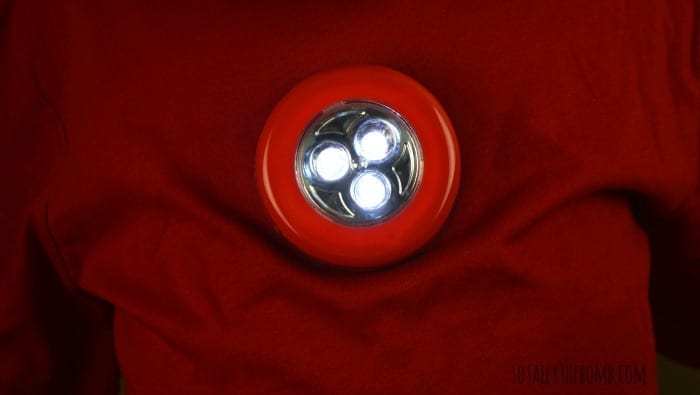
- Red LED Push Lights and Batteries (found at Dollar Tree)
- Loctite Crafter’s Indoor-Safe Adhesive (found at Hobby Lobby)
How to Make DIY Iron Man T-Shirt:
- Remove the push light from the package and install batteries.
- Place the shirt onto your child. Doing this will help you get the light positioned correctly BEFORE you apply the glue. You can use a light marker to mark the spot on the shirt.
- Remove the shirt from your child.
- Remove the sticker from the foam adhesive on the back of the light. Apply the Loctite adhesive to this foam piece.
- Apply the light to the shirt in the spot you marked in step 2. Apply pressure and allow this to dry for at least 45 minutes
- Once dry, allow your child to wear their new Iron Man Shirt. Press the button to turn the light on and let them show off their new Arc Reactor!
Cleaning tip: When it’s time to clean your child’s shirt, I suggest removing the light and batteries from the backing. I also recommend hand washing the shirt while trying to avoid getting the backing of the light wet.


11 Comments