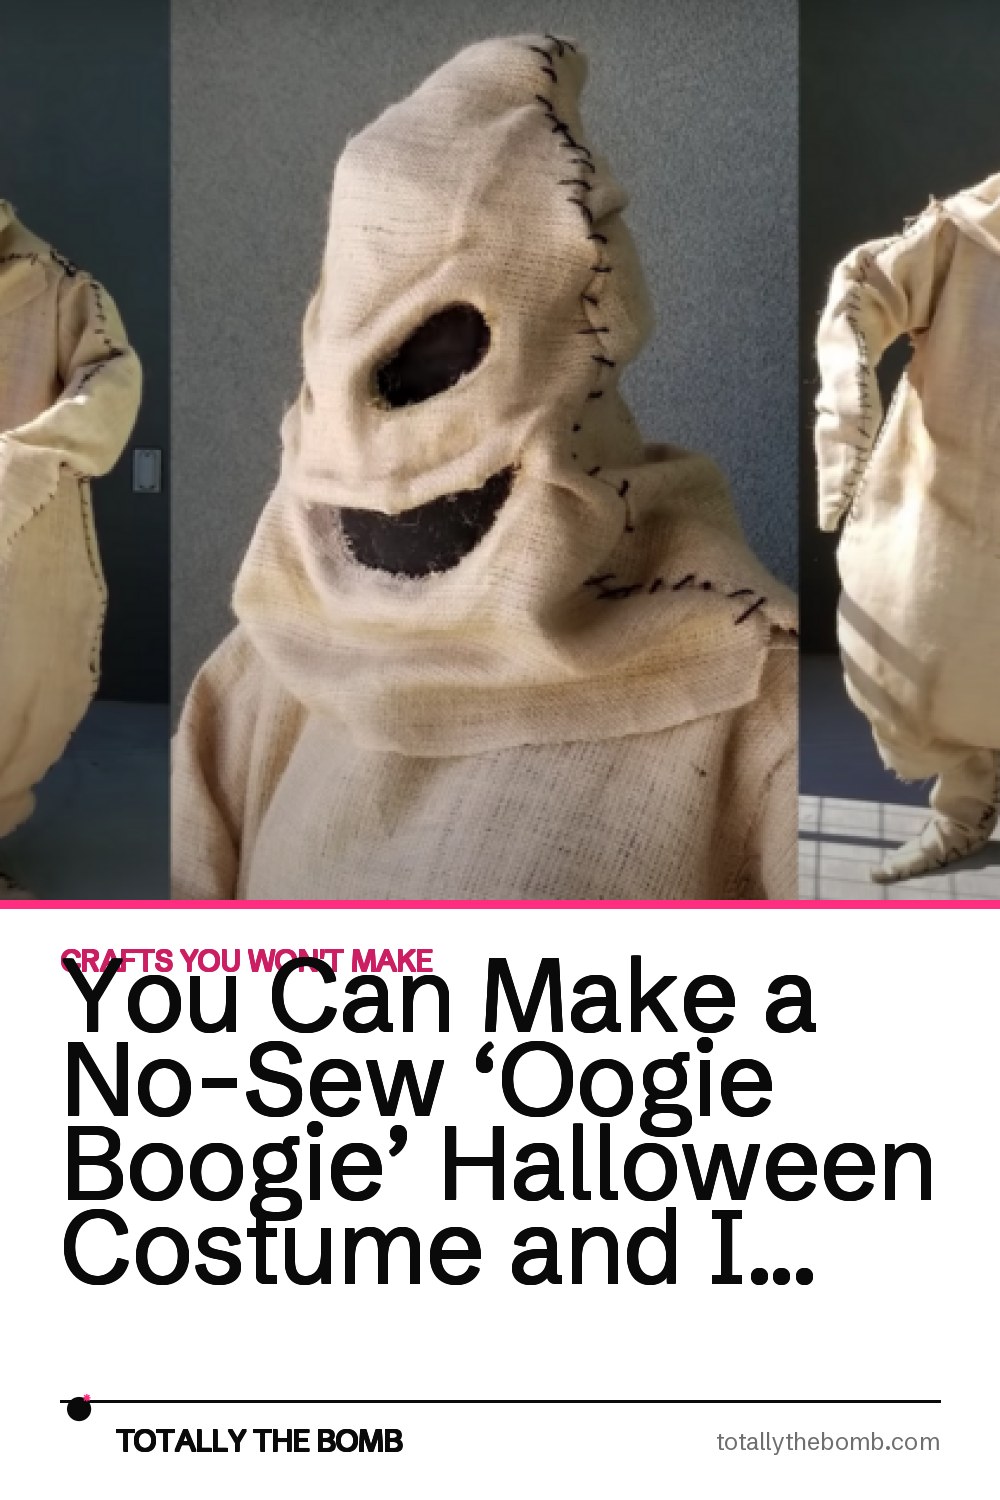
WOW! This costume totally blew me away! So detailed, yet so very very simple! You could easily make this at home with your own kids. This is a “no sew” costume, although there are some decorative stitches done on the Oogie Boogie body as detail… no sewing skills needed!

LinzMushel has a super cool YouTube channel! I was just browsing along and BOOM, there it was! The best Oogie Boogie costume ever!
Here is what you’ll need to make it:
- A cheap mask, she used a hockey goalie style mask from the dollar store (Think Jason)
- Cardboard
- Hot glue gun and glue
- Scissors
- Crayola Model Magic Clay
- Black tulle
- Black felt
- Brown felt
- Thick elastic
- Safety pin
- Tape measure
- Jute or Burlap fabric
- Sharpie
- Fiberfill
- Black jute cord or yarn
- Large needle for the jute or yarn
- Velcro
- Brown paint
Putting it all together

She used the cheap dollar store mask and cardboard to create a mold to build Oogies face on. Super simple!

Once the modeling clay was dry she removed it from the mold to allow it to continue drying all of the way through. You may have to re-enforce this with tape to make it firm enough.

Once that is completely dry, you will take layers of black tulle and glue them over the eye area. You will want to do enough layers that make it look dark from the front, but not so many that you can not see.

You’ll also glue black felt over the mouth area. All of this is done on the backside! Next you’ll need a helper to help you trace your body on to the burlap.

You will need two of everything! 2 torsos, 2 right arms, 2 left arms, 2 right legs, and 2 left legs. You will also need to cut the hood pieces.

All of the pieces are hot glues together seams in, just like as if you were sewing. So the whole thing is put together inside out. Once that is done you can turn it right side out and add the decorative stitching.

You’ll also glue in velcro closures so that you can get the costume on and off. Then, the brown paint is so that you can add texture and detail to the costume.

She goes over this step by step in her video. Honestly, it looks super simple and you could make this in any size needed! I’m going to see if one of my own kids is down to do this with me!