How To Make a Rockin’ Cheer Bow
I love a good craft,*and lately I’ve been all about making bows. So, I decided my daughter’s team needed giant cheer bows. And, because I’ve learned the importance of research when it comes to hand-making stuff, (seriously, you can save loads of cash with a simple google search) I tried to find out how to make the perfect cheer bow.
Well, I ended up at the yellaribbon site. Get it? Cheerleaders yell—so they wear yellaribbons? I’m not going to lie… I love a good play on words. They have the ultimate cheer bows there. They’re sparkly, shiny, and sure to give your girls 1000% more pep.** You can see my favorite one here. I did an internet search for “how to make a yella ribbon” and when that didn’t turn up anything… I realized I was going to have to teach myself. Now I know how to make the cutest cheer bow ever, and I wrote up this little tutorial (aside: did you know they call them “tuts” on craft sites? Why do I hate that so much?) and you will too.
***Don’t forget to click the pictures to see a larger version***
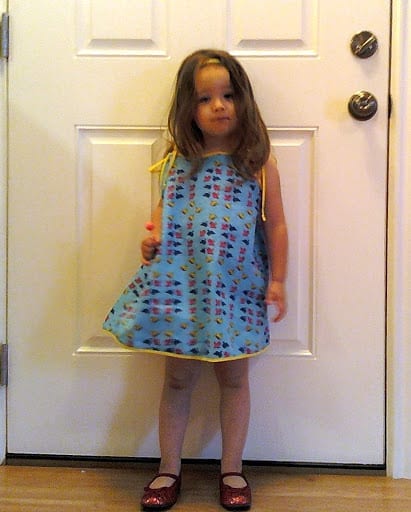
Why yes, yes internet–I am aware that my daughter looks like a tiny beauty queen here, but she really loves cheering… so I just pretend not to notice.
First, we need to cut the ribbon.
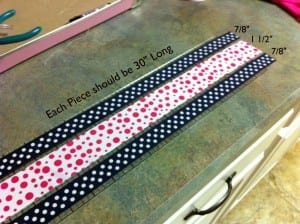
- You need two pieces of 7/8″ Ribbon
and one piece of 1 1/2″ Grossgrain Ribbon
, all three should be 30″ long. Don’t worry about making the ends cute yet–we’ll get to that.
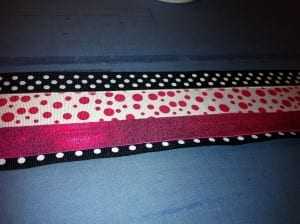
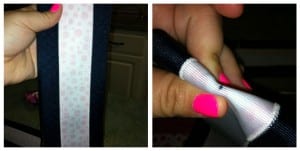
Now, it’s time to sew the ribbon together.
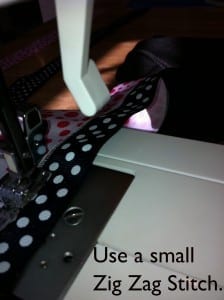
- Don’t put the ribbons on top of each other. Instead, lay them side by side and use a little zig sag stitch to grab the edges of both ribbons. You’ll have to play with your machine a bit to see which setting is best, but I had mine set at 1.5 for both settings. This step isn’t an absolute necessity, but these are cheer bows, and the last thing you want is for them to break apart mid-competition.
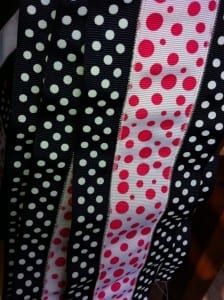
Don’t worry that they’ll be all wonky looking when you’re finished.
- Just try to keep the stitch as straight as you can and grab both ribbons. It doesn’t have to be perfect–we’ll cover the front part with fabric later–but the stitch will show on the back of your bow, so don’t go crazy or anything.***
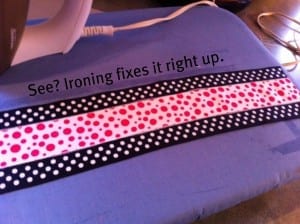
Iron your new giant ribbon.
- This is my favorite part–which is weird, because normally I hate ironing.
Okay now it’s time to add the awesome.
Lay out the super shiny fabric you’ve chosen for your cheer bow.
- (Hint: most cheerleading uniform companies use Mystique Spandex
**** on their uniforms- so if you can’t find something to match at a craft store, you can probably find an exact match online.)
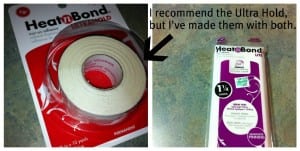
Now, you have two choices here, you can either iron Heat’n Bond Strips to the back of your spandex and cut them out, or you can iron a big piece of Heat’n Bond
and then cut out the strips.
- I suck at the rotary so I needed the guide the pre-cut strips provided for me–but you can do it either way.
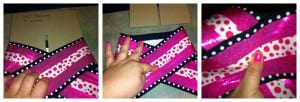
Lay them down on the back of your shiny material and iron them on.
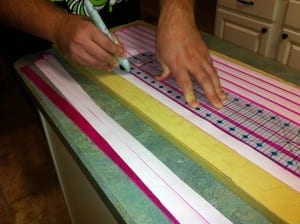
- Now you just have to cut out the strips. (I did several at a time so I didn’t waste a lot of material.)
(Don’t panic, I didn’t turn into a dude or anything–he’s just better at cutting straight lines than I am.)
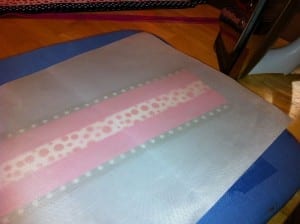
It’s time to iron on the strips.
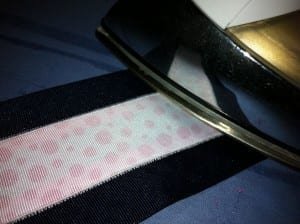
- You don’t want to put your iron directly on the spandex, it might melt. So use a towel or cheesecloth in between. It doesn’t have to be fancy–you’re just trying to keep the fabric from ruining.
Do them one at a time!
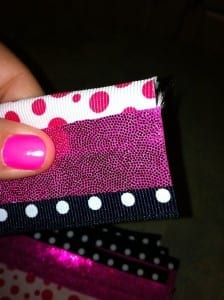
- And do it a little piece at a time because spandex stretches when it’s hot–it also gets WAY hot super fast, so BE CAREFUL! When you’re done with one side, it should look like this:
Now, you can flip it over and iron the heck out of it.
- I had my iron set to cotton, and it worked just fine–even with the ribbon that had the ironed on dots. You want to make sure it sticks really good, because in a minute we’re going to be squishing things thing all over the place, and you don’t want it to come apart.
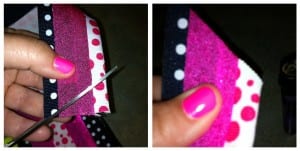
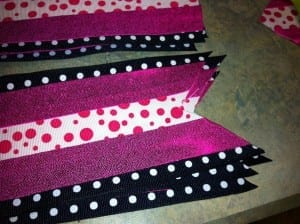
Cut the ends into fish tails.
- I recommend folding it over like this:
And cutting at a diagonal.
They should come out pretty even.
- Run a lighter along the edges to prevent fraying. I’ve tried several different methods (fray check, wood burner, etc.) but I always go back to the lighter. Just be careful not to melt your spandex too much.
Now, fold your ribbon in half and put a dot in the very middle with a pen or a marker.
- Just be careful not to let it bleed too much. (My fingers look crazy weird in this picture–what gives?)
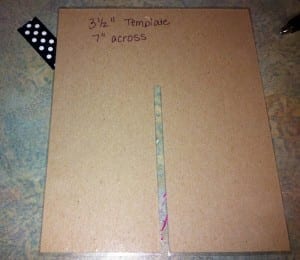
We’re going to use a template to make the loops, but you don’t have to.
- These are so easy to make. Just take a piece of cardstock and cut it to 7″ x 10″ then cut a tiny strip in the middle. It just has to be big enough for you to see the dot you made.
Now, fold the ribbon over and slide it off the template.
Once you’ve done that, squish your ribbon together.
- Now, when we put the zip tie on, it already has a memory of how it’s supposed to look.
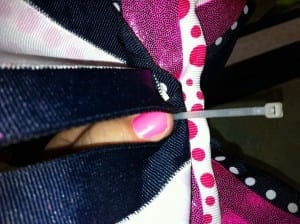
Wrap a zip tie around the middle and pull it half way tight.
- Leave enough room so you can move the ribbon around to shape the bow. If you mess it up, just cut off the zip tie and start all over.
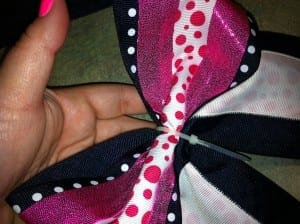
Once you have the bow looking exactly how you want it to, use pliers to pull it super tight.
- Make sure the big part ends up on the back of your bow, toward the bottom–that way it won’t show through anywhere.
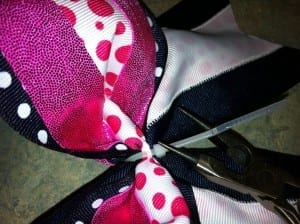
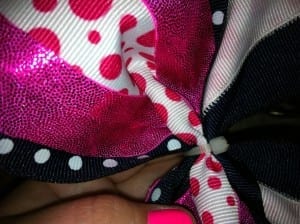
Cut the end of the zip tie.
- This is what your bow is going to look like, so if you don’t like the shape, then don’t use any glue until you’re satisfied.
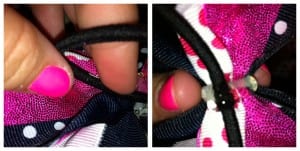
Now, we need to hot glue the ponytail holder.
- Don’t use the thin ponytail holder
–they’ll break.
- I recommend Scunci No Slip Ponytail Holders
, but they’re sort of expensive–so if you’re making a lot of these, you might want to just go with a regular scunci ponytail holder that doesn’t have any metal.
- Once you have that glued, let it sit until the hot glue is dry, that’s an important part of the bow–you want to make sure it’s on.
- I usually dab a little more hot glue on top to make sort of a seal.
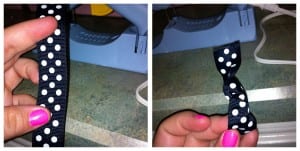
Now, take about four inches of 7/8″ ribbon.
- Heat seal the ends and tie a little knot in the center.
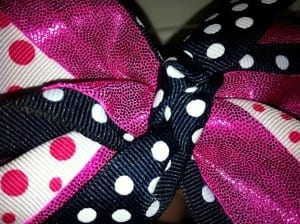
Hot glue the center knot to the front of the bow.
- I always do this part first so I don’t have to worry about the knot ending up at the wrong spot on the bow.
Use as much hot glue as you can without it squirting out the sides and making a big mess to wrap the ribbon around the bow.
- Do the bottom first, then the top–that way you won’t have the edges sticking out of the top of the bow–it will be on the lower back where no one can see it.
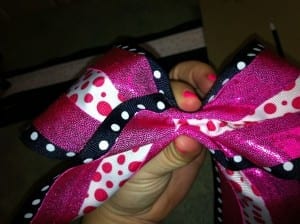
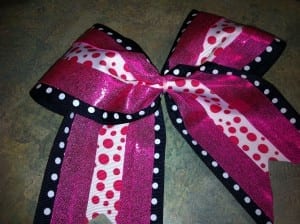
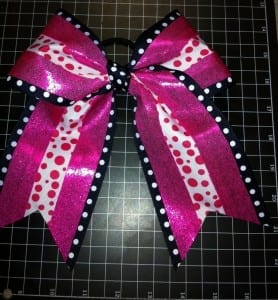
Here’s the finished bow!
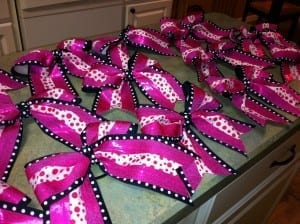
Don’t forget to make some for the rest of the team–you don’t want your daughter to be the only one with a totally awesome super cute cheer bow, now do you?



Hi there! Long story short I am in a bit of a jam… I am desperate for a bulk order of huge totally bombing Texas sized cheer bows and I’m in the car driving and unable to really message. Would it be a huge problem to call me so I could run some things by you if you have a few minutes? My name is Lisa-Marie and my telephone number is area code 386-631-0957 I hope you have a few minutes but I understand if you don’t thank you
You have the best cheer bow how to out there! Thank you for making it simple and interesting!! My little cheerleader will have some awesome bows thanks to you!! Two questions: where do you buy the spandex and could I put the elastic hair tie inside the zip tie?
OmG- I LOVE this!
Your bows are ADORBS! The tutorial- AMAZING!
This is my little divas first year in cheer and I absolutely can’t wait to get started making these so Thank You x 1000 for this!!
-Ange
If you desire to improve your know-how only keep visiting this
web site and be updated with the most up-to-date news update posted here.
When making the bows “Why did you use the ‘Spandex’ type material? Could you just bond ribbon to get the same effect?
Very impresive!!!!! To say the least. You rock!
An outstanding share! I’ve just forwarded this onto a friend who had been doing a little research on this.
And he actually ordered me dinner simply because I found it for
him… lol. So let me reword this…. Thank YOU for the meal!!
But yeah, thanx for spending time to talk about this subject here on your internet site.