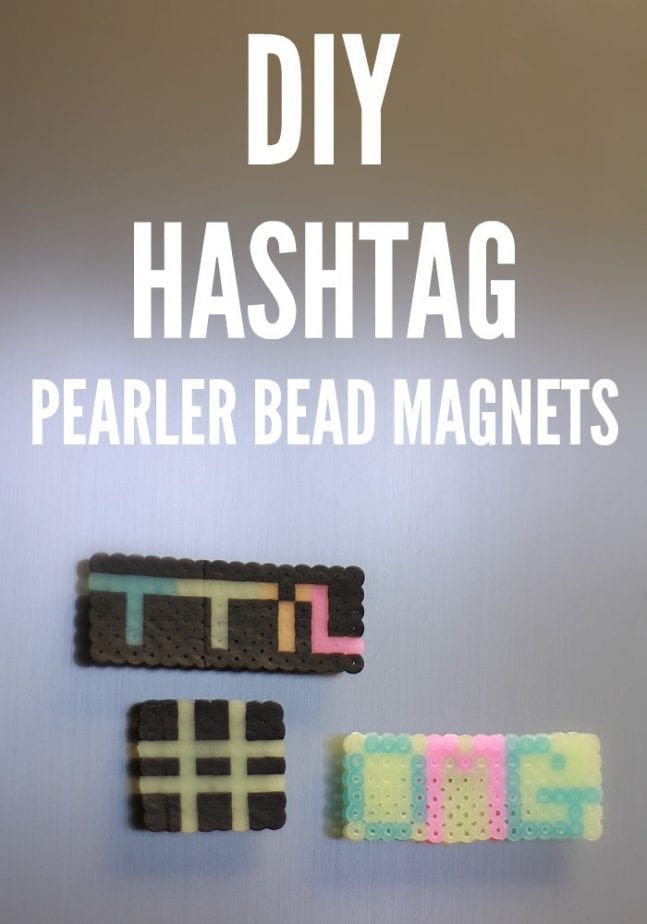
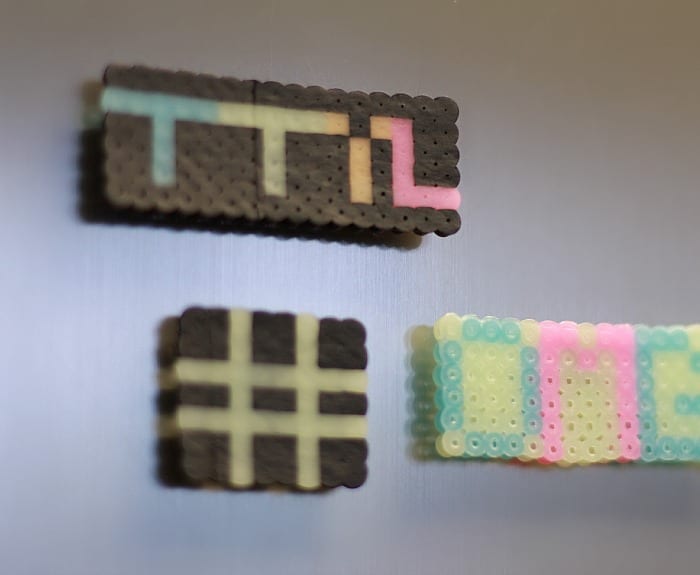
DIY Hashtag Magnets
I’m kind of obsessed with magnets. Maybe it’s because I see my fridge as a place to hold artwork that I see it, in a weird way, like a work of art itself? So. I’m always on the lookout for very original DIY magnet ideas that I can pull-off easily. These super cool DIY Hashtag Magnets are just a Pearler Bead away with this awesome DIY.
Watch this super short video to learn how to make DIY Hashtag Magnets:
Or, to get started, making your DIY Hashtag Magnets, you will need just a few things:
- Pearler Beads
- A Pearler Bead Grid
- Wax Paper
- an Iron
- Hot Glue Gun and Glue Sticks
Here’s how to make DIY Hashtag Magnets:
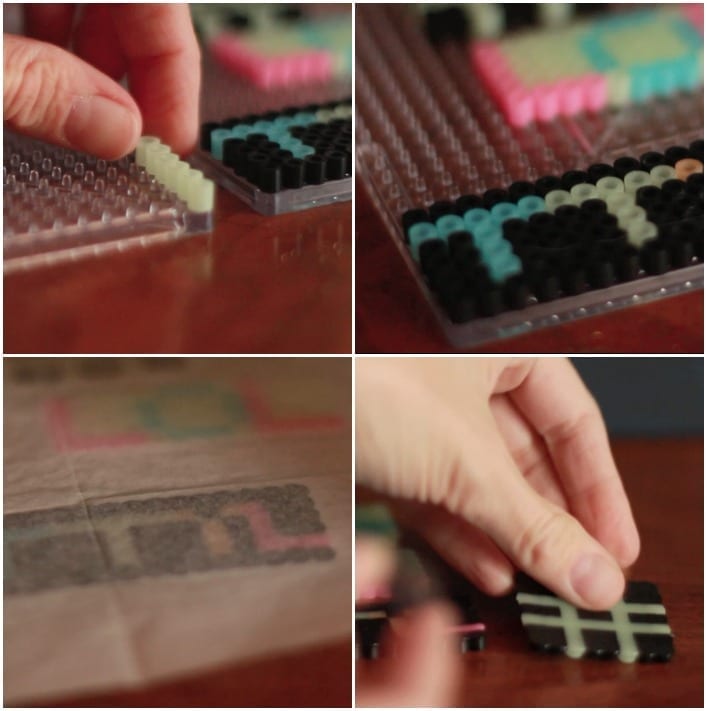
1. Start out by creating the designs on your Pearler Bead grid with the beads. Use contesting colors to write texting abbreviations with the beads. You can create any abbreviation you like, but try to keep it somewhat short so the magnet will be sturdy.
2. Once you have created your designs, lay wax paper, wax side down, on top of the beads and then iron on top of the wax paper until the beads are melded.
3. Remve the wax paper and let the beads cool.
4. Hot glue strong magnets to the backs of each design and you are all set!

Parchment paper is what we use. I would think wax paper would stick or at the very least leave a residue?
But wanna say that this is very beneficial, Thanks for taking your time to write this.
Quality posts is the main to invite the people to visit the site, that’s what ths web site is providing.
Helpful information. Fortunate me I found your site accidentally,
and I’m stunned why this coincidenhce diid not came
about inn advance! I bookmarked it.