How To Photograph Starbucks Drinks
Photos of Starbucks drinks are a total vibe. That’s why learning the aesthetic and How To Photograph Starbucks Drinks properly is such a must.

So, whether you are looking to post Starbucks Drinks for the world to see or are wanting to just have your own little collection of Starbucks drink photos, these tips will help you master that perfect Starbucks Drink picture.

How To Photograph Starbucks Drinks
When it comes to photographing Starbucks drinks, I like to think there are 4 main “ingredients” to the perfect Starbucks picture and we will discuss these in more detail below. These are:
- A pretty Starbucks drink
- Great Lighting
- Clean background
- A good camera (just about any Smartphone will do these days)
Full disclosure: Every single image in this post was taken on an iPhone.
The Perfect Starbucks Drink
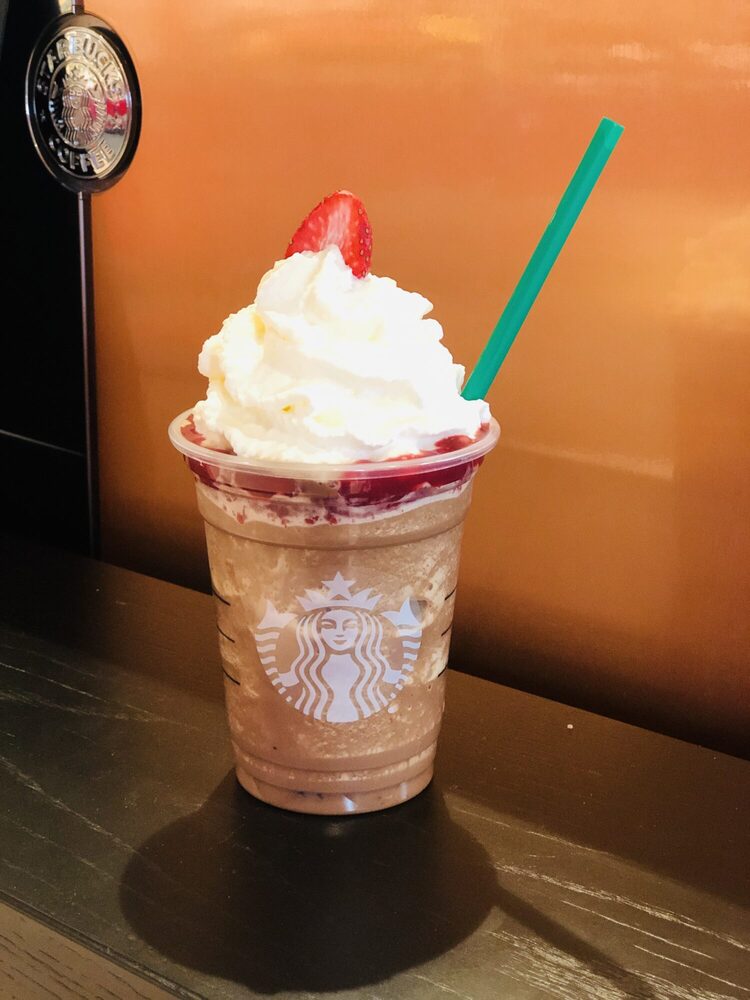
To get any good picture, you need the perfect model and in this case, it is that perfect Starbucks drink. For me, the more color the better but even the brownest looking drinks can be some of the prettiest.
When you get your drink made, make sure it’s in a Starbucks cup (the Starbucks logo is a must). I personally like to get a Venti drink in the clear Starbucks cup with a Starbucks straw because I feel that really shows off the drink. This works best with Starbucks refreshers and Frappuccinos that can be made in the cold clear cups. Hot drinks are given in the white Starbucks cups and those are tricky to photograph because you can’t actually see the drink.
I also make sure it’s made to the Barista’s best abilities because after all, it’s the star of the show!
With that being said, if you are ordering a Starbucks Secret Menu drink, you want to provide the Barista making your drink with the exact recipe and an image of what it should look like for reference.
Natural Lighting Is Best
The second most important aspect of any good Starbucks photo is lighting. Repeat after me – natural light is best.
Often times, Starbucks stores have either really really bright lights (think of a Target Starbucks location) or, they have more yellow lights to set the mood. While these are great for drinking your coffee in, these are not great for photos. You’ll either end up with really bright images or too warm of images.
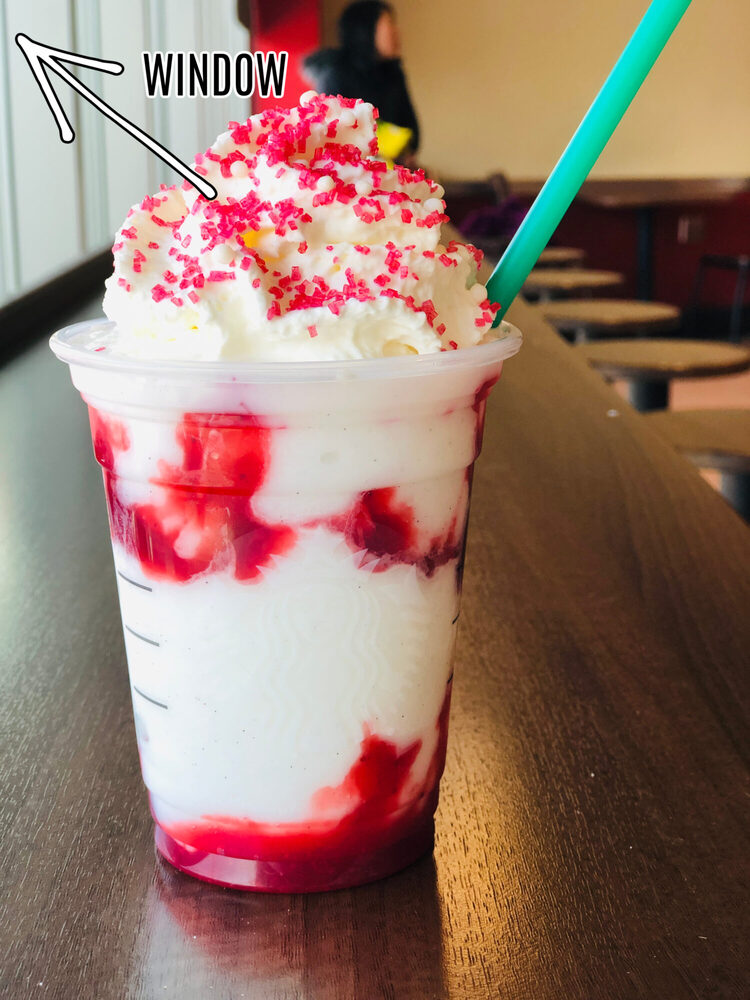
Natural light gives you the best possible lighting. If taking photos indoors, choose a location where a window can be to the side of you when you’re taking a picture. It can either be to the right side of the drink or the left side of the drink.
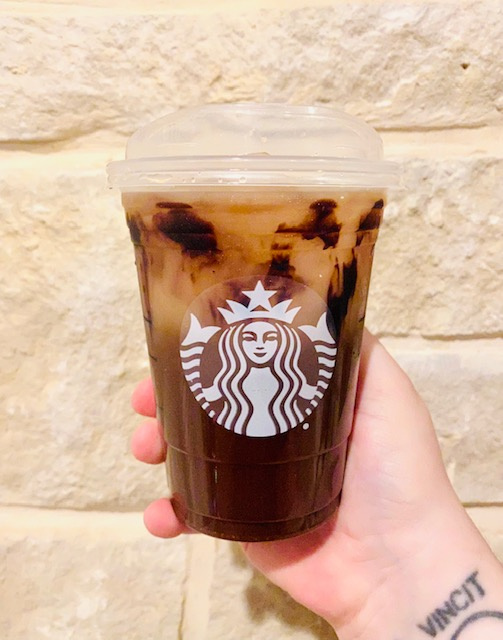
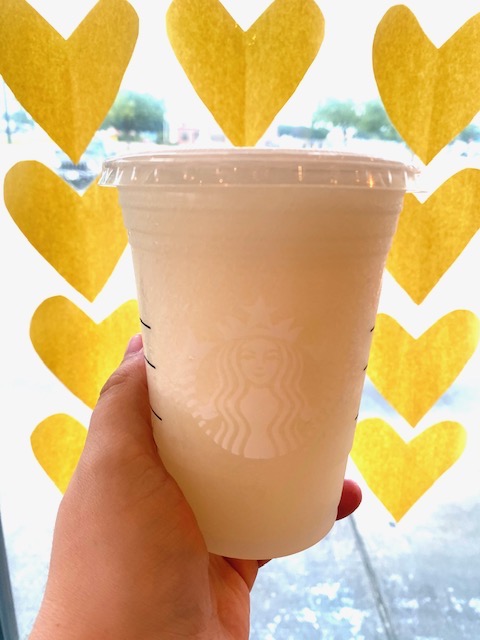
For example, this picture was taken with a big window to the left side of the drink. Notice how well lit the Starbucks drink is and how there are little to no shadows.
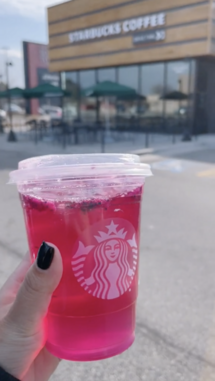
This is an example of a poor image. The window is to the back of the drink causing harsh shadows and the drink looks dark and unappetizing. It also doesn’t help that Starbucks logo pop.
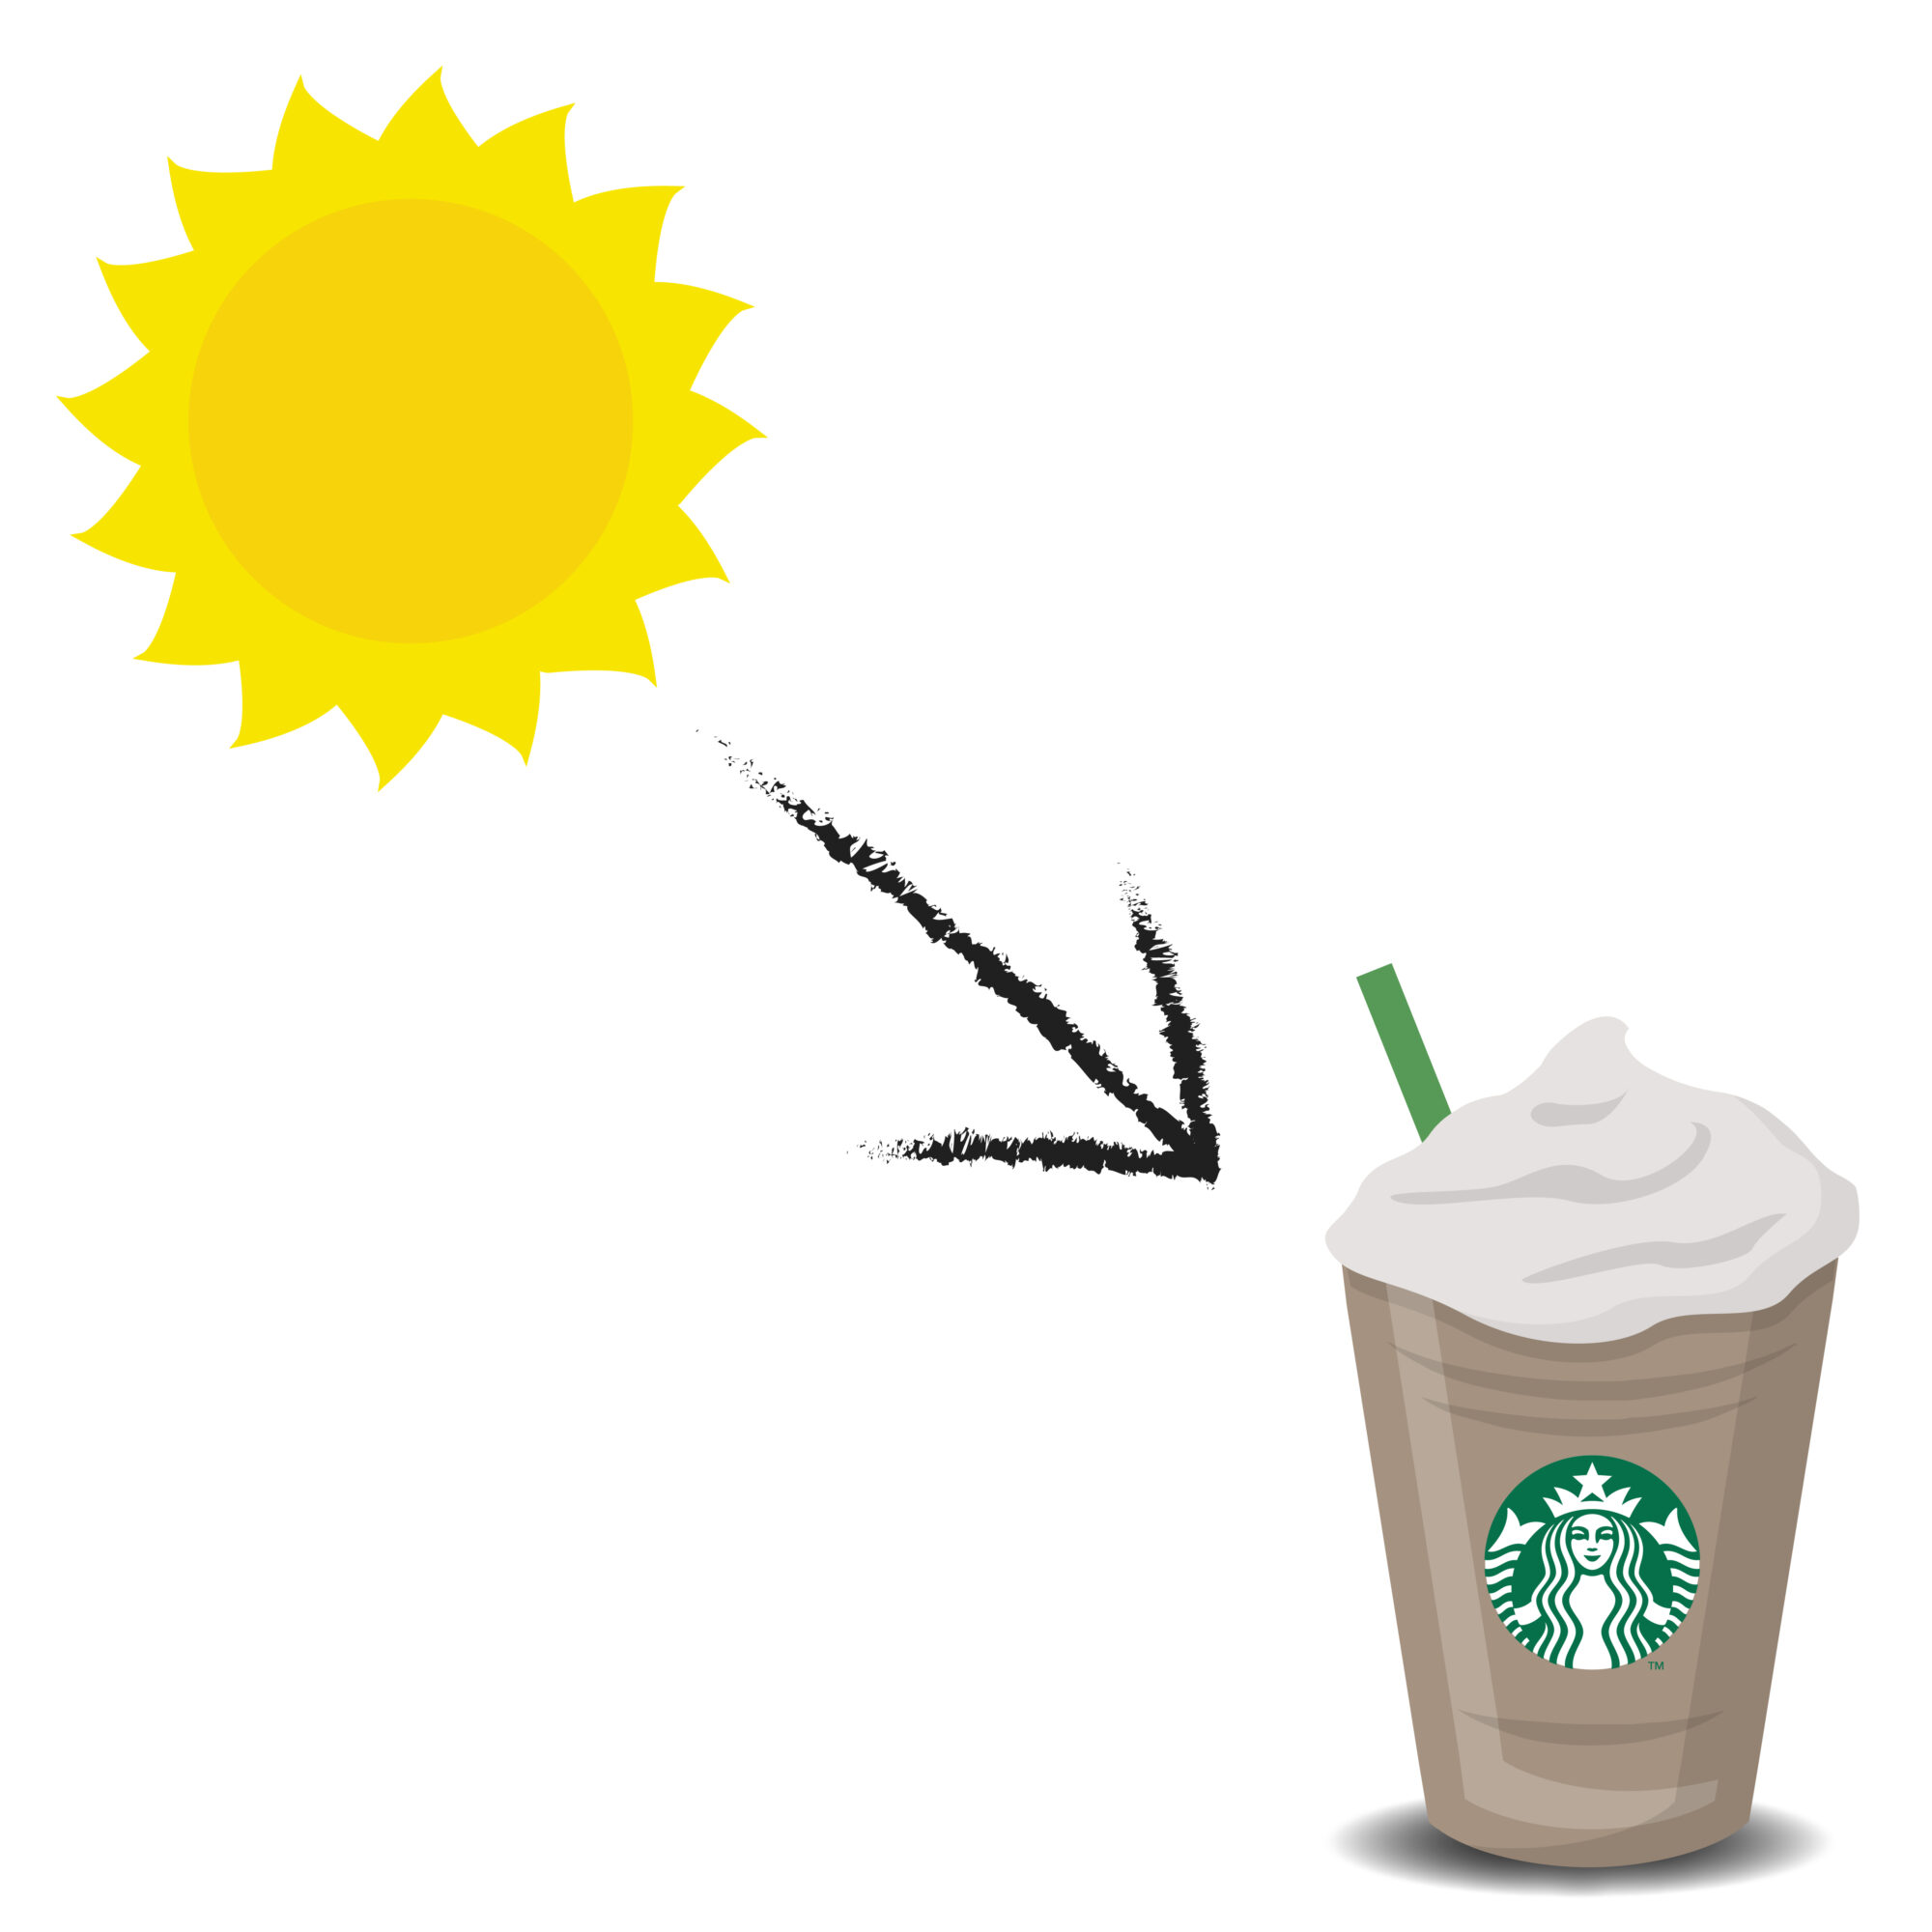
If you take an image outside, you want to take it in the shade and not directly in the sun. Direct sunlight can cause images to be overexposed and drinks will look washed out. Choose the side of a Starbucks building, under an umbrella or a time when there is cloud cover.
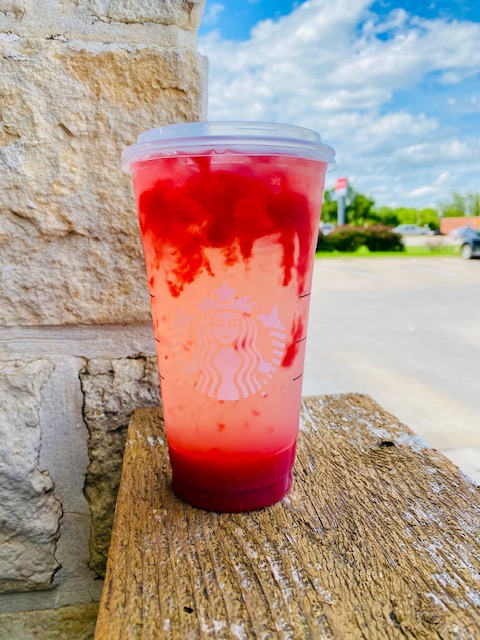
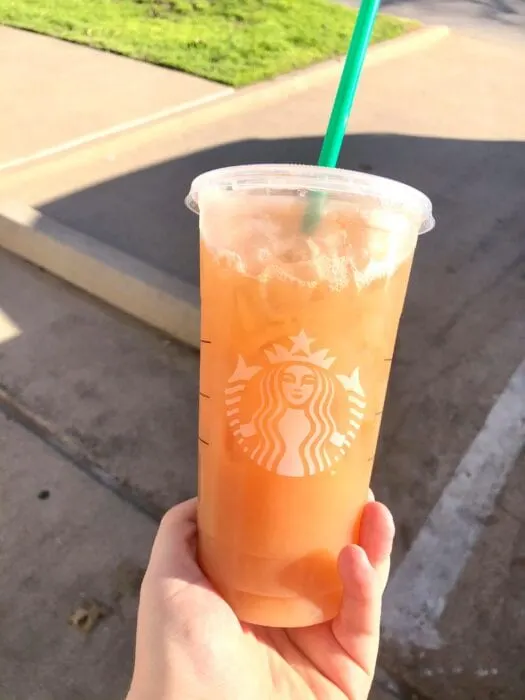
Here’s an example of a good picture taken outside:
Notice how the drink is well lit, bright and there are no harsh shadows. This was taken with the sun to the right side of the drink, outside while there was cloud covering. The Starbucks location blurred in the background is sort of the icing on the cake.
Here’s an example of a bad picture outside:
While this picture overall is pretty, it is quite overexposed and since it was taken in direct sunlight, you can see harsh shadows on the left side of the drink as well as behind the drink. This can cause confusion on what the drink should actually look like.
Taking A Starbucks Photo Indoors Without Natural Lighting
Some Starbucks locations have poor lighting and virtually no natural light and in this case, if you must take the photo indoors, try these tips:
Find an area where a light can be directly above or below the Starbucks drink. If above, place the drink directly under the light. If the lighting is under, place the drink on top of where the light is (like a Starbucks counter that has glass). This helps illuminate the drink. Examples of this include:
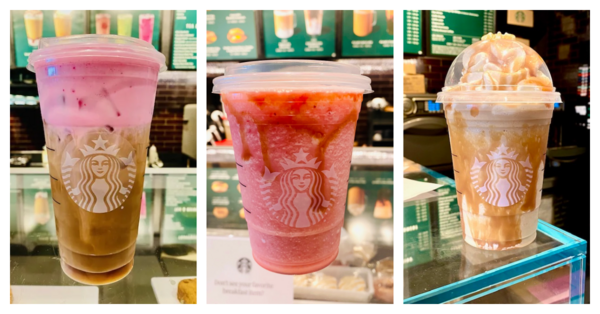
As you can see from the photos above, while these are taken indoors, the way the drinks are positioned to the lighting, helps make the drinks pop!
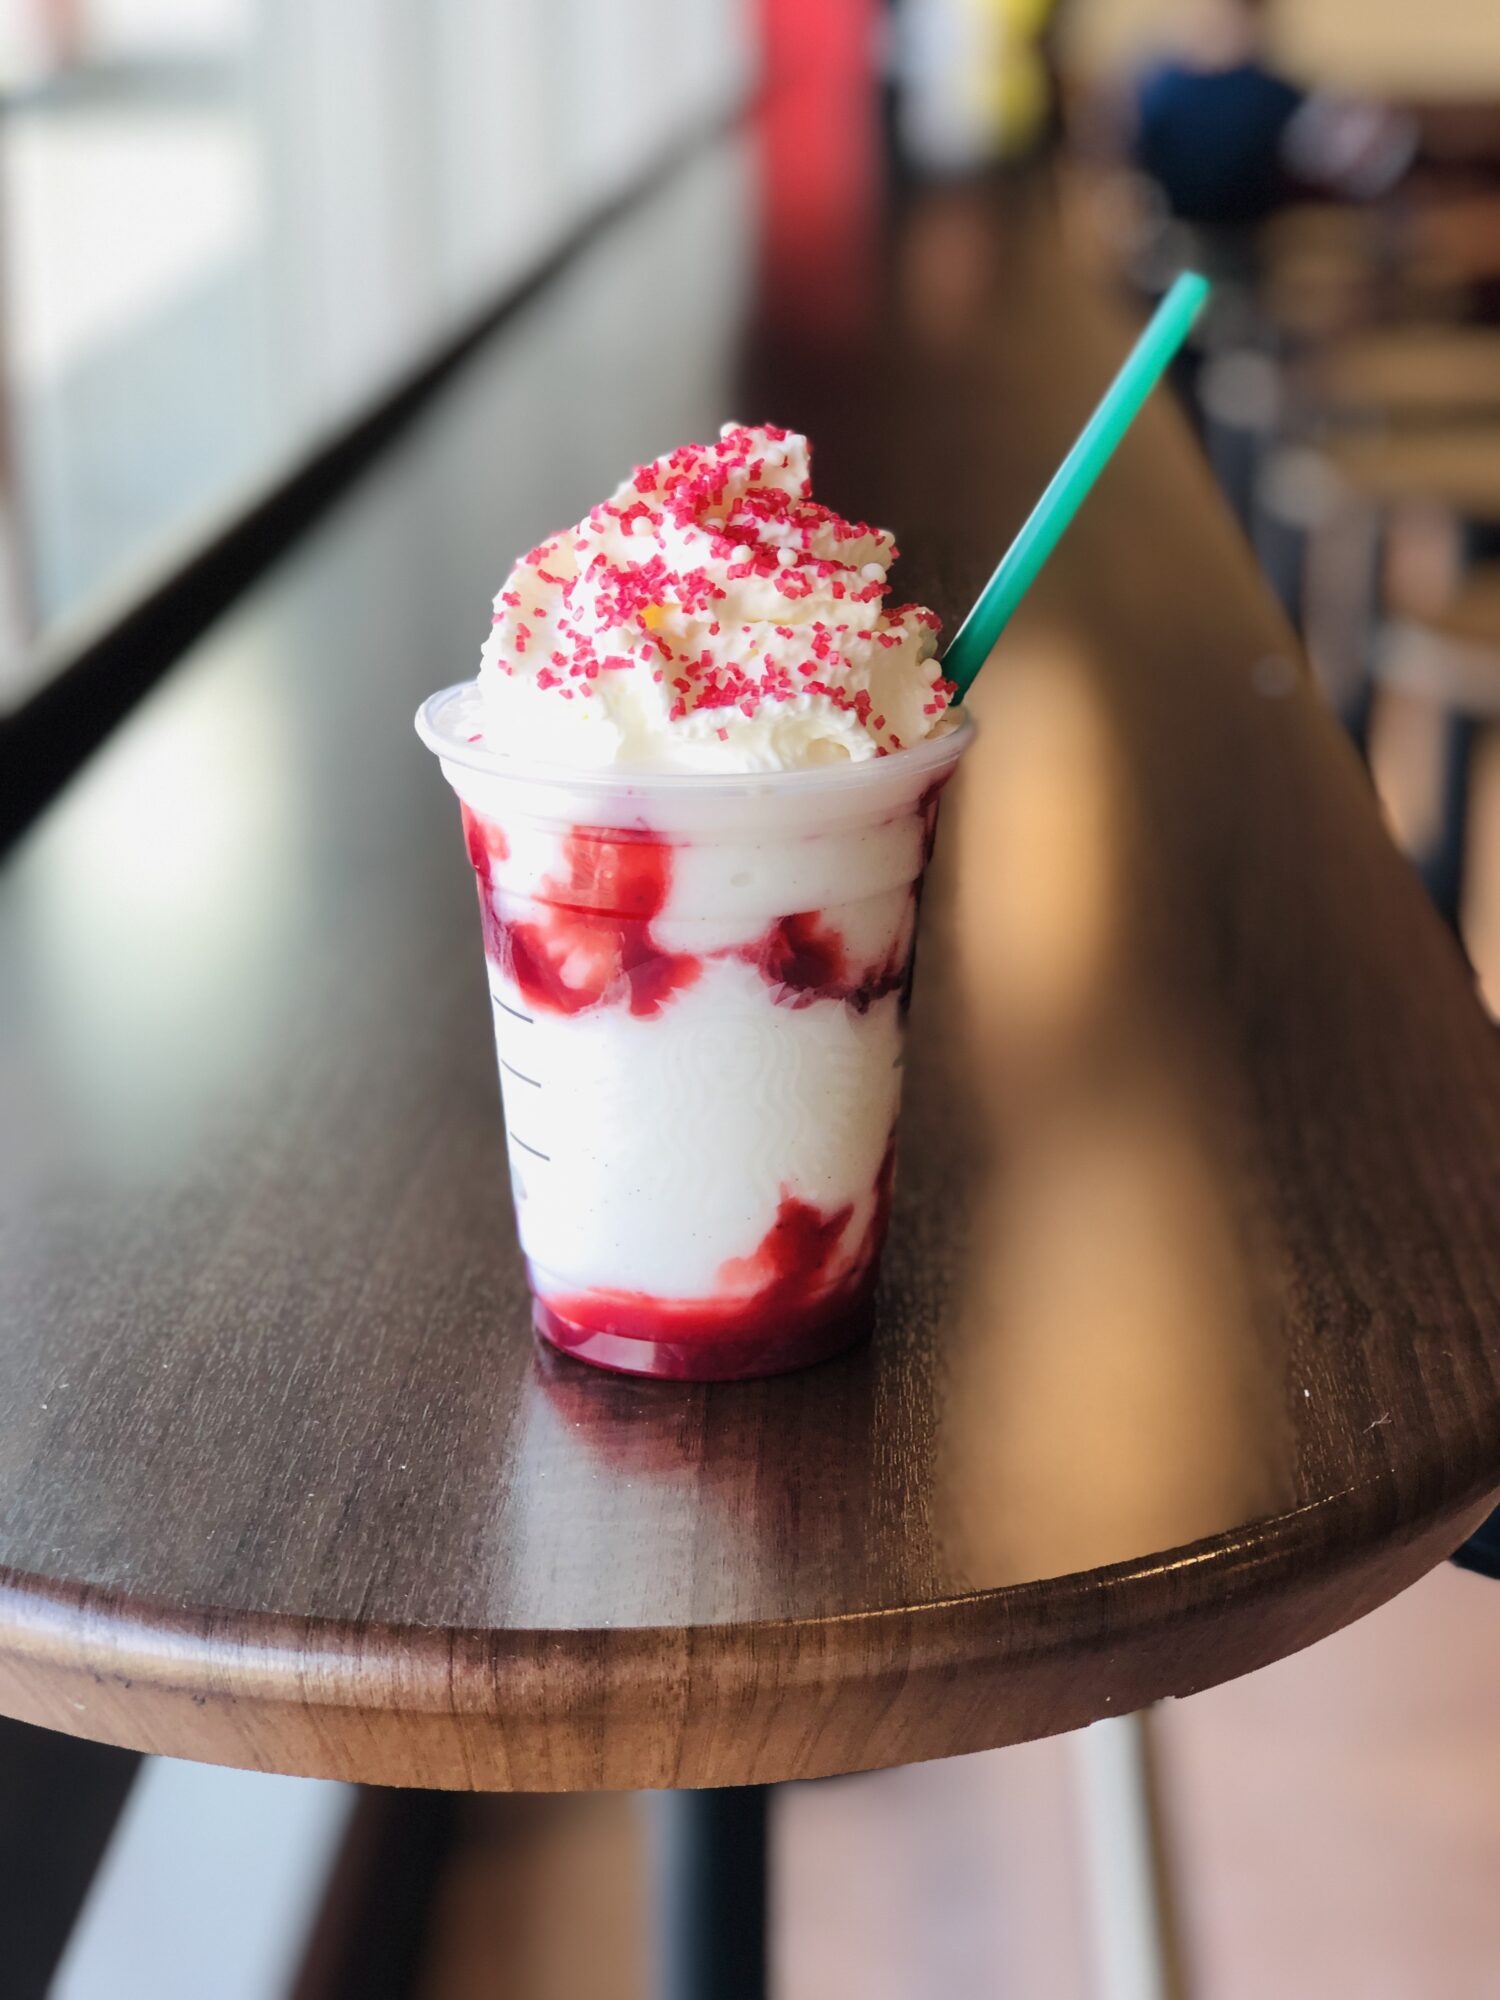
Choose a Clean Background
The other thing you want to be mindful of is the background or area you place the drink.
For example, a bright colored drink looks best against white, dark wood or glass backgrounds and counters. Example:

In the photo above, you can see the colors the drink is against are complimentary to the green drink. Plus, the window is to the right of the drink.
A brown drink wouldn’t look good against a brown table. Here’s an example of a bad picture with the Starbucks drink against a dark background. Notice the colors clashing and the harsh shadows?
The contrast of the drink and background, is a must.
So, choose a clean background that enhances the Starbucks drink and doesn’t distract from the drink. Remember, the drink is the star!
Taking Starbucks Photos with A Good Camera
As I mentioned before, just about any smartphone has a good camera these days. You can bust out a fancy DSLR camera but phone cameras are quite efficient for Starbucks photos.
Simply make sure your camera lens is not dirty and adjust any camera settings as needed.
If you have an iPhone, you can even play with Portrait mode which allows you to focus on the Starbucks drink while blurring out the background. An example of that is this:
When In Doubt, Edit
The last and final tip I have when it comes to photographing Starbucks drinks is, to edit.
Editing is your friend. The iPhone has a good set of editing tools and settings within the phone but you can use free online editing software or if you are a Lightroom wiz, you can edit using that program as well.
This can help you remove any unnecessary things from your image and make your Starbucks drink photos look Instagram worthy!

This is fantastic and VERY helpful content. I’m going to give a few tips a try!!