NO FAIL Winged Liner
Yes, it is another winged liner tutorial! I feel like, even though there are a million ways to accomplish this iconic makeup look, sometimes just seeing it one more time helps it click in your head. Plus, there is a video at the end that has a very unflattering, albeit helpful, slow mo. Here is how you can do NO FAIL winged liner.
Apply tape where you want the liner to end
Basically, what you’re going to do here is look at your lower lash line. If you were to continue the trajectory of your lower lashline- that is where you want your tape to go. Be sure to stick the tape to your hand a few times before applying it to your face to lessen the tackiness, otherwise you’re in for a bad time when you have to remove it.
Draw a line connecting the outer corner to the center of your eyelid
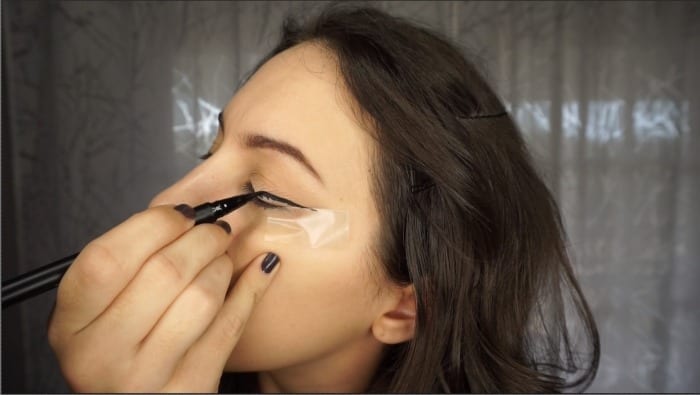
You want to do this in one fell swoop to create a smooth line. Hesitating here can harm you instead of help, just remember, outer corner to center of the lashline. Straight line from one point to the other. One and done.
Line your eye as usual
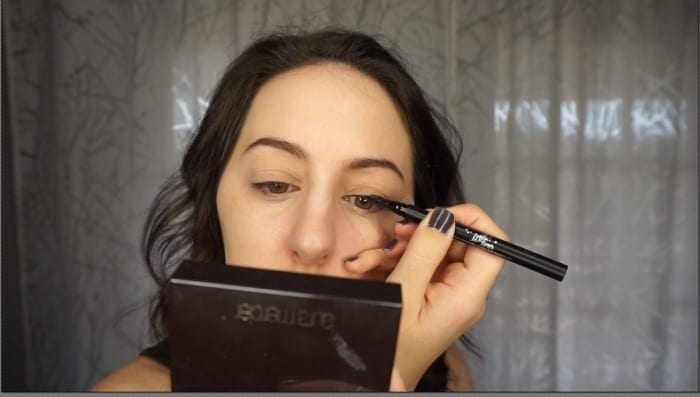
You’re going to line your inner corner and lash line as usual, then connect your first line to the rest of your liner. Fill in any spots in between your lashes and any blank spots.
Remove tape
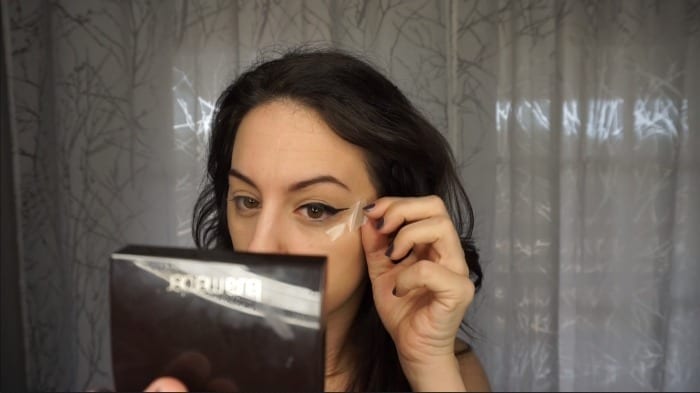
Pretty self explanatory.
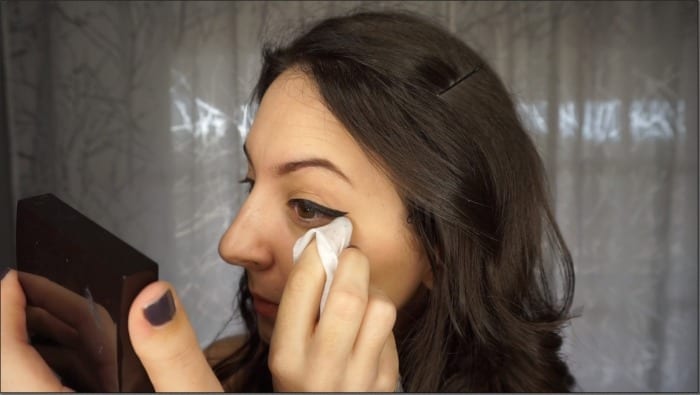
Clean up any bleeding or mistakes with a makeup wipe. Long smooth strokes are also important here. Like the super sexy face I’m making in this photo? MMMM yeah.
Add Mascara
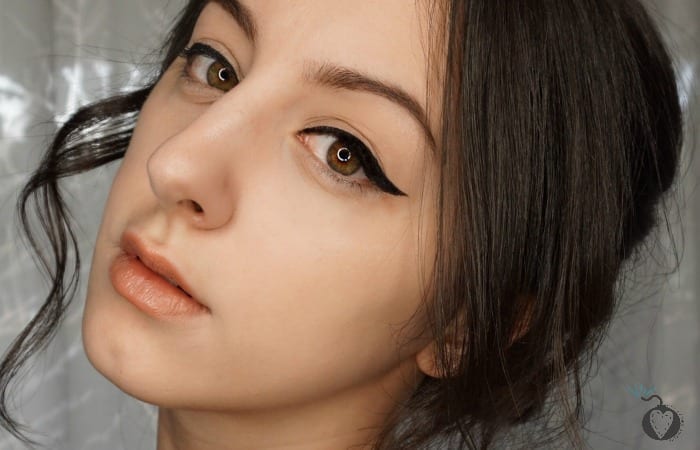
And you’re done! Check out the video below for a live play by play, and let us know your thoughts in the comments below!