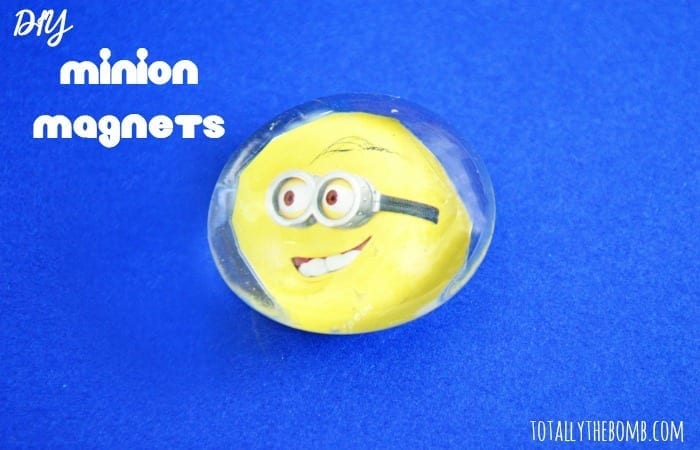
DIY Minion Magnets
This post may contain affiliate links. For more information, please read our disclosure policy here
Our kids are going to be heading back to school soon and that means they will be bringing home their masterpieces to display on the fridge. EEK! Do you not have enough magnets to hold them all? Don’t worry because you can make your own Minion Magnets and never run out of ways to display your child’s schoolwork AGAIN! Did I mention that almost all of the supplies can be found at your local dollar store?
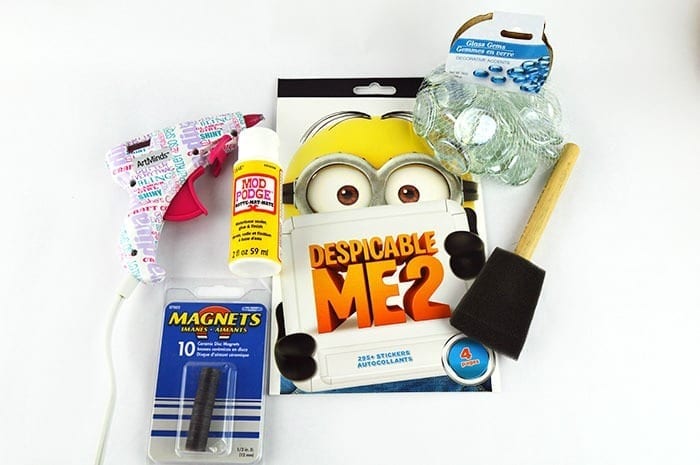
Supplies Needed to Make Your Own Minion Magnets:
- Despicable Me Sticker Sheets
- Clear Glass Gems
- Mod Podge
- 1/2 Inch Magnets
- Hot Glue Gun
- Craft Foam Brush
- Scissors
How to Make Minion Magnets:
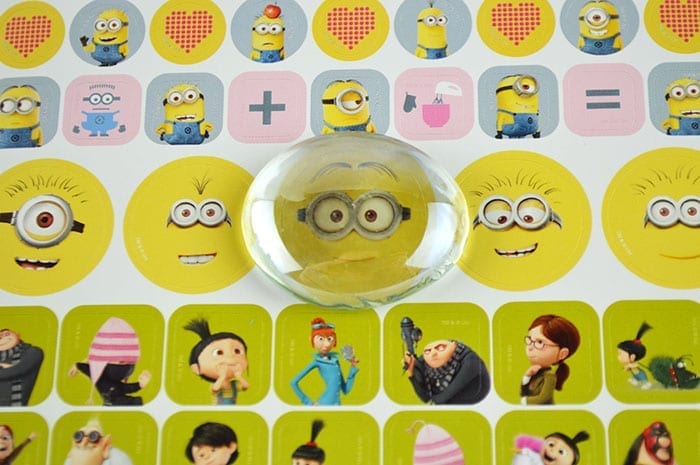
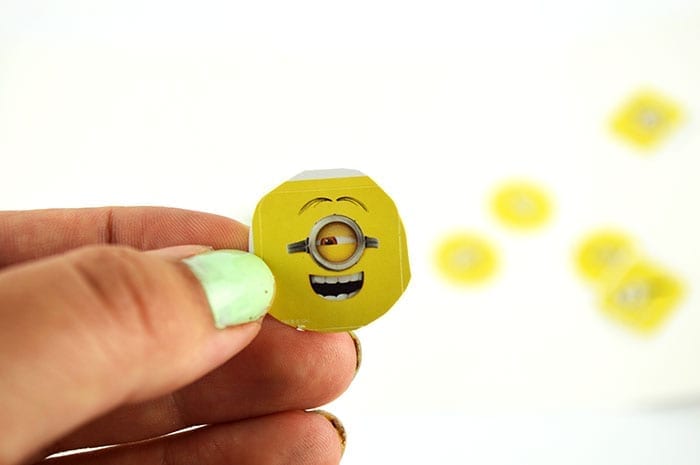
- Open your Minion sticker book and find the stickers that are more round or square.
- Grab a glass gem and place it on top of the round or square stickers to ensure it will fit.
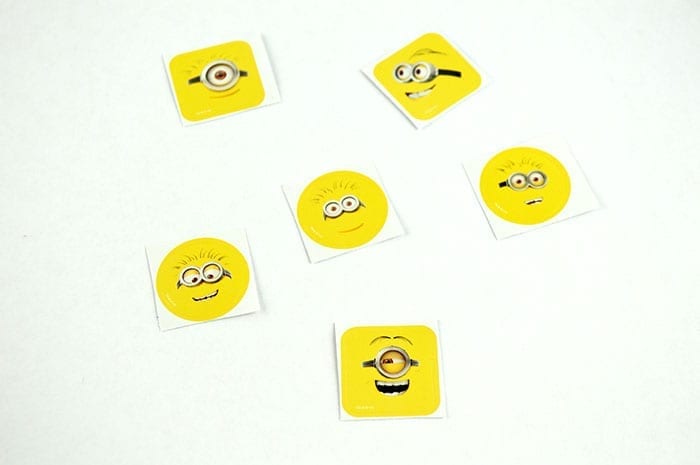
- Grab your scissors and cut out the stickers that will fit under the glass gems. Cut them out so they are rounded to fit the glass gem perfectly. Keep in mind you want to keep the paper backing on the stickers. Otherwise, they will be sticky and you will have a hard time using them in this craft.
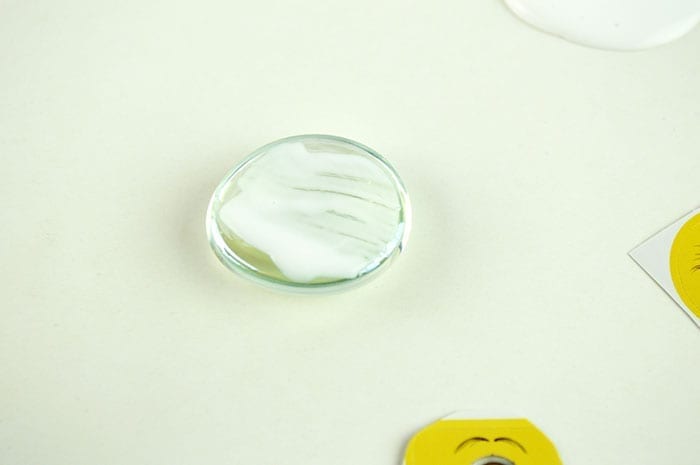
- Use your foam brush and paint a thin layer of Mod Podge onto the back of a glass gem.
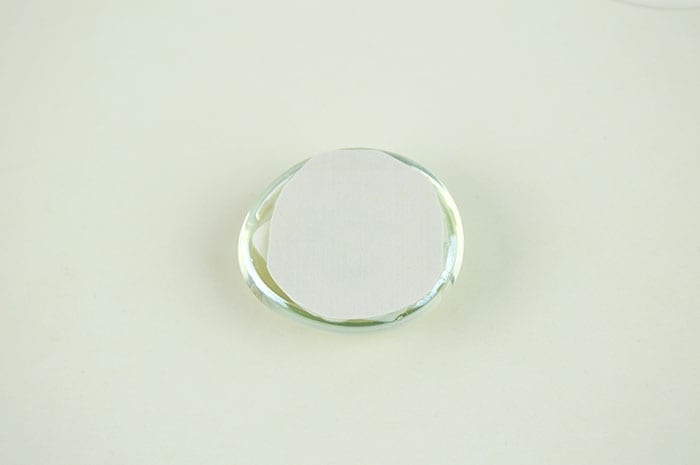
- Place a sticker onto the area you applied the Mod Podge. It will start to dry quickly so hurry and reposition it as needed.
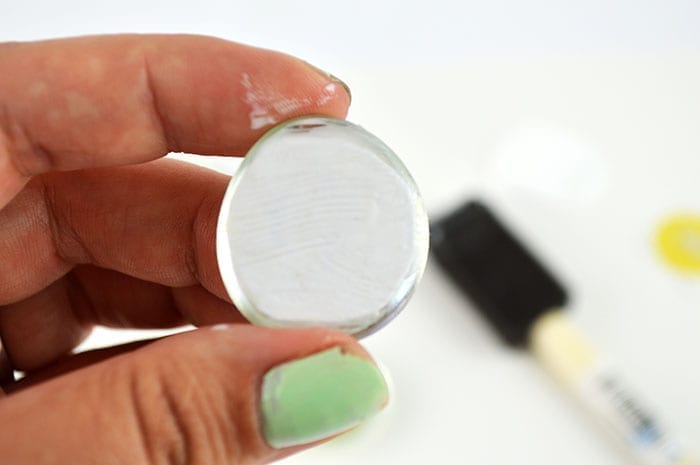
- Once the sticker is adhered to the glass gem, it’s time to apply another thin layer of Mod Podge directly over the entire backside of the sticker and glass gem. Allow to dry.
- Once entirely dry, apply a small dot of hot glue onto a single magnet.
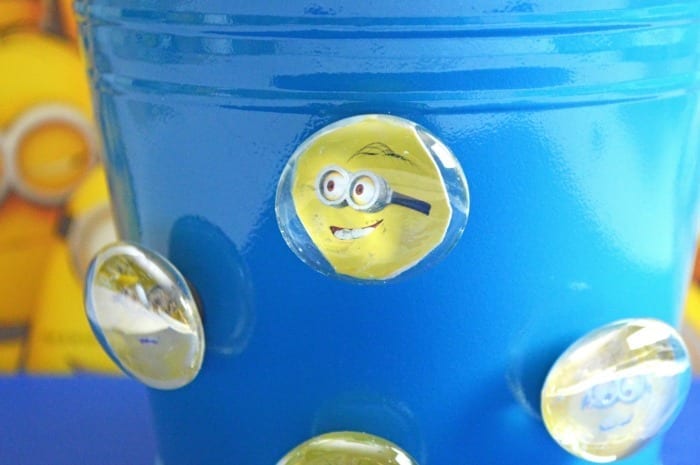
- Place a magnet onto the glass gem.
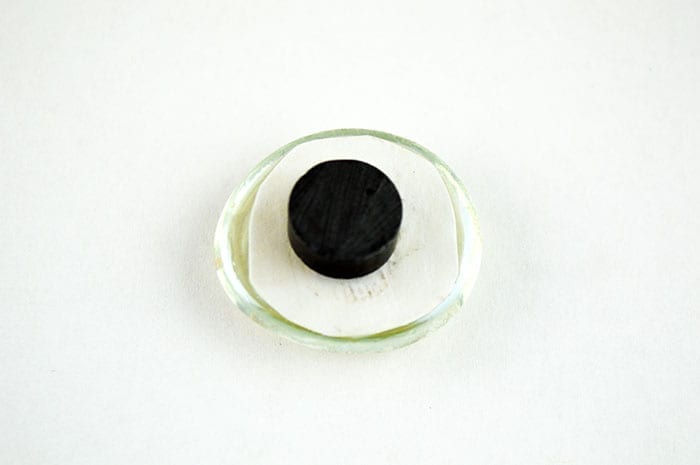
- You will then have a Minion Magnet!
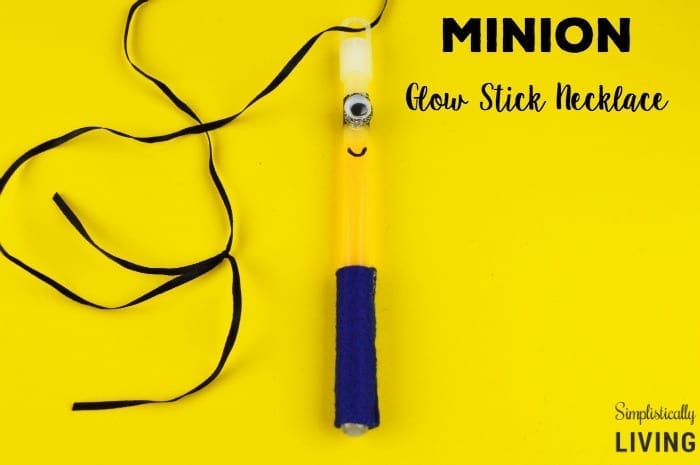
Looking for another fun Minion craft idea? Check out this Minion Glow Stick Necklace!


Wow! My kids minions movie so much i have buy them minions.