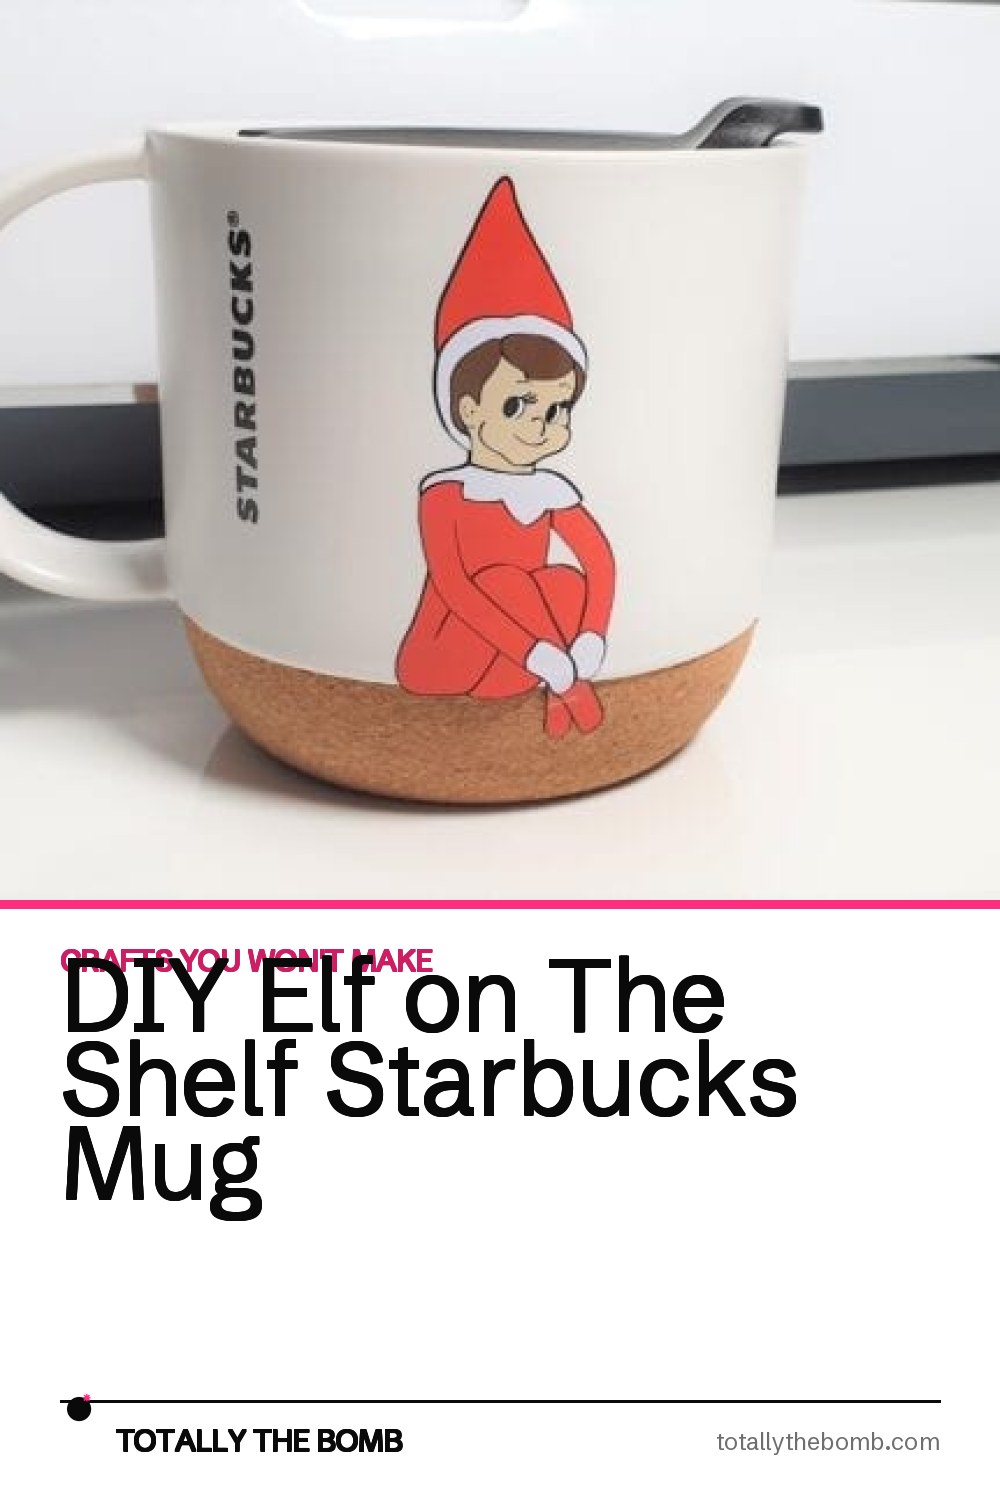
You’ve heard of Elf on the Shelf, now get ready for Elf on the Shelf on the Mug!
This DIY Elf on The Shelf Starbucks Mug is the perfect way to sit back, relax and make something fun for you or someone you know. In this fun Christmas project, we’re decorating the perfect Starbucks mug with an Elf on the Shelf vinyl decal.

I’ll be using Cricut Design Space to prepare the project, and cutting the vinyl with the Cricut Maker. It’s an intricate design which involves a little layering and a lot of patience – I mean, look at those tiny little eyelashes!
Making A Custom Starbucks Mug
There are so many different types of Starbucks mugs and tumblers that you can customize, and many that would go great with this Elf on the Shelf decal. It depends on what you’re drinking!
For example, perhaps a Starbucks holiday cup would go better with this Elf on the Shelf Frappuccino. The reason I loved the mug I chose for this project is the little cork ‘shelf’ I can put the elf on!
The best spot for buying a mug is your local Starbucks Store, however there are some good options on Amazon.
What You Need to Make An Elf on The Shelf Starbucks Mug:
- Cricut Maker or Cricut Explore Air 2
- Cricut Weeding Tools
- Permanent Adhesive Vinyl
- The Starbucks Cork Mug (cheaper to buy in store if you can find it)
If you’re new to all this, I recommend checking out a Cricut Explore Air 2 Bundle – a vinyl option would get you up and running in no time!
Elf on The Shelf Design

To start this project, you will need to purchase and download this funky Elf on the Shelf SVG from Etsy (due to it being paid for, I can’t share the design). There are a few similar designs available, so check them out as well.
Once uploaded to Design Space, this SVG is ready to go! It only needs resized to suit your mug or tumbler. I’ve made my design 3.2 inches high to fit on the mug, and duplicated it to have an elf for each side of the mug.

While this type of project could be completed with a mug press and printer, permanent adhesive vinyl is the better option for most crafters. The SVG requires 5 different colors of vinyl: black, red, white, brown and beige.
There are different ways to cut and apply multicolored decals:
- Cut all the pieces of a single color in the correct position and apply them at the same time, or
- Cut everything separately and apply them individually
I decided for this project to cut and apply separately. This is easier with such an intricate design on a curved surface. Applying it piece by piece is the safer option, and it didn’t take long at all.
Cutting Vinyl With Cricut
Now click ‘Make It’ and you will see a preview of all your mats.
It should come up with 5 mats, one for each color of vinyl. You don’t need to mirror your mats for adhesive vinyl (only for heat transfer vinyl/iron on if you are putting this design on a t-shirt).
You will be using vinyl transfer tape to transfer the design the right way around, so the image does not need to be reversed.
Now click continue!

Turn on your Cricut cutting machine and wait for it to connect to Design Space:
- With the Cricut Explore Air 2, set the dial to Vinyl
- With the Maker, choose Vinyl from the material settings

Place your vinyl on either the LightGrip or StandardGrip cutting mat.
Make sure the vinyl is facing up with the backing paper underneath. Load your mat into the machine, and press go!

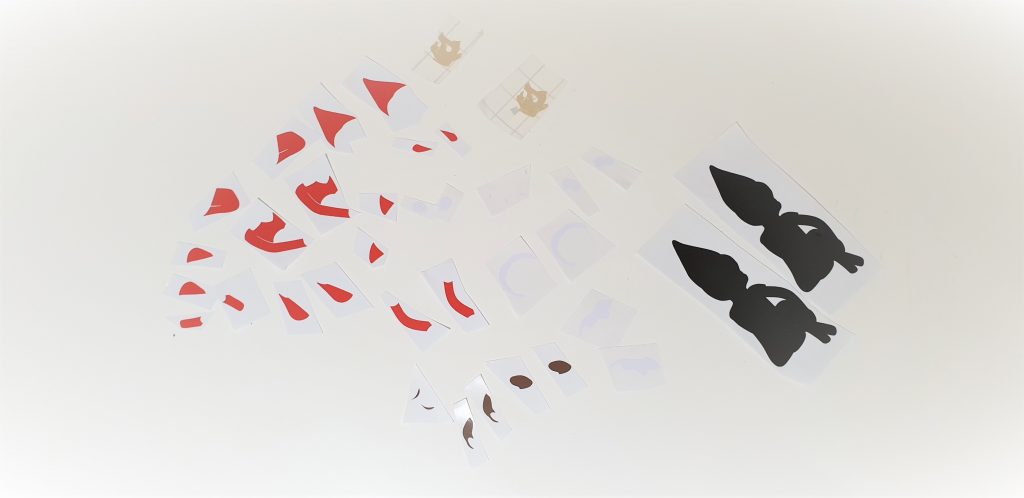
Once you have cut out all the mats you will need to weed away all of the excess vinyl. Use a weeding tool to remove everything that is not part of your design so that only your design remains on the backing paper.
For really intricate designs, like the face of the Elf, I like to use the reverse weeding method. To reverse weed, put transfer tape over the unweeded design, remove the backing paper, and then weed the excess vinyl off the transfer tape.
Now that you have weeded all your pieces, you can cut them apart to separate them. Don’t lose any though, some of them are very small!!
Layering Adhesive Vinyl
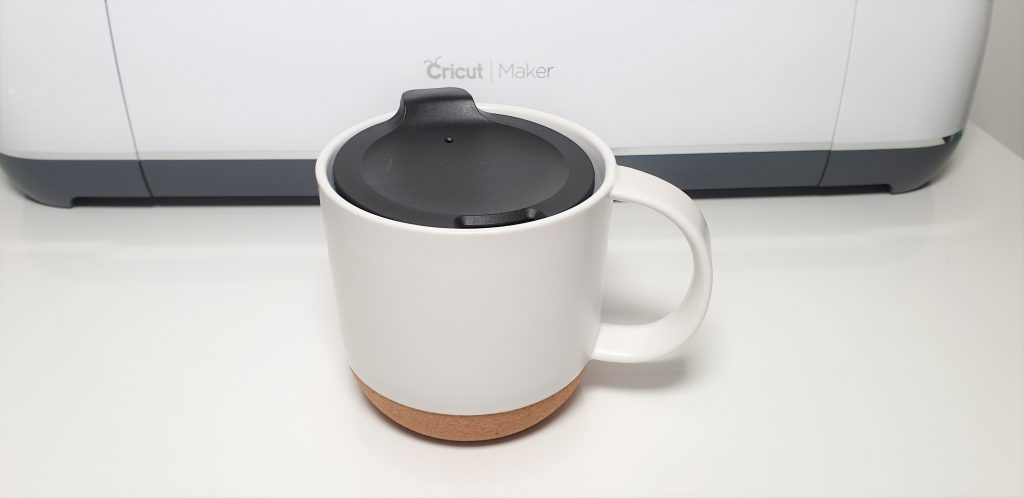
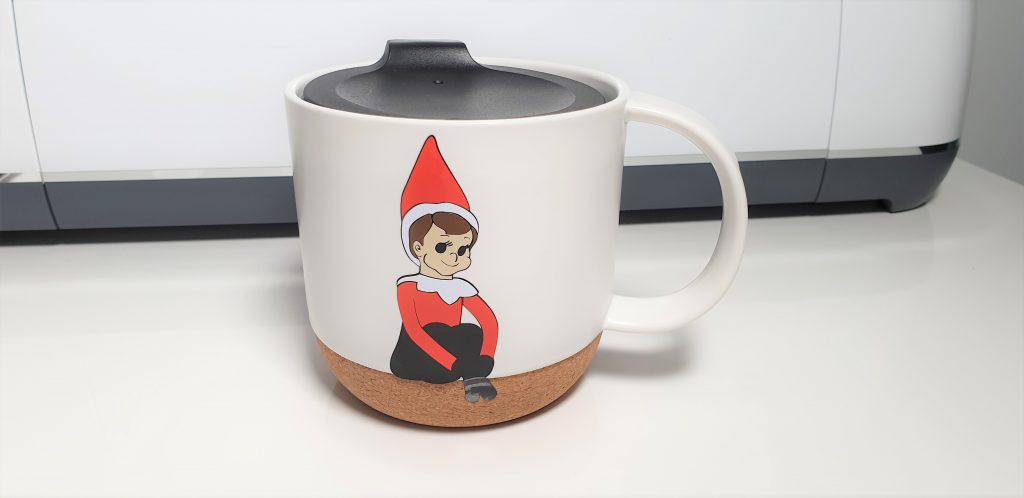
Here’s the ceramic Starbucks mug I picked up for this project.
The reason it’s perfect for this project is that the lower cork section will be my Shelf for the Elf! I will put the Elf decal on the mug as if he is sitting on top of the cork section!
You can prepare your mug by cleaning it with some rubbing alcohol and allowing it to fully dry.
The black vinyl layer will go on the mug first. Apply transfer tape over top of the weeded design, and then remove the vinyl backing paper.

Apply the vinyl to the mug. I like to press down along the center and then work from the center out towards each side. Burnish the vinyl with a squeegee to make sure it has adhered well. Then, continue with all the rest of the pieces!

After applying the black layer, I applied the other colors working from the top of the elf downwards, starting with the hat.
This worked well and it’s not too difficult to work out which piece goes where. Using the original SVG as a guide helps!
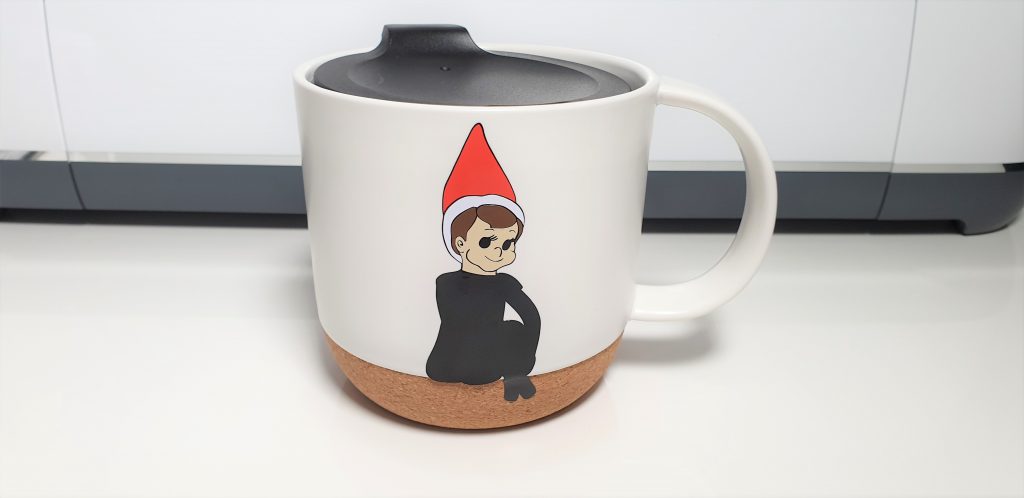
How cute is he looking!?
Easy Elf On The Shelf Ideas
All done. He really is an Elf on the Shelf on the Mug!

One side of the mug…
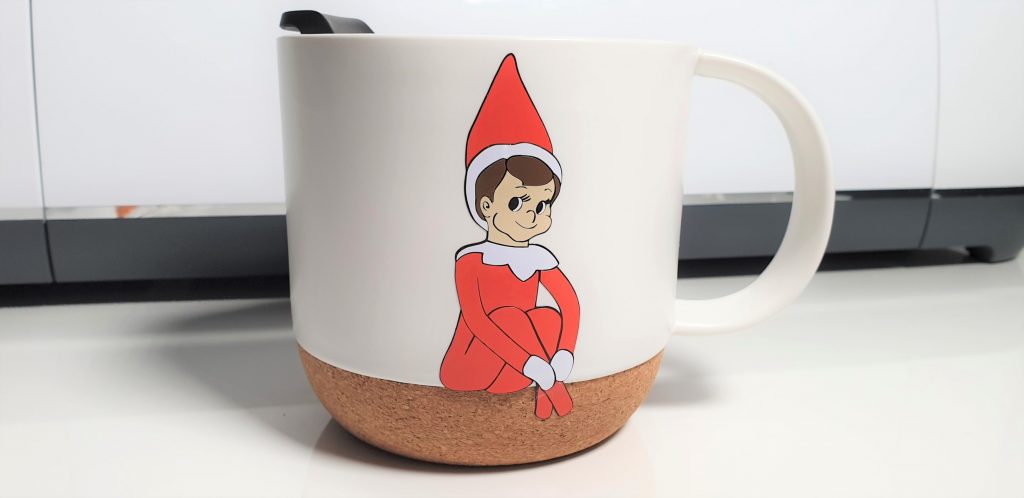
And, the other side… If you choose to do two elves like me, then you could mirror one of them if you like, so that one faces the other way. But I’m not too fussed.

I definitely want to make more of these!