How To Make a Rockin’ Cheer Bow
I love a good craft,*and lately I’ve been all about making bows. So, I decided my daughter’s team needed giant cheer bows. And, because I’ve learned the importance of research when it comes to hand-making stuff, (seriously, you can save loads of cash with a simple google search) I tried to find out how to make the perfect cheer bow.
Well, I ended up at the yellaribbon site. Get it? Cheerleaders yell—so they wear yellaribbons? I’m not going to lie… I love a good play on words. They have the ultimate cheer bows there. They’re sparkly, shiny, and sure to give your girls 1000% more pep.** You can see my favorite one here. I did an internet search for “how to make a yella ribbon” and when that didn’t turn up anything… I realized I was going to have to teach myself. Now I know how to make the cutest cheer bow ever, and I wrote up this little tutorial (aside: did you know they call them “tuts” on craft sites? Why do I hate that so much?) and you will too.
***Don’t forget to click the pictures to see a larger version***

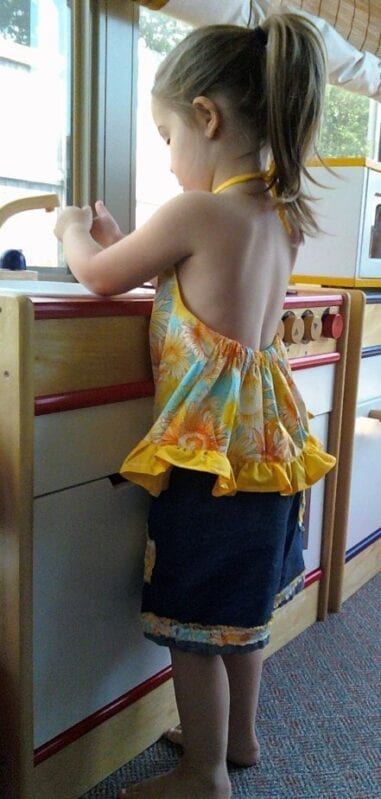
Why yes, yes internet–I am aware that my daughter looks like a tiny beauty queen here, but she really loves cheering… so I just pretend not to notice.
First, we need to cut the ribbon.
- You need two pieces of 7/8″ Ribbon
and one piece of 1 1/2″ Grossgrain Ribbon
, all three should be 30″ long. Don’t worry about making the ends cute yet–we’ll get to that.

Now, it’s time to sew the ribbon together.
- Don’t put the ribbons on top of each other. Instead, lay them side by side and use a little zig sag stitch to grab the edges of both ribbons. You’ll have to play with your machine a bit to see which setting is best, but I had mine set at 1.5 for both settings. This step isn’t an absolute necessity, but these are cheer bows, and the last thing you want is for them to break apart mid-competition.

Don’t worry that they’ll be all wonky looking when you’re finished.
- Just try to keep the stitch as straight as you can and grab both ribbons. It doesn’t have to be perfect–we’ll cover the front part with fabric later–but the stitch will show on the back of your bow, so don’t go crazy or anything.***

Iron your new giant ribbon.
- This is my favorite part–which is weird, because normally I hate ironing.

Okay now it’s time to add the awesome.
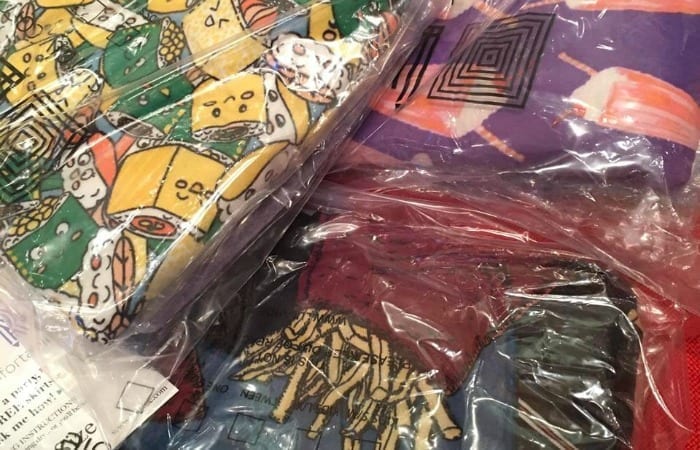
Lay out the super shiny fabric you’ve chosen for your cheer bow.
- (Hint: most cheerleading uniform companies use Mystique Spandex
**** on their uniforms- so if you can’t find something to match at a craft store, you can probably find an exact match online.)
Now, you have two choices here, you can either iron Heat’n Bond Strips to the back of your spandex and cut them out, or you can iron a big piece of Heat’n Bond
and then cut out the strips.
- I suck at the rotary so I needed the guide the pre-cut strips provided for me–but you can do it either way.

Lay them down on the back of your shiny material and iron them on.
- Now you just have to cut out the strips. (I did several at a time so I didn’t waste a lot of material.)

(Don’t panic, I didn’t turn into a dude or anything–he’s just better at cutting straight lines than I am.)
It’s time to iron on the strips.
- You don’t want to put your iron directly on the spandex, it might melt. So use a towel or cheesecloth in between. It doesn’t have to be fancy–you’re just trying to keep the fabric from ruining.

Do them one at a time!
- And do it a little piece at a time because spandex stretches when it’s hot–it also gets WAY hot super fast, so BE CAREFUL! When you’re done with one side, it should look like this:

Now, you can flip it over and iron the heck out of it.
- I had my iron set to cotton, and it worked just fine–even with the ribbon that had the ironed on dots. You want to make sure it sticks really good, because in a minute we’re going to be squishing things thing all over the place, and you don’t want it to come apart.

Cut the ends into fish tails.
- I recommend folding it over like this:

And cutting at a diagonal.

They should come out pretty even.
- Run a lighter along the edges to prevent fraying. I’ve tried several different methods (fray check, wood burner, etc.) but I always go back to the lighter. Just be careful not to melt your spandex too much.

Now, fold your ribbon in half and put a dot in the very middle with a pen or a marker.
- Just be careful not to let it bleed too much. (My fingers look crazy weird in this picture–what gives?)

We’re going to use a template to make the loops, but you don’t have to.
- These are so easy to make. Just take a piece of cardstock and cut it to 7″ x 10″ then cut a tiny strip in the middle. It just has to be big enough for you to see the dot you made.

Now, fold the ribbon over and slide it off the template.

Once you’ve done that, squish your ribbon together.
- Now, when we put the zip tie on, it already has a memory of how it’s supposed to look.

Wrap a zip tie around the middle and pull it half way tight.
- Leave enough room so you can move the ribbon around to shape the bow. If you mess it up, just cut off the zip tie and start all over.


Once you have the bow looking exactly how you want it to, use pliers to pull it super tight.
- Make sure the big part ends up on the back of your bow, toward the bottom–that way it won’t show through anywhere.

Cut the end of the zip tie.
- This is what your bow is going to look like, so if you don’t like the shape, then don’t use any glue until you’re satisfied.


Now, we need to hot glue the ponytail holder.
- Don’t use the thin ponytail holder
–they’ll break.
- I recommend Scunci No Slip Ponytail Holders
, but they’re sort of expensive–so if you’re making a lot of these, you might want to just go with a regular scunci ponytail holder that doesn’t have any metal.
- Once you have that glued, let it sit until the hot glue is dry, that’s an important part of the bow–you want to make sure it’s on.
- I usually dab a little more hot glue on top to make sort of a seal.

Now, take about four inches of 7/8″ ribbon.
- Heat seal the ends and tie a little knot in the center.

Hot glue the center knot to the front of the bow.
- I always do this part first so I don’t have to worry about the knot ending up at the wrong spot on the bow.

Use as much hot glue as you can without it squirting out the sides and making a big mess to wrap the ribbon around the bow.
- Do the bottom first, then the top–that way you won’t have the edges sticking out of the top of the bow–it will be on the lower back where no one can see it.

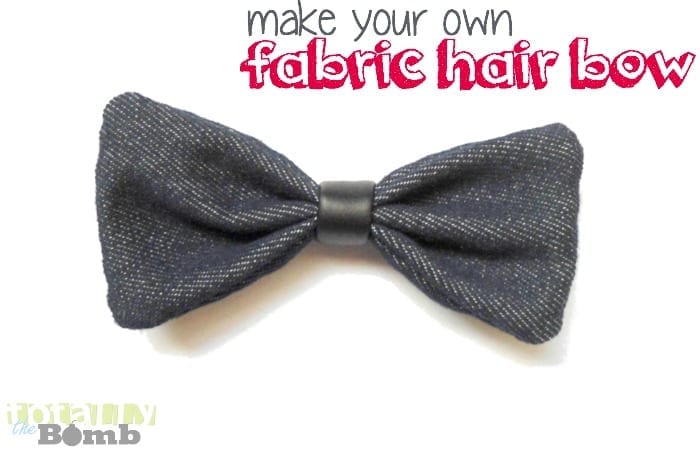
Here’s the finished bow!

Don’t forget to make some for the rest of the team–you don’t want your daughter to be the only one with a totally awesome super cute cheer bow, now do you?

I can’t thank you enough for sharing, truly appreciate it.
@ patty
if you are needing to make one I’d go to Hobby Lobby and buy 3″ ribbon… if you don’t see it in the regular ribbon section check in their wedding section 😉
in order to make your bow stiff, I’d still use this tutorial’s method of ironing ribbon to ribbon using heat and bond.
they also carry iron on and glue on rhinestones.
This is an excellent tutorial, BTW!! 🙂
I so wish I’d found it when I very first started making bows!
@Kelley, you can also use ribbon that has wire on the edges it makes it stiff also
@Caitlin,
but if you’re using it in a cheer competition, make sure you don’t use any wired ribbon. Th girls will get disqualified. 🙂
@Desty, I make bows like these ! 🙂
They are pretty reasonably priced and held up at Nationals last week! http://www.facebook.com/madaboutbows1
Let me know if you still need help! 😉
I love these. they are great..
i am just looking on how to make a bow with ONE ribbon… My daughter has a show coming up and has managed to leave her bow at her grandmas and it has gotten lost…
its just a white ribbon with rhinestones… help!!
@patty, just do the same steps without adding all the extra ribbon! use white ribbon with wire so it wont flop around like normal ribbon
Can you make a group of bows and someone pay you for them??? We have 8 girls on JV that needs some bows???
Hi so I do cheer and its just to much to be buying $15 blows just for practice I wanted to make them and i was wondering how thick your ridden should be?
Can you tell me what sites you have for bow instructions? I love the way that you make your bows!
Thanks so much,
Kimmy
Can you list the materials to me please?! Great instructions by the way!! How much is it for you to make one of those?! I want to make some but want to make sure there cheaper than buying one!!
Can you list the materials to me please?! Great instructions by the way!! How much is it for you to make one of those?!
I was wondering what brand if spandex did you use, thank you so much!!
what do you do if you don’t have any spandex or shiny fabric?
I am making a bow for something completely different but this tutorial is so simple and absolutely perfect for what I’m doing! Thank you!! 🙂
A person necessarily assist to make severely articles I’d state. This is the first time I frequented your web page and so far? I surprised with the research you made to make this actual post amazing. Magnificent process!
This cardboard template & zip tie idea is GENIUS!! I have made cheer bows several times & sometimes they were cute & sometimes they were not! But this method is FOOL-PROOF!!! THANK YOU for saving me HOURS & HOURS of time!!!
One question though…….
If I don’t want to cut the ends of my bow tails in the V-notch like competition bows, do you have any tips on how to cut the edges straight just at an angle(so when u hold the bow up the bottom of the tails looks like it has been cut almost straight across with the pointy V-shape on the outside edges?
could you order thees bow s and by tjhe way you are asum at maqking bows
do you think that this bow would be platypus safe? I would really like to attach it to my platypuses collar
why don’t you ever write about platypus women? if you are definatly the bomb.com you would!
IS there some other material you can use besides the spandex? like another piece of ribbon?
@Morgan McCannon, I have used sequined cloth in place of the spandex, however, it is not an easy task to cut any material into perfect strips! Any type of ribbon will work, but I have noticed that the grosgrain ribbon is more sturdy & hold the shape much better than anything else I have tried. And be sure that the total width of the ribbon you make the bow out of is at least 3″ wide, or else the bows look too skinny especially if you stick to the template size shown in the pictures, which will make a 6-1/2 to 7″ wide finished product.
I love this sooo much. these bows are beautiful and perfect. Soo helpful. Thanks!
So helpful! 2 quick questions: what did you use to attach the spandex to the ribbon? Would you recommend using the pony holders with the metal part on it so it won’t get damaged by rubbing against the zip tie? Thanks again!
@Marlene, you can the “Heat To Bond” strips or sheets, the same brand as shown in the photo tutorial above, & just follow the directions on the back of the package. The hair ties with the metal connector usually are not as durable as the metal-free type, & while you can use them, they are less likely to hold up with frequent use, & tend to pull away from their metal clasp. If you must use the hair ties with the metal connection, then I would recommend gluing the metal part & part of the stretchy hair tie on either side of the metal part to the actual bow, & hopefully it will not fail. Because there is nothing worse than having your pony tail holder to cause your team to lose at competition!!
This idea is so cool
What so you use ti cut the soandex matireal After you’ve attached the iron on matireal. It looks as if it a pen of some kind, also the clear ruler he is using to measure the matireal where can I get one? Thank you
@Allison, you can get the clear ruler at any craft store, like Michael’s or JoAnn Fabrics, to cut the material, you can buy a straight edge, something similar to a carpet layers utility knife, but smaller & with a sharper edge to make a cleaner cut on delicate or heavy materials. You can purchase these at Michael’s or JoAnn Fabrics as well, some Wal-marts even carry them, they usually run anywhere between $5-$10. If you are going to use the straight edge to cut your fabric, you need to also purchase a cutting mat to protect your table or surface you will be cutting on, these mats are also available at the above mentioned stores. If you can not find a clear ruler that is made of something more durable than plastic (since the straight edge will cut into the plastic, leaving your “ruler’s straight edge” not so straight, you might go with a metal ruler instead, but if a clear ruler is available (that will withstand your straightedge) & if your fabric has a pattern on it, you should definitely go with the clear ruler, so you can plan your cuts according to the direction of the pattern, without a lot of guesswork.
I do a whole thing on how to glue ribbon here: Hope that helps!
what type of glue do you use when putting a ribbon on top of another without the glue showing through especially if your ribbon is white?
@Becky Voss (cheer mom), you don’t use glue, use the iron on “Stitch Witchery” available at any craft store & at most Wal-Mart Stores. Read the directions on the back & use a pressing cloth, or old pillowcase, to keep your iron from actually touching the ribbon to prevent any accidental damage to the ribbon or embellishments. Just lay your base ribbon down, pattern side up, & then lay a strip of the iron on “Stitch Witchery” cut to length of base ribbon, on top, then lay the ribbon you want “glued” to the base ribbon, on top of the “Stitch Witchery” & line it all up so you cant see any of the “Stitch Witchery” sticking out under the top ribbon, & work in sections, starting from one end of the ribbon & working towards the other end. Tip: Don’t move the iron until you have finished adhering the two ribbons together because it will cause all three layers to shift without your knowledge & your finished product will be less than perfect! Hold the iron steady on top of the pressing cloth with your ribbons & “stitch Witchery” lined up underneath for 15-30 seconds depending on the type of ribbon used (you could even pin the 3 layers together at the opposite end for more stability, then lift the iron straight up & move down the length of the ribbon a few inches & repeat the process, if you mess up, just reheat the “Stitch Witchery & pull the ribbons apart while the bond is still hot, realign the ribbons & repeat the ironing process. After you are satisfied with the alignment of the two ribbons, flip the now 2-layered ribbon over & iron the entire length, like you normally would, gliding over it lengthwise in a back & forth motion until you can hold the ribbon up by one end & not see any wrinkles in either side of it, you can even use a light body starch when ironing to give the bow more structure & a stiff appearance.
Excellent tutorial – just wondering what the best way to heat seal is.
Do you know a good supplier of ribbons in the US we are stretched for choice her in Oz!!
@Libby L, PS i’m not a crazy cheer mum, its not 3.11 am here its 7.12 pm… OMG you must’ve thought I was demented!!
@Libby L, LOL I would use Ribbons and Bows, Oh My. http://ribbonandbowsohmy.com They have a good selection and reasonable prices. I heat seal with a lighter– I’ve heard of people using a wood burner, but a lighter works best for me every time.