How I Took My Dining Room From Functional To Fabulous: 10 Easy Steps!
I’m going to start with a confession: my dining room was never my favorite place. Sure, I love to cook, yes, I love to entertain, but for a long time that dark, small space is where we stored backpacks and stacked bags of groceries. These Affordable Tips to Brighten a Small Space changed all that. I Loooooove my dining room now. In fact, it might be my new favorite room in the house. I’m so excited to share these affordable ideas with you and I can’t wait to see pictures of how you’ve transformed your own spaces. Happy DIYing!
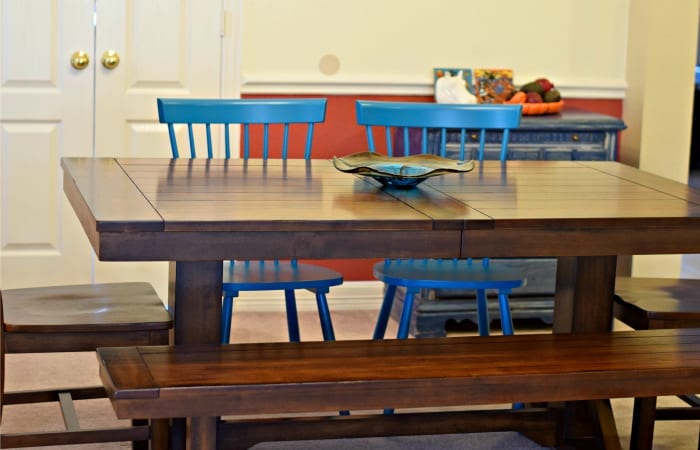
10 Affordable Tips to Brighten a Small Space
1. Right off the bat I knew I wanted to keep my table, so since it has a pretty dark wood finish I had to work to transform everything around it. My first step was to paint the doors, trim, and chair rail a slightly off white. Originally they were as dark as the table, but by using such a pale color they now act as a contrast.
2. I knew I wanted to paint several portions of my room so rather than buying paint off the shelf, I purchased from the paint that had been returned to my local hardware store. That decision alone saved me over 50% off of what I would have paid to paint. Plus, it let me find that awesome accent color for my wall. I think it was called Santa Fe Sunrise. I wouldn’t have gone with that color if I hadn’t seen it in the returns bin. Score!
3. For my last painting step I painted the rest of my walls a buttery cream (also found in the returns bin). Breaking up the uniform color of my room let me keep that ‘pop’ of color with the accent wall, while still allowing plenty of lighter colored spaces to reflect the natural light.
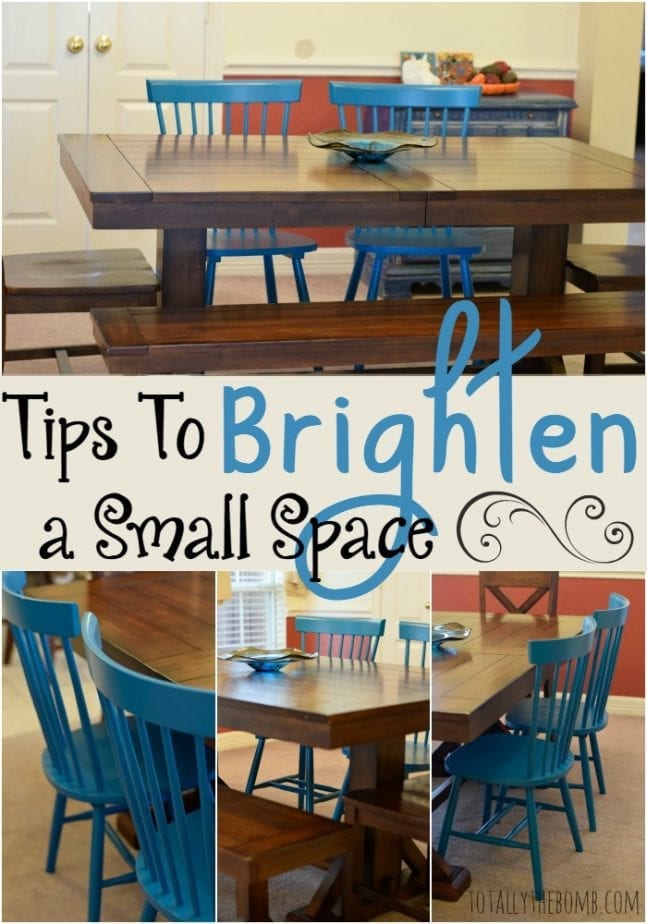
4. The next step in transforming my space was utilizing my natural light. I already had two big windows, so my job was replacing my dark wood shades with a lighter color. I picked a white close to the same colors as the door and trim as a way to tie the room together. Honestly, the shades were probably the most expensive part of my room. I decided to splurge there because shades really can last just about forever. Why not spend a little more now and reap the benefits for years to come?
5. Originally my room didn’t have curtains, but once I replaced the shades I decided to add the curtains in to break up the space between the walls and the windows. Keeping up with the task of affordable style I sewed the curtains myself using fabric from the fabric store. Before I went, though, I checked online and found a coupon for 40% off one item. Have I mentioned how affordable style = happy Jamie?
6. You can’t see them in these pictures, but my last step in lighting was to change out my light bulbs. Don’t judge, but I had been one of those incandescent bulb holdouts. I just liked them. What I didn’t realize is that just by switching the bulbs to CFL’s (compact fluorescents) I could better mimic outside lighting. The higher the color temperature (on the packaging), the closer to sunlight. Oh Holy Wow! What a difference. You can even see in these pictures how it almost looks like I’ve got a sunroof. Nope, just better bulbs.
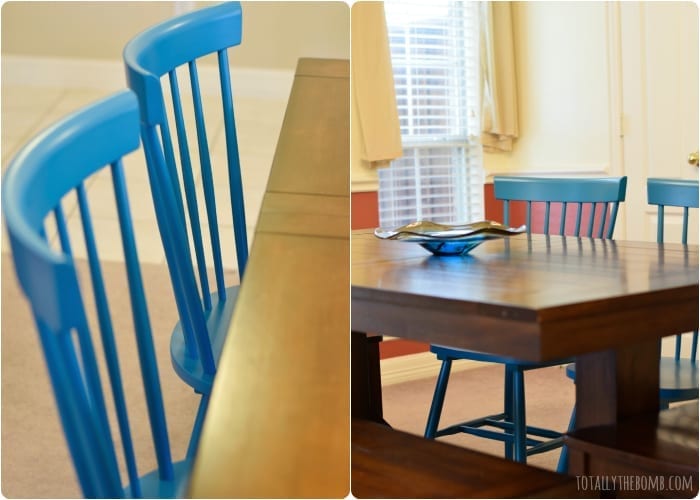
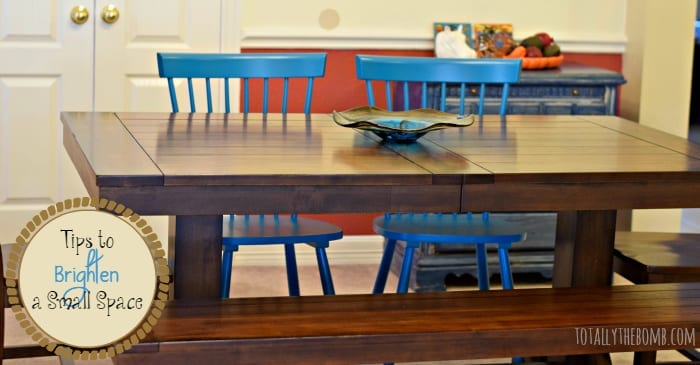
7. Next up: furnishings. Like I said before, I wanted to keep my original table. I love it. I kept two of my original chairs, but added in a bench. Lower furniture makes small spaces look bigger. Even lowering this one piece really opened up the room.
8. I wanted to add in some accent chairs, so I found these two bright blue chairs on sale, and they totally made the room POP! If you’re looking for more classic, you can also try chair covers. They’re washable, and interchangeable, so you can create a new look for every season.
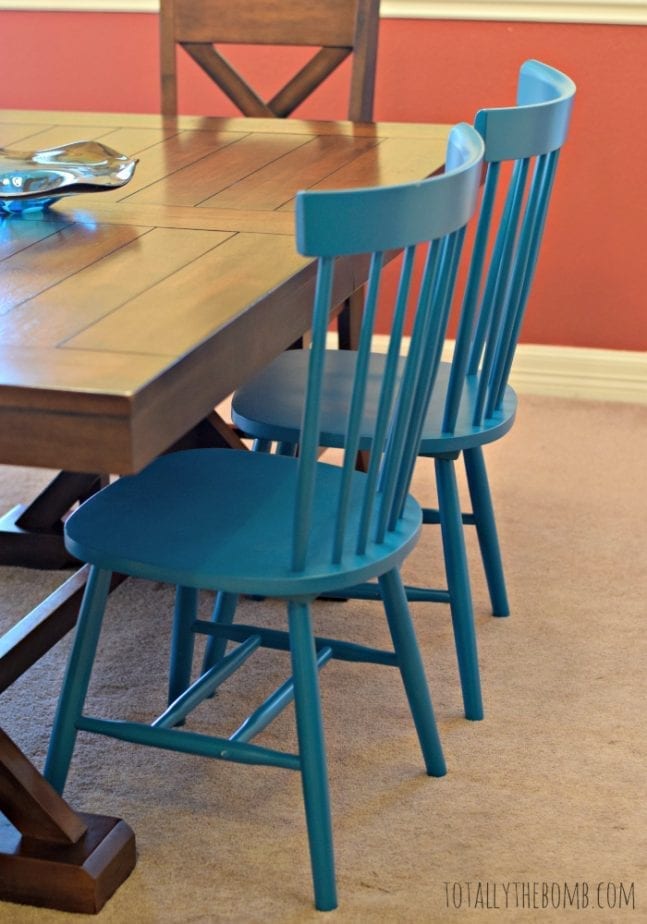
9. The last steps in affordably brightening of a small space are to pick furniture pieces and color accent pieces. For furniture I diyed an old sideboard I found at a garage sale to give it a distressed look and painted it blue to compliment the chairs. I picked a piece that was lower than my chair rail so that I could keep my open space theme.
10. Accent pieces are where you can really personalize a room. I used my favorite glass bowl (I’ve had it forever) because it has blue and brown and ties everything together. I also added a couple of bright pictures and a cute bright bowl filled with accent balls to my sideboard.
So there you have it. I am in LOVE with the way my dining room looks now and I swear we spend more time in there than anywhere else in my house now. The key to affordable design is coming up with a plan. For me it was utilizing the returned paint, finding coupons online, working with the bigger (more expensive) pieces I already had, and diying what was left. Even small changes can make a big impact, so don’t be afraid to try something new! Have fun!


Your room looks great! I bet it feels so fresh and open now! Thanks for sharing it with us!
Great tips to change out a room. I painted my dining room three times. Not it white on white trim and it’s where most of blog pics come from it’s so bright. Thanks for linking up to Merry Monday! Sharing on Twitter! Have a great week!
Kim
It’s lovely how you can change things round and have a very new look without having to ditch everything. I love your bright blue chairs, they are such a highlight in the room.