Here’s How To Make The Mason Jar Ice Cream Everyone’s Talking About
It’s getting hot out there and the best way to cool down is with homemade ice cream!

Seriously, homemade ice cream is always the best, you know what’s in it and can make it just the way you want it!
The only thing I don’t like about homemade ice cream is having to keep an ice cream machine on hand, but luckily you do not need it with this mason jar method!
It’s super simple and cleanup is minimal which is a super bonus for me.
There’s another bonus to this ice cream, it can be Keto-friendly because it is higher in healthy fats and lower in carbs than traditional ice cream.

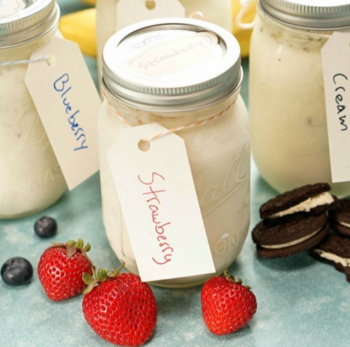
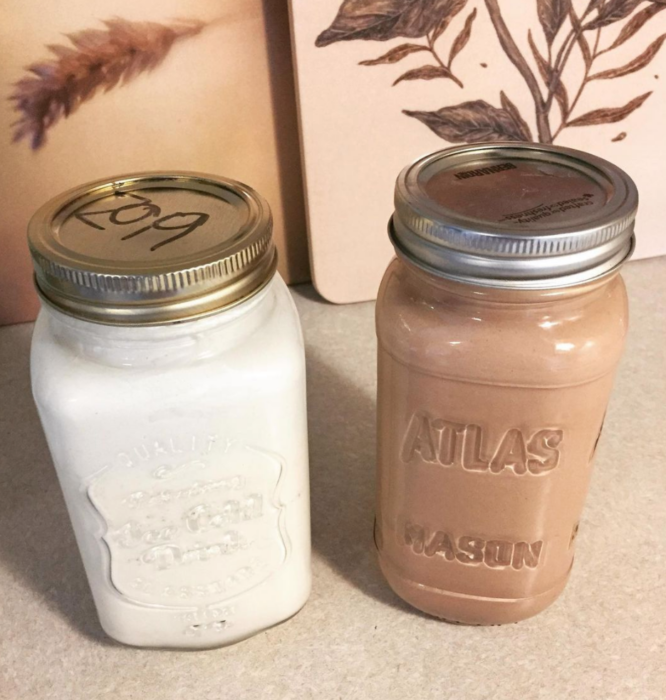
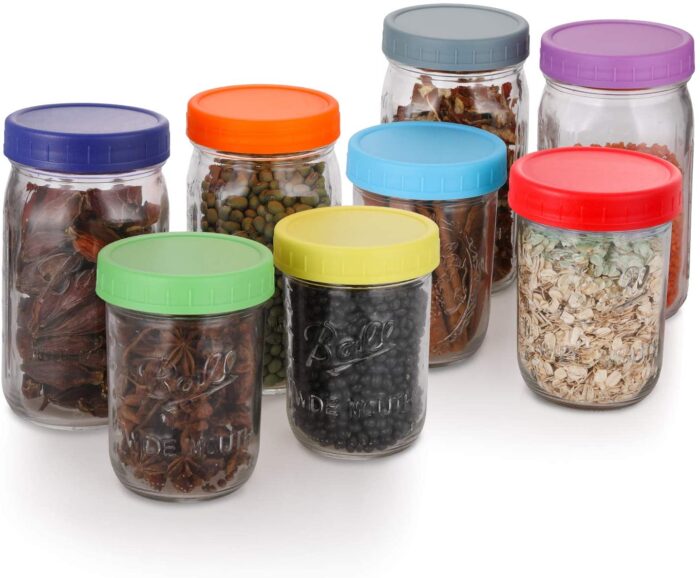
Instead of an ice cream machine, you’ll need mason jars with lids.
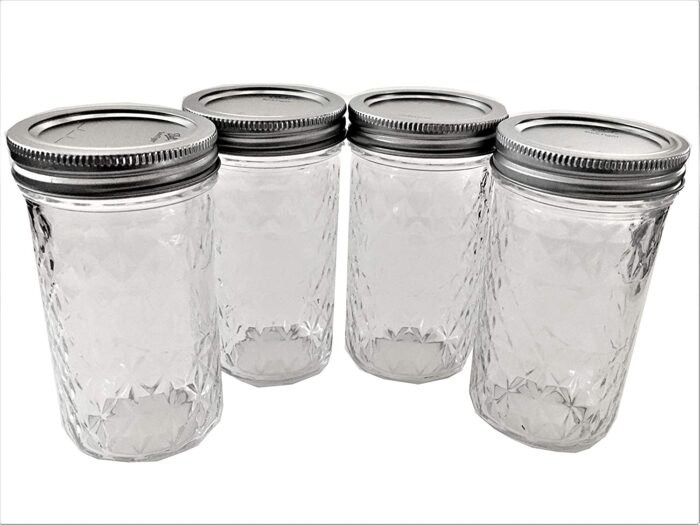
I like the Ball Mason Jelly Jars that are 12 ounces each, you can purchase a set of 4 on Amazon.
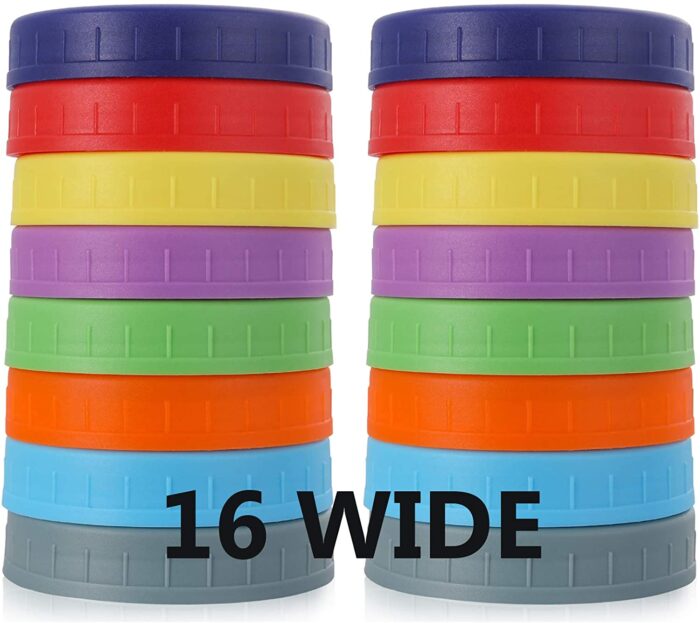
I also prefer to use plastic one-piece screw-on lids by Aozita Wide-Mouth Mason Jar Lids for this instead of the metal 2 piece lids.
Here are the ingredients you’ll need
This is just the base, you can add anything else that you want!
If you want to keep it keto-friendly you’ll just need to keep that in mind when adding more things.
- 1 cup heavy whipping cream
- 1 tablespoon Splenda
- 1 teaspoon vanilla extract
- Salt (just a pinch)
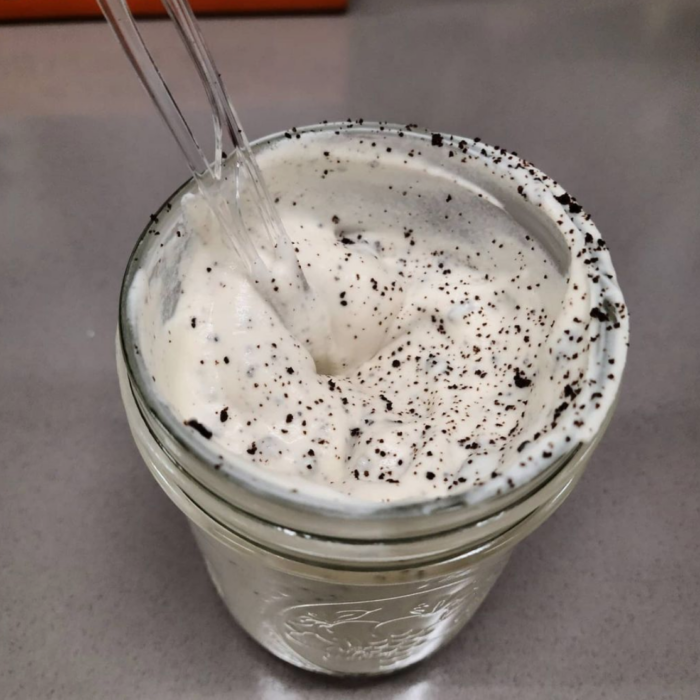
Add all of the ingredients listed above to a Mason jar and secure the lid tightly.
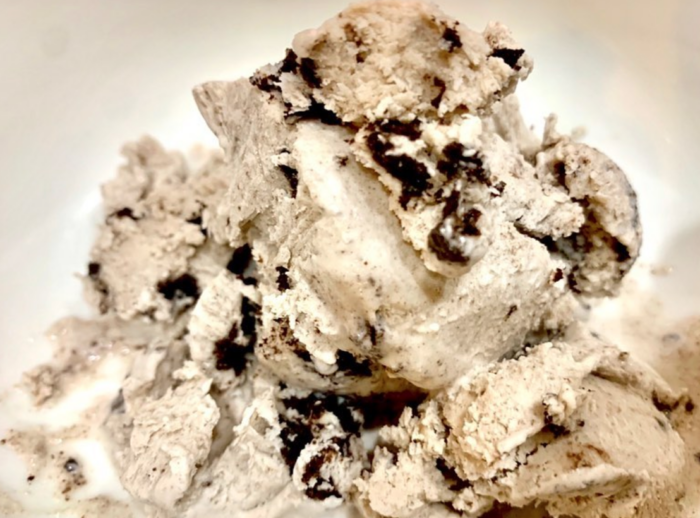
I like to add Torani Sugar-Free Coconut Syrup and chunks of dark chocolate, and sometimes peanut butter and dark chocolate together.

You could simply just sprinkle in some cinnamon with the vanilla too!
Just shake your jar for about 3 to 5 minutes, or until your mixture gets thick.
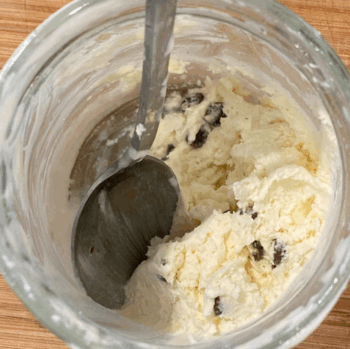
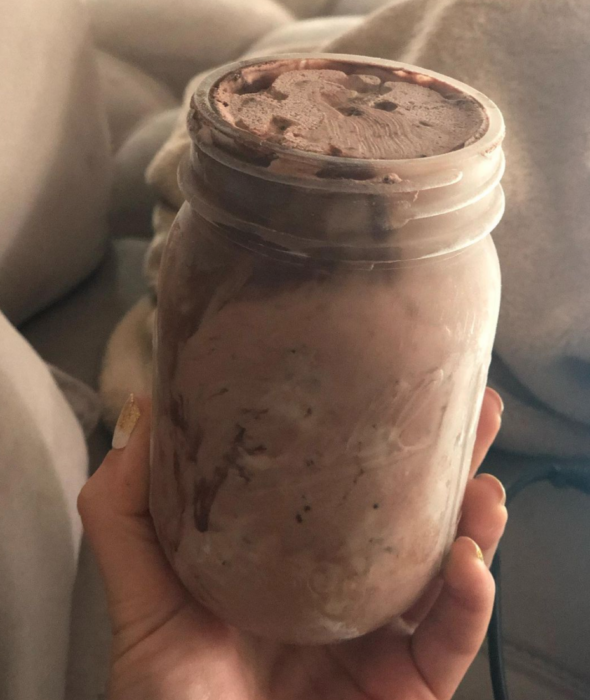
Put it in then the freezer for about 2 hours until it’s an ice cream consistency!
Either eat it straight from the jar like I do, or scoop it in a bowl and add some fun toppings to make it even better!


