The Modern Garden: Engraving Durable Stone Markers for Your Herb Collection
There’s something deeply satisfying about a well-organized herb garden. Whether you’re growing basil on a sunny windowsill or maintaining raised beds full of rosemary, thyme, and mint, the challenge of keeping everything clearly labeled is one every gardener eventually faces. Wooden stakes rot. Plastic tags fade. Paper labels dissolve in the first rainstorm. If you’ve been searching for a labeling solution that actually lasts, stone markers might be exactly what your garden needs — and engraving them yourself adds a personal touch that no store-bought tag can replicate.
Why Stone Is the Smartest Choice for Herb Garden Markers
Stone has been used as a permanent marking material for thousands of years, and for good reason. It resists moisture, temperature swings, UV exposure, and the general wear and tear of an outdoor environment. Flat river stones, slate tiles, and smooth flagstone pieces are all excellent candidates for herb markers. They sit naturally in soil without tipping, they won’t blow away in a breeze, and they develop a beautiful weathered look over time that plastic never achieves.
The great news for beginners is that you don’t need to be a sculptor or a stonemason to create attractive, legible stone markers. Modern engraving tools have made this kind of project genuinely accessible to anyone willing to spend an afternoon experimenting. Softer stones like soapstone or slate are forgiving surfaces that respond well to light pressure, making them ideal starting points for first-time engravers.
Getting Started: Tools, Stones, and a Little Patience
Choosing the right stone matters more than most beginners expect. Slate is widely considered the easiest material to engrave because it splits in clean layers and has a relatively soft surface. River stones are attractive but can vary significantly in hardness, so test a small area before committing to a full design. Avoid granite or very dense decorative stones when you’re just starting out — they require much more pressure and will quickly frustrate a beginner.
Once you have your stones sorted, the tool you use will define your experience. A quality engraving pen gives you control over line thickness and depth in a way that rotary tools or chisels simply don’t. For those who want to explore the full range of materials and beginner-friendly tools, you can shop Resparked online to find engraving pens designed specifically for new crafters. Resparked’s Customizer Engraving Pen has become a go-to choice for hobbyists, with more than 650,000 people using it for exactly this kind of creative, hands-on project.
The setup for your first engraving session is minimal. You’ll want a stable work surface, good lighting, a pencil to sketch your design onto the stone first, and a damp cloth to wipe away dust as you work. Wear safety glasses — small stone particles do become airborne, especially on harder surfaces.
Designing Your Herb Markers: Keeping It Simple and Readable
The temptation when you first pick up an engraving pen is to go elaborate. Decorative borders, illustrated herbs, flowing script — it all sounds wonderful in theory. In practice, your first few stones are better served with clean, bold lettering that’s easy to read at a glance when you’re kneeling in the garden with muddy hands.
Block letters or simple sans-serif styles transfer well to stone and remain legible even as the marker weathers. Write your herb name in pencil first, then trace over it with your engraving pen using slow, deliberate strokes. Don’t rush. The depth you achieve comes from consistent, steady pressure — not from pressing harder in a single pass.
As your confidence grows, you can start adding simple decorative elements: a small leaf motif beside the herb name, a decorative border around the text, or even a tiny illustration of the plant itself. Soapstone and slate both allow for fine detail work once you’ve built up a feel for how the tool responds to the surface.
Building a Cohesive Collection Over Time
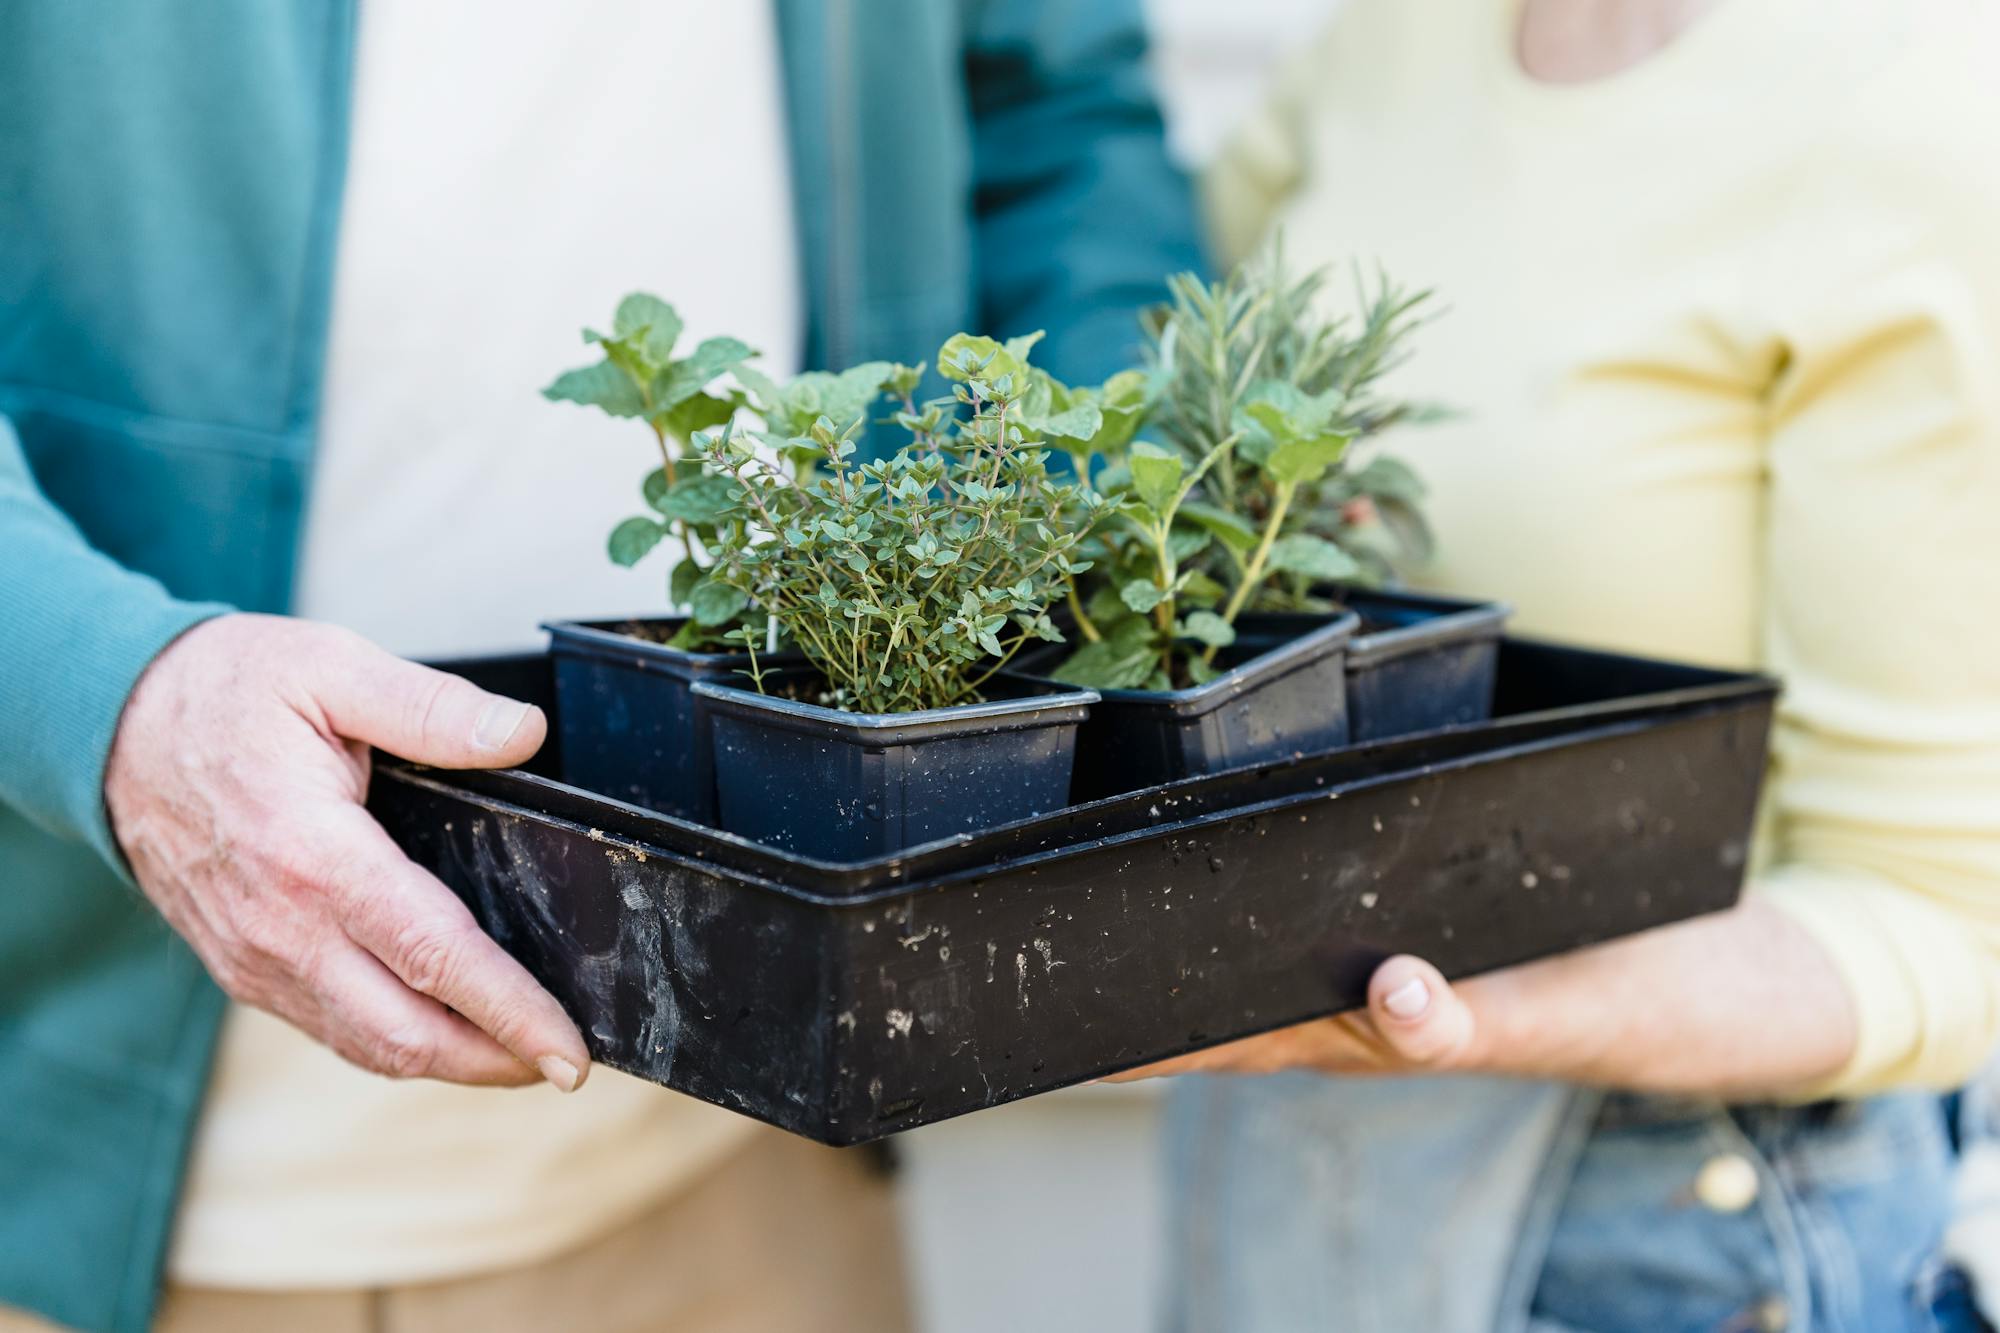
One of the nicest aspects of making your own stone herb markers is that the project scales beautifully. Start with the five or six herbs you use most — basil, parsley, chives, mint, oregano, thyme — and then expand the collection as your garden grows. Because you’re making each marker yourself, they’ll naturally develop a cohesive look that ties your garden together visually, even if no two stones are exactly the same shape.
Stone markers also make genuinely thoughtful gifts for the gardeners in your life. A set of hand-engraved markers for someone’s kitchen herb garden is the kind of present that feels considered and personal in a way that purchased items rarely do. Resparked’s engraving pen is rated “Excellent” across nearly 2,500 customer reviews, which speaks to how reliably it performs across different materials and skill levels — something worth knowing if you’re planning to give one as part of a creative gift set.
If you’re looking to expand beyond herb markers once you’ve got the hang of engraving, stone works beautifully for garden art, stepping stone labels, decorative plant identifiers for perennial beds, and even engraved stones used as keepsakes or memorial markers. The same skills transfer directly.
Maintaining Your Stone Markers Through the Seasons
Even the most durable stone markers benefit from a little seasonal care. At the end of each growing season, bring your markers indoors or stack them in a dry place to prevent any water from collecting in the engraved grooves and freezing during cold months. A freeze-thaw cycle can cause hairline cracks in certain stone types, particularly if water has settled into deeper engravings.
To keep the lettering crisp and easy to read, consider rubbing a small amount of outdoor chalk paint or white acrylic paint into the engraved text, then wiping the surface clean before it fully dries. The paint settles into the grooves and creates a strong contrast against the stone’s natural color. It’s a simple trick that dramatically improves legibility without changing the natural look of the marker.
A Craft That Rewards Slow Afternoons
Herb garden markers sit at a lovely intersection of practical and creative. They solve a real problem — keeping your herbs organized and clearly identified — and the process of making them is genuinely enjoyable. There’s no steep learning curve, no expensive studio setup required, and no pressure to produce something perfect on the first attempt.
If you’ve been looking for a new creative project that connects you to your garden and produces something useful and lasting, engraving your own stone markers is worth an afternoon of your time. Start with soft stone, keep your first designs simple, and let the collection grow naturally as your confidence does. The herbs will appreciate the attention — and so will anyone who visits your garden and notices the care you’ve put into every hand-engraved label.