How To Make A Fluffy Harry Potter Shirt
Tell me I’m not the only one who has used quarantine 2020 to re-binge the entire Harry Potter series?!

And, while also waiting for the release of the 3000 piece Hogwarts puzzle, we did something semi-productive and made a Harry Potter shirt. Here’s how we did it!
How To Make A Fluffy Harry Potter Shirt
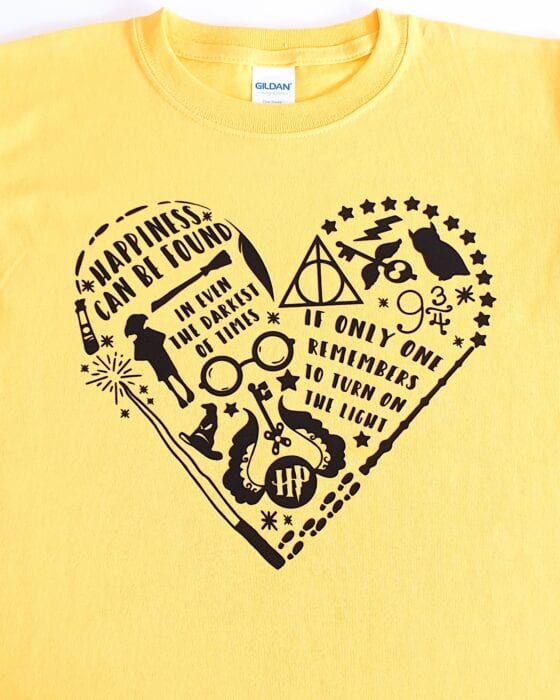
Now this is a FLUFFY Harry Potter Shirt – which is a bit tricky to see in the pic – but how did we manage that?
It’s called Craftables flocked HTV, and we used it to make the design. Flocked iron-on vinyl is fluffy and gives a great 3D effect to your design!
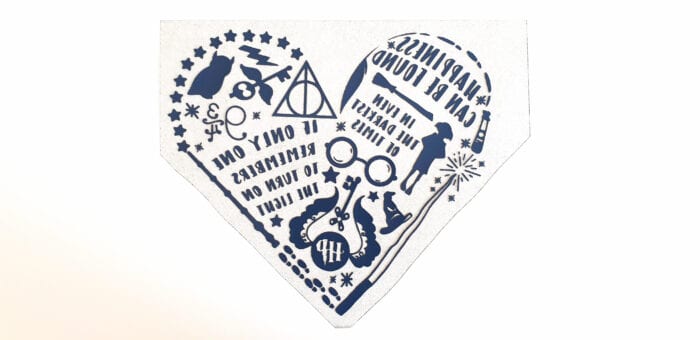
We picked up the Harry Potter SVG from Etsy, where there are a ton of options. If you want to try out this exact design you can grab it here.

What Else Do You Need To Make This Tee?
And we’re going to be using a heat press machine to apply the transfer, but you can also use your home iron or the Cricut EasyPress if you’re lucky enough to have one!
Harry Potter Shirt Design
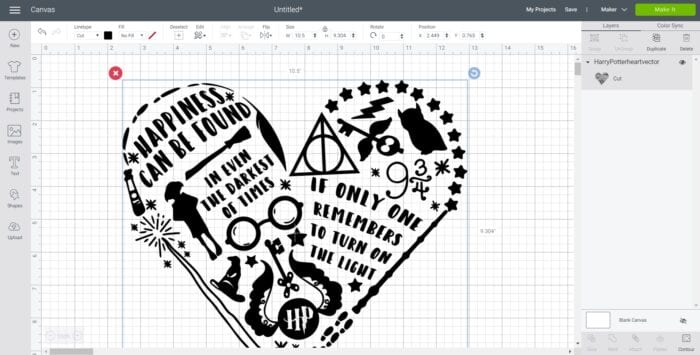
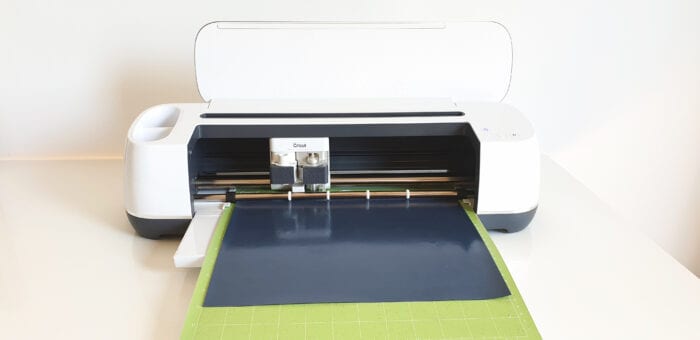
Open your design software and import the SVG into a new project. We’re using Cricut Design Space.
Because this great SVG is perfect for us, and ready to go, all I need to do is resize it to fit my shirt. However, if there is anything you want to change, it’s super easy to customize elements of the design by ungrouping.
When working with iron-on vinyl it’s important to select ‘Mirror’, otherwise everything will be applied backwards.
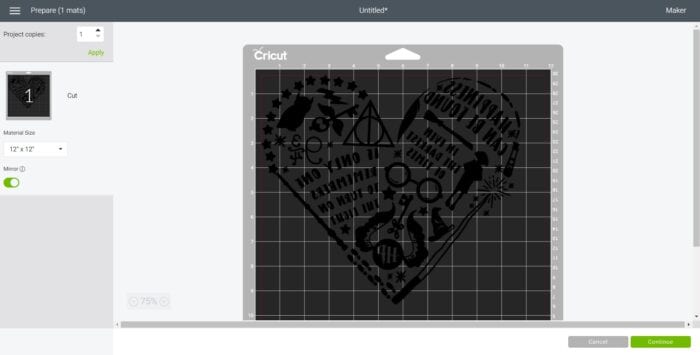
Click ‘Browse All Materials’ and select ‘Flocked Iron On’. I’ve never tried Flocked Paper, but it looks interesting!

Place the flocked vinyl on the cutting mat shiny side down. Load the mat into the machine and click ‘go’.
Pressing The Flocked Heat Transfer
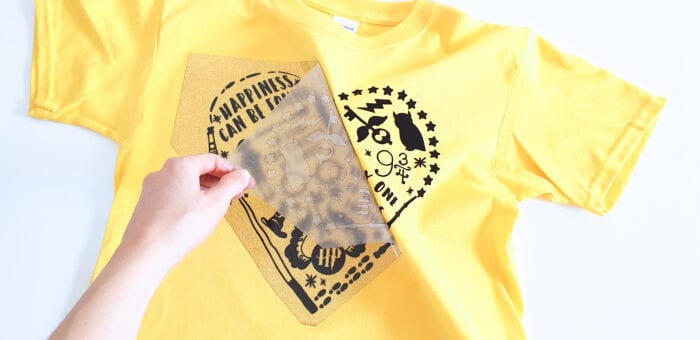
Once the design is cut, you can weed away excess vinyl, leaving only the design remaining on the carrier sheet.
With a design like this one, you need to make sure you double and triple check that you have weeded every piece of excess vinyl away. There’s nothing more annoying than finding you missed a piece after you’ve already pressed it!
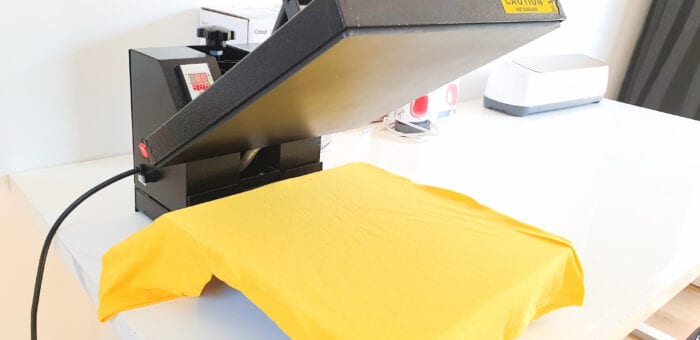
Turn on your heat press – we’re using the PowerPress:
- Set the temperature to between 300-315°F
- Wait 10 minutes for it to heat up
- Pre-press shirt to remove wrinkles and moisture
Once you have positioned the transfer on the shirt, Craftables recommend:
- Pressing the transfer for 10 seconds without any Teflon sheet
- Followed by another 15 second press with a Teflon sheet
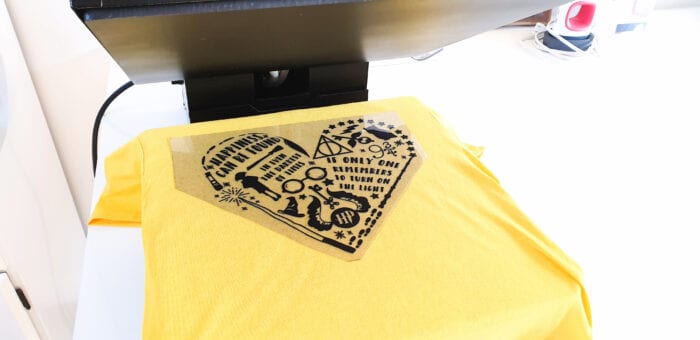
Now, let it cool down for a couple minutes.

Finally, peel away the carrier sheet, and you’re all done!
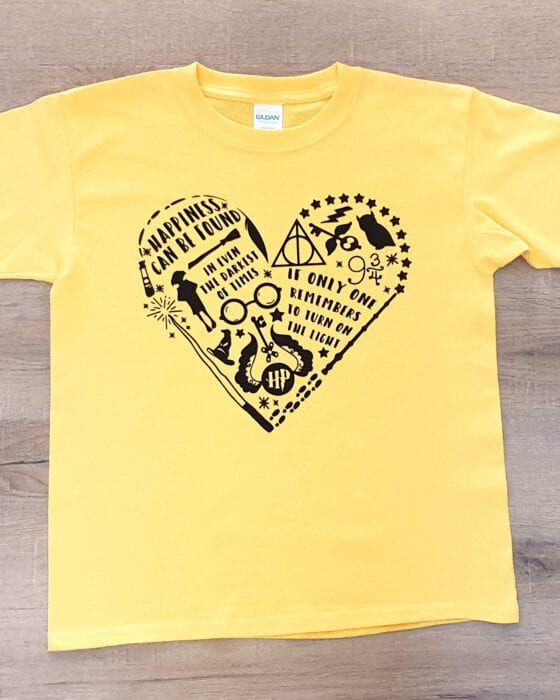
Such a cool tee for any Harry Potter nerd – whatever your age is!
If this has got you into the ‘making Harry Potter stuff’ mindset (it’s a thing!), then you’ve also got to check out these Harry Potter knitting projects, AND this Harry Potter cookie baking kit!
Finally, if you want to know how to do this same project in Cricut, but with adhesive vinyl, check out this Elf on the Shelf Mug!